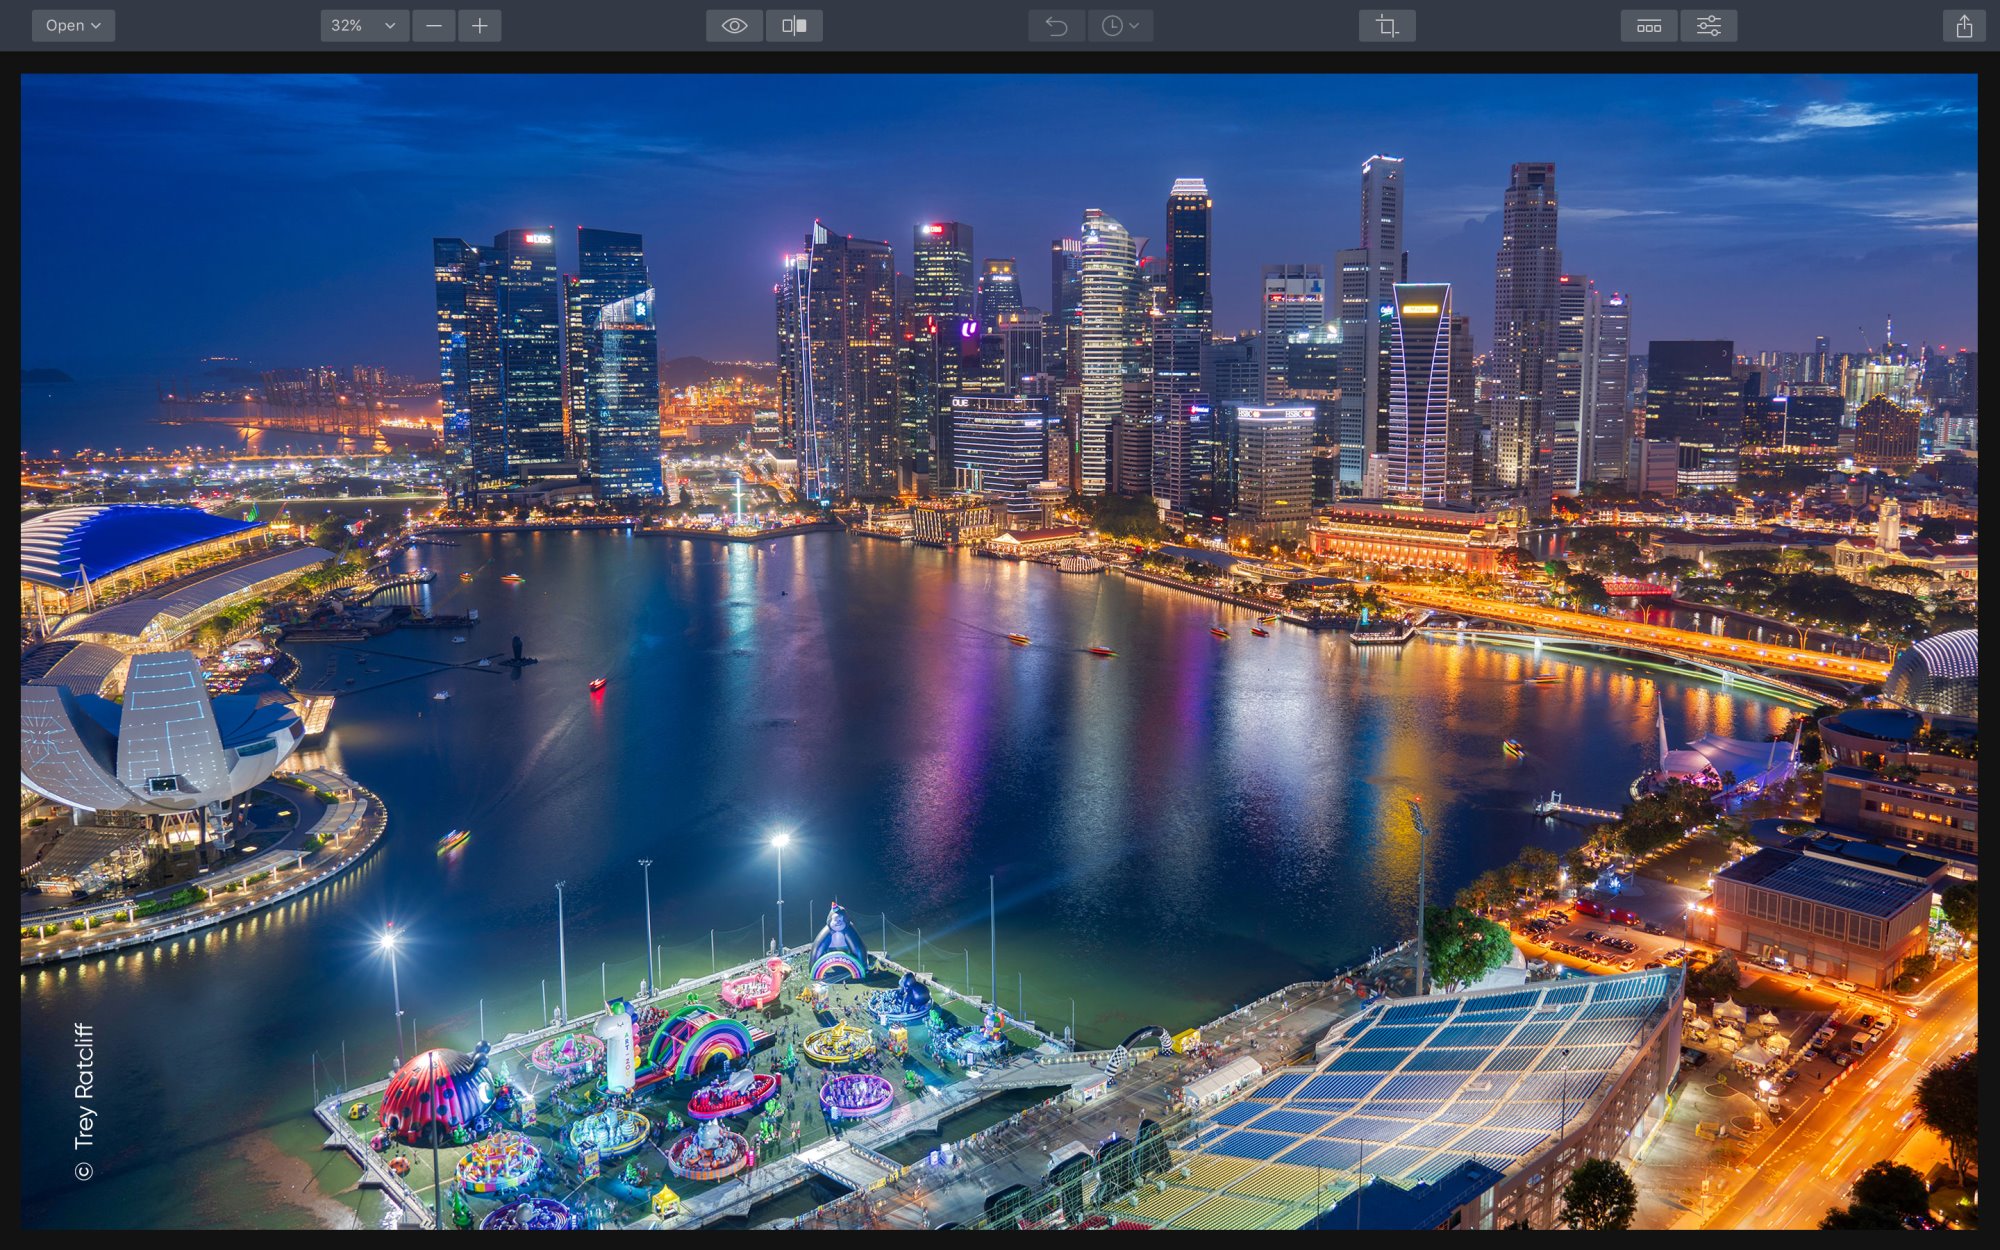
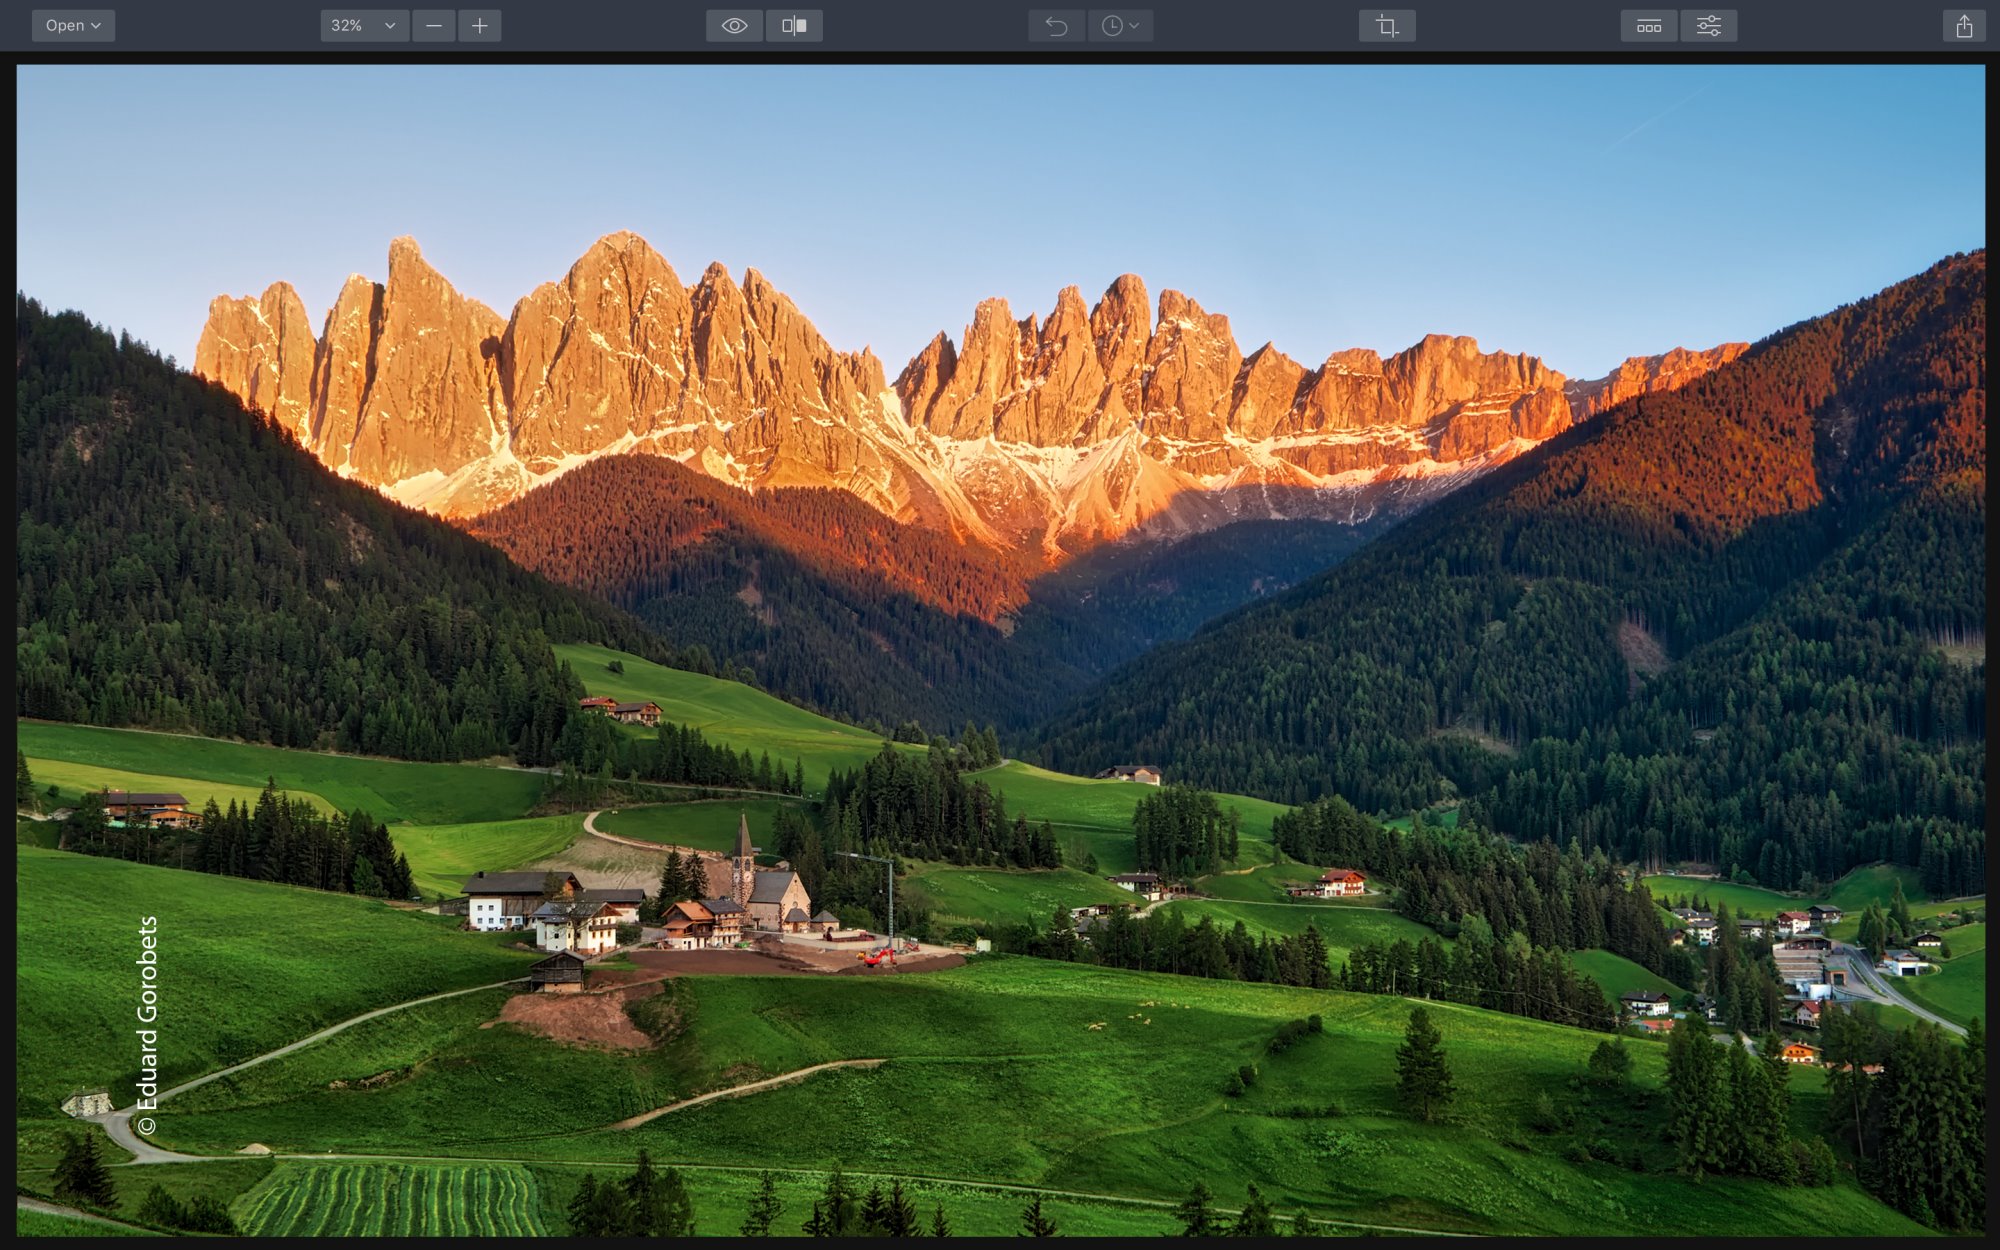
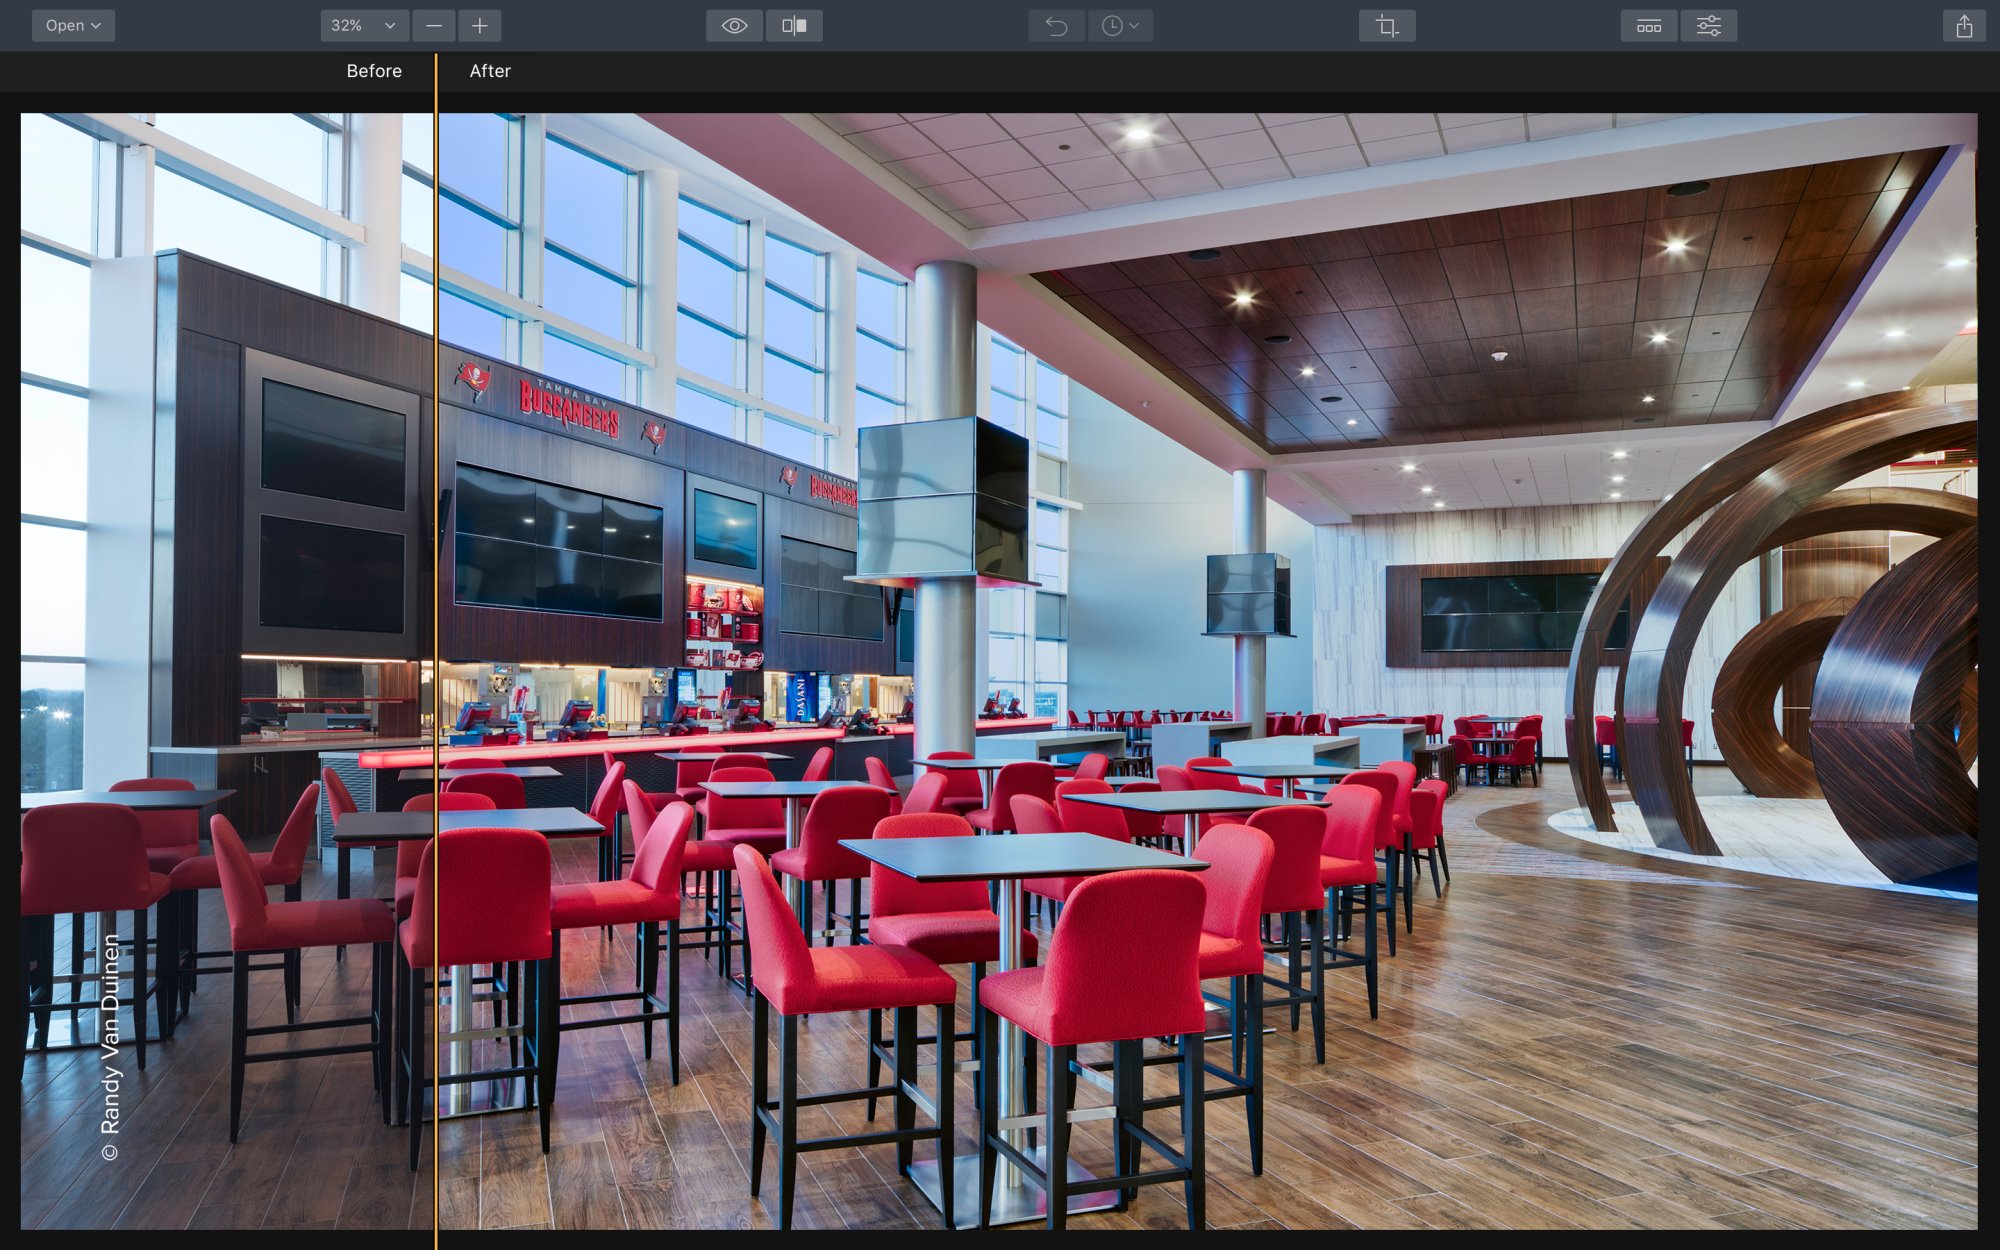
In this post I’d like to talk about the post processing tools I use to create my night shots. Post processing is one of the reasons I’m into digital photography and the tools available today are really great for getting the job done. Not only do those tools allow to polish an already great photo but they also offer countless options to create your unique style.

Before we are getting into my favorite tools I’d like to mention that I do not call myself an expert in post processing. For sure I’ve learned a lot in the past years but I’m still learning new skills every day and I’m also not an advocate of heavy duty post processing. I see post processing tools as a way to finish my photos, not to create them. But I also do not condemn heavy post processing as it is entirely your decision how to process your photos. If you like a strong, exaggerated HDR look, that’s up to you. Eventually photography is art and you alone decide what your art looks like.
My workflow generally looks as follows:
- RAW development
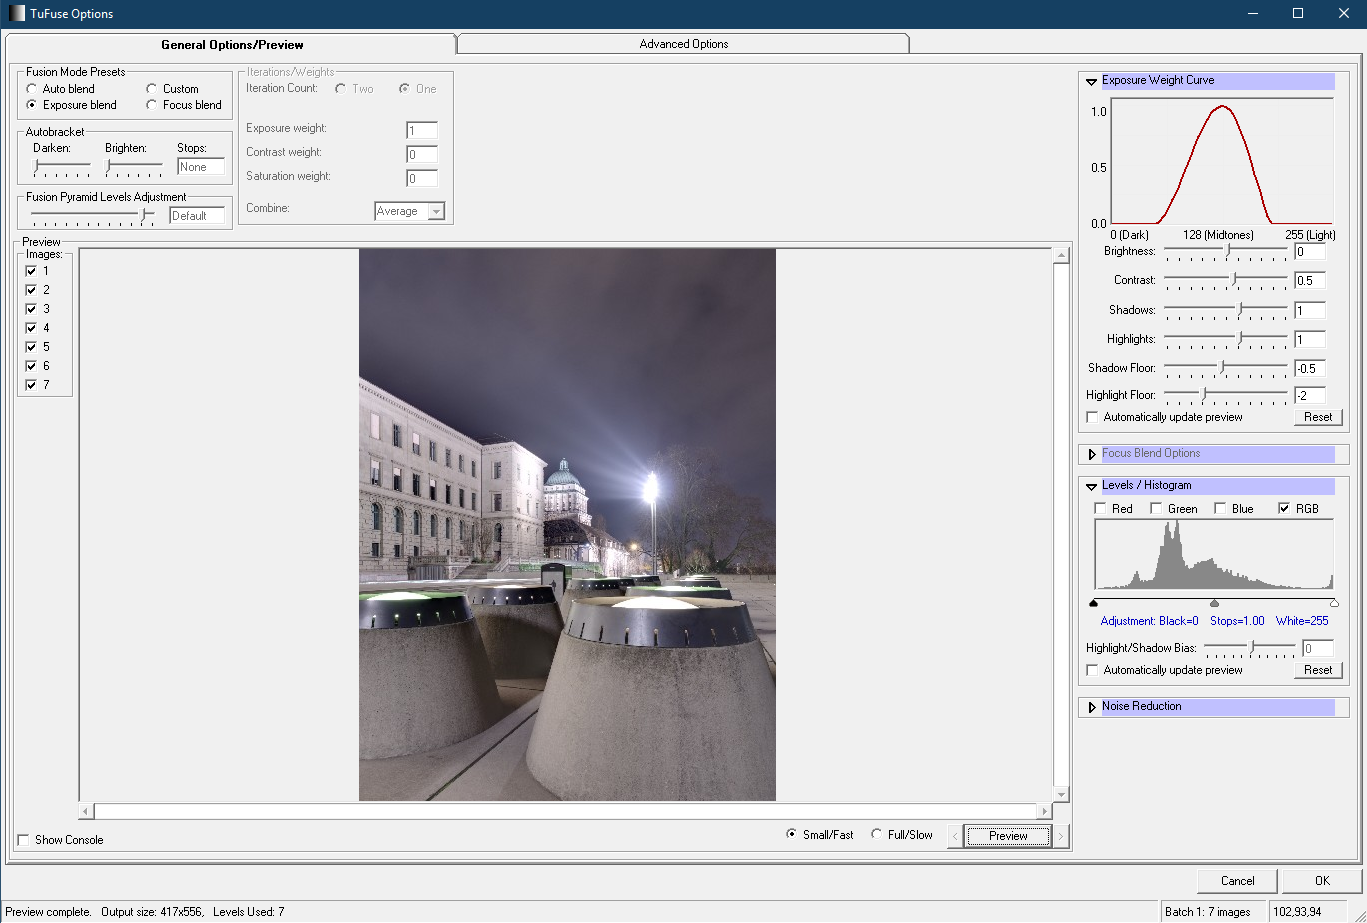
- HDR merging and tone mapping (if I plan to use the HDR technique)
- Further processing in a classical image editor
- Tagging the photo and add it to my image database
Now let’s start to look at the post processing tools I use…
RAW development
I shoot all my photos in RAW so my post processing always starts with RAW development. That’s also where I select the photos/ exposures that are good enough to be processed. Remember: Post processing is great to improve an already good photo but you cannot make a great photo using post processing if the source is badly exposed or if the composing is questionable. There is a simple saying when it comes to post processing: “Shit in – shit out”. So I advise you to be very selective, don’t waste hours trying to rescue a ruined shot, spend that time on the good photos and delete the rest, they are not worth your time.
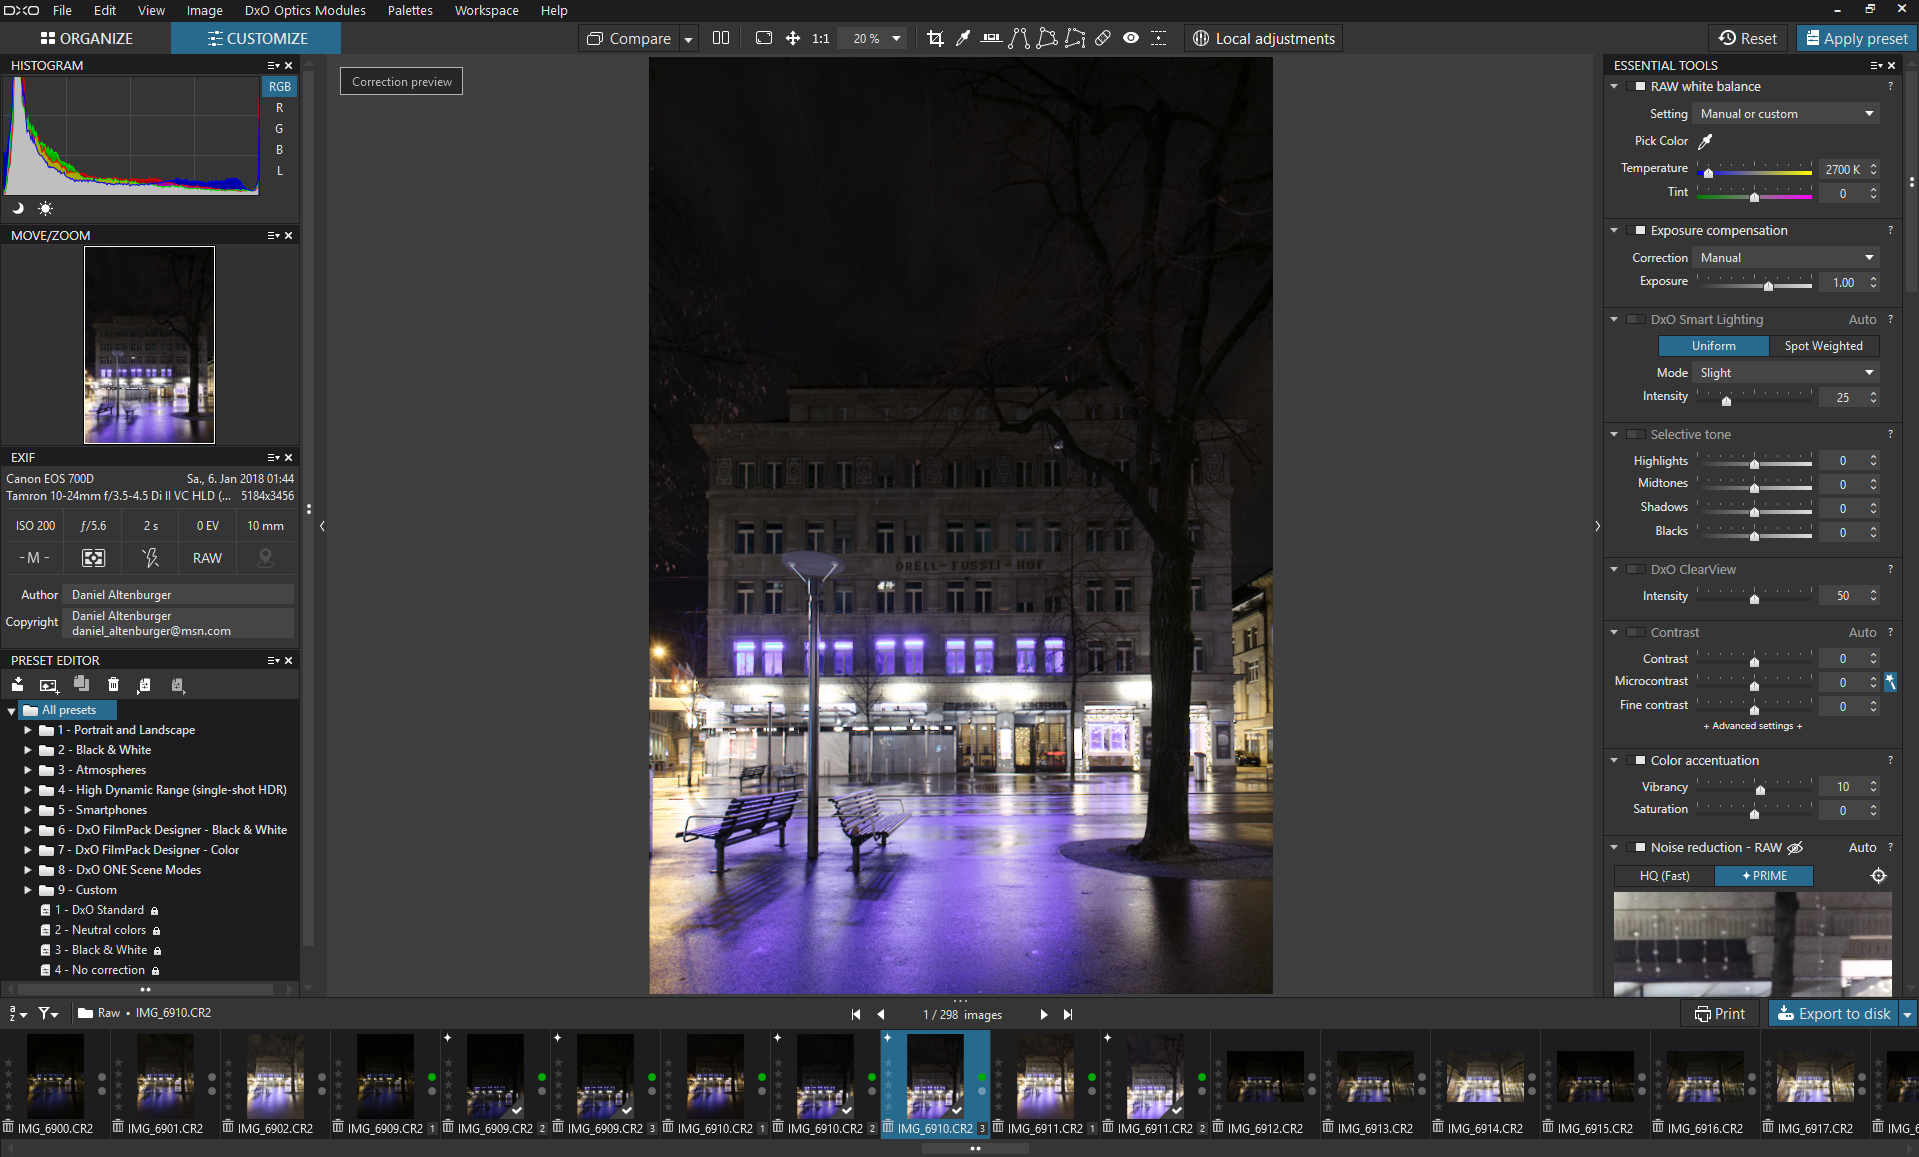
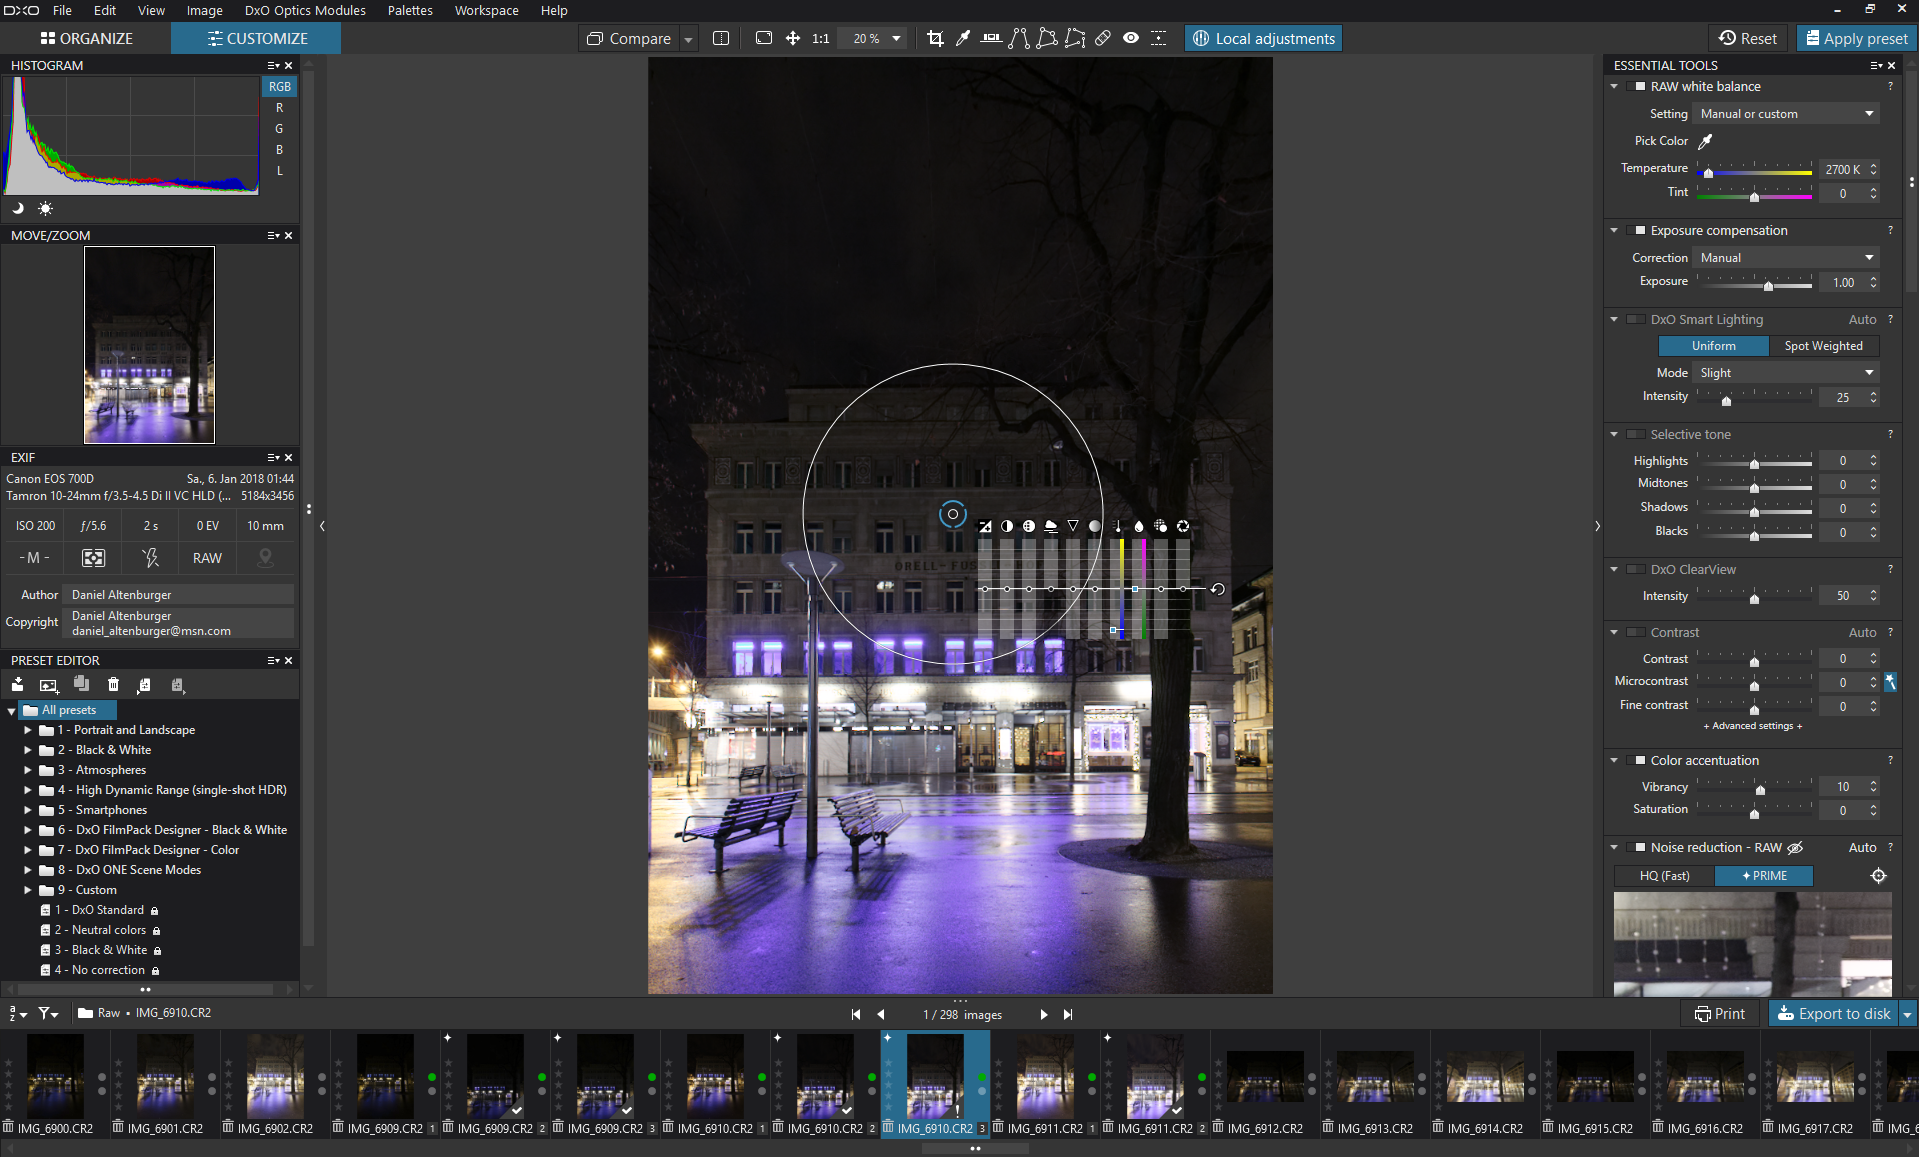
The RAW converter of my choice is definitely DxO PhotoLab which is the successor of the former DxO Optics Pro 11. Since the last version DxO has bought the Nik Collection from google and has implemented the U-Point technology into its RAW converter to allow local corrections which is a huge step forward. Local adjustments was in fact the one feature that I really missed in DxO Optics Pro 11 and the acquisition of the Nik Collection was a big surprise to me . Those who would like to learn more about the software and/ or want to download a 30 days trial version should head over to the DxO Website.

What I do in DxO PhotoLab depends on the individual image. If it is a HDR photo I do only basic adjustments with the RAW converter like whitebalance and noise reduction, maybe I improve the color saturation/ vibrance a bit and of course I use the outstanding lens profiles of DxO PhotoLab to correct any kind of distortion including converging vertical lines of buildings with the plugin DxO ViewPoint 3. I than apply the same adjustments to all the exposures of the HDR bracket and export them to 16-bit .tif files for further processing. For non HDR photos on the other hand I try to do as much post processing work as possible in the RAW converter (including local adjustments and sharpening) before I also export the photos into a 16-bit .tif file for the final processing with a classical image editor. And for some photos like pictures of family members or other photos that don’t need much post processing I even skip further steps and develop them entirely in DxO PhotoLab.

HDR merging and tone mapping
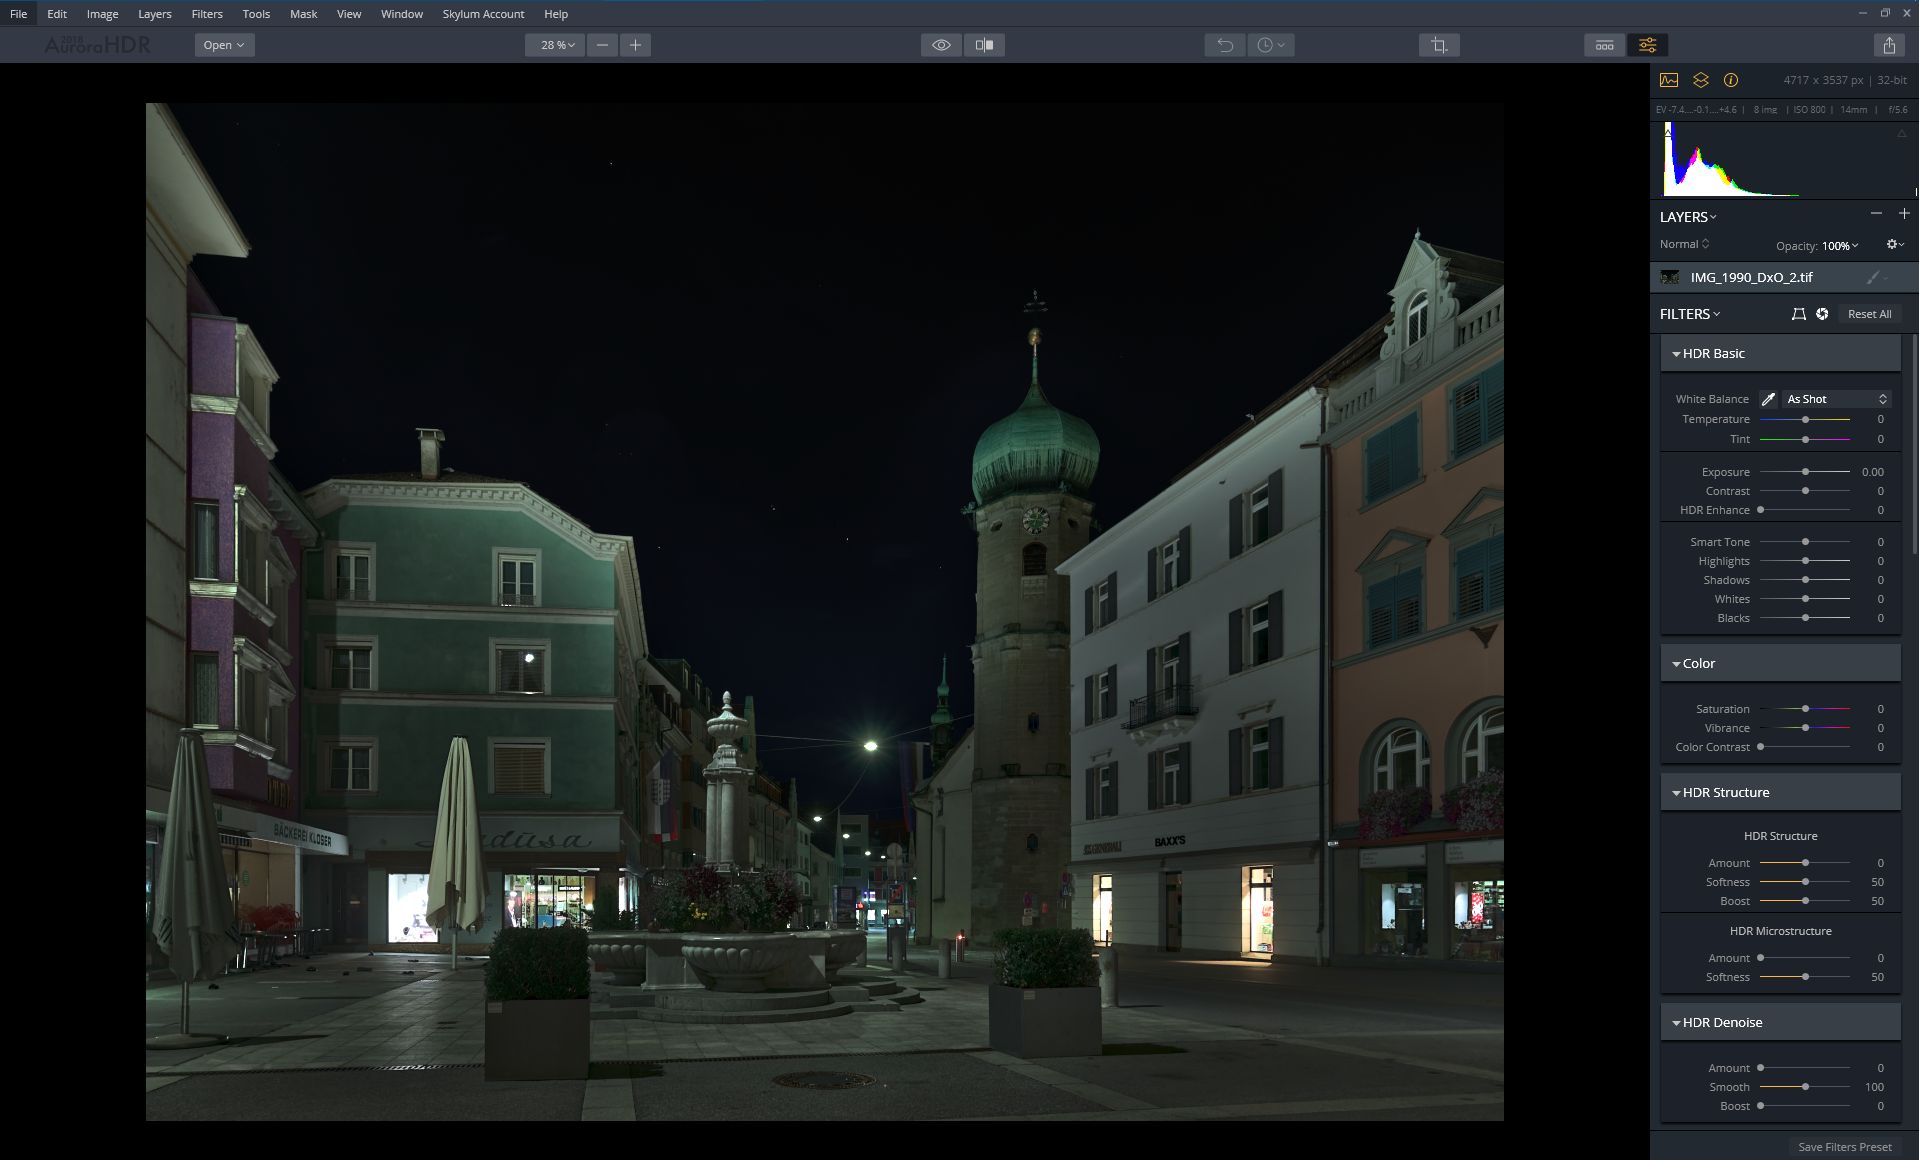
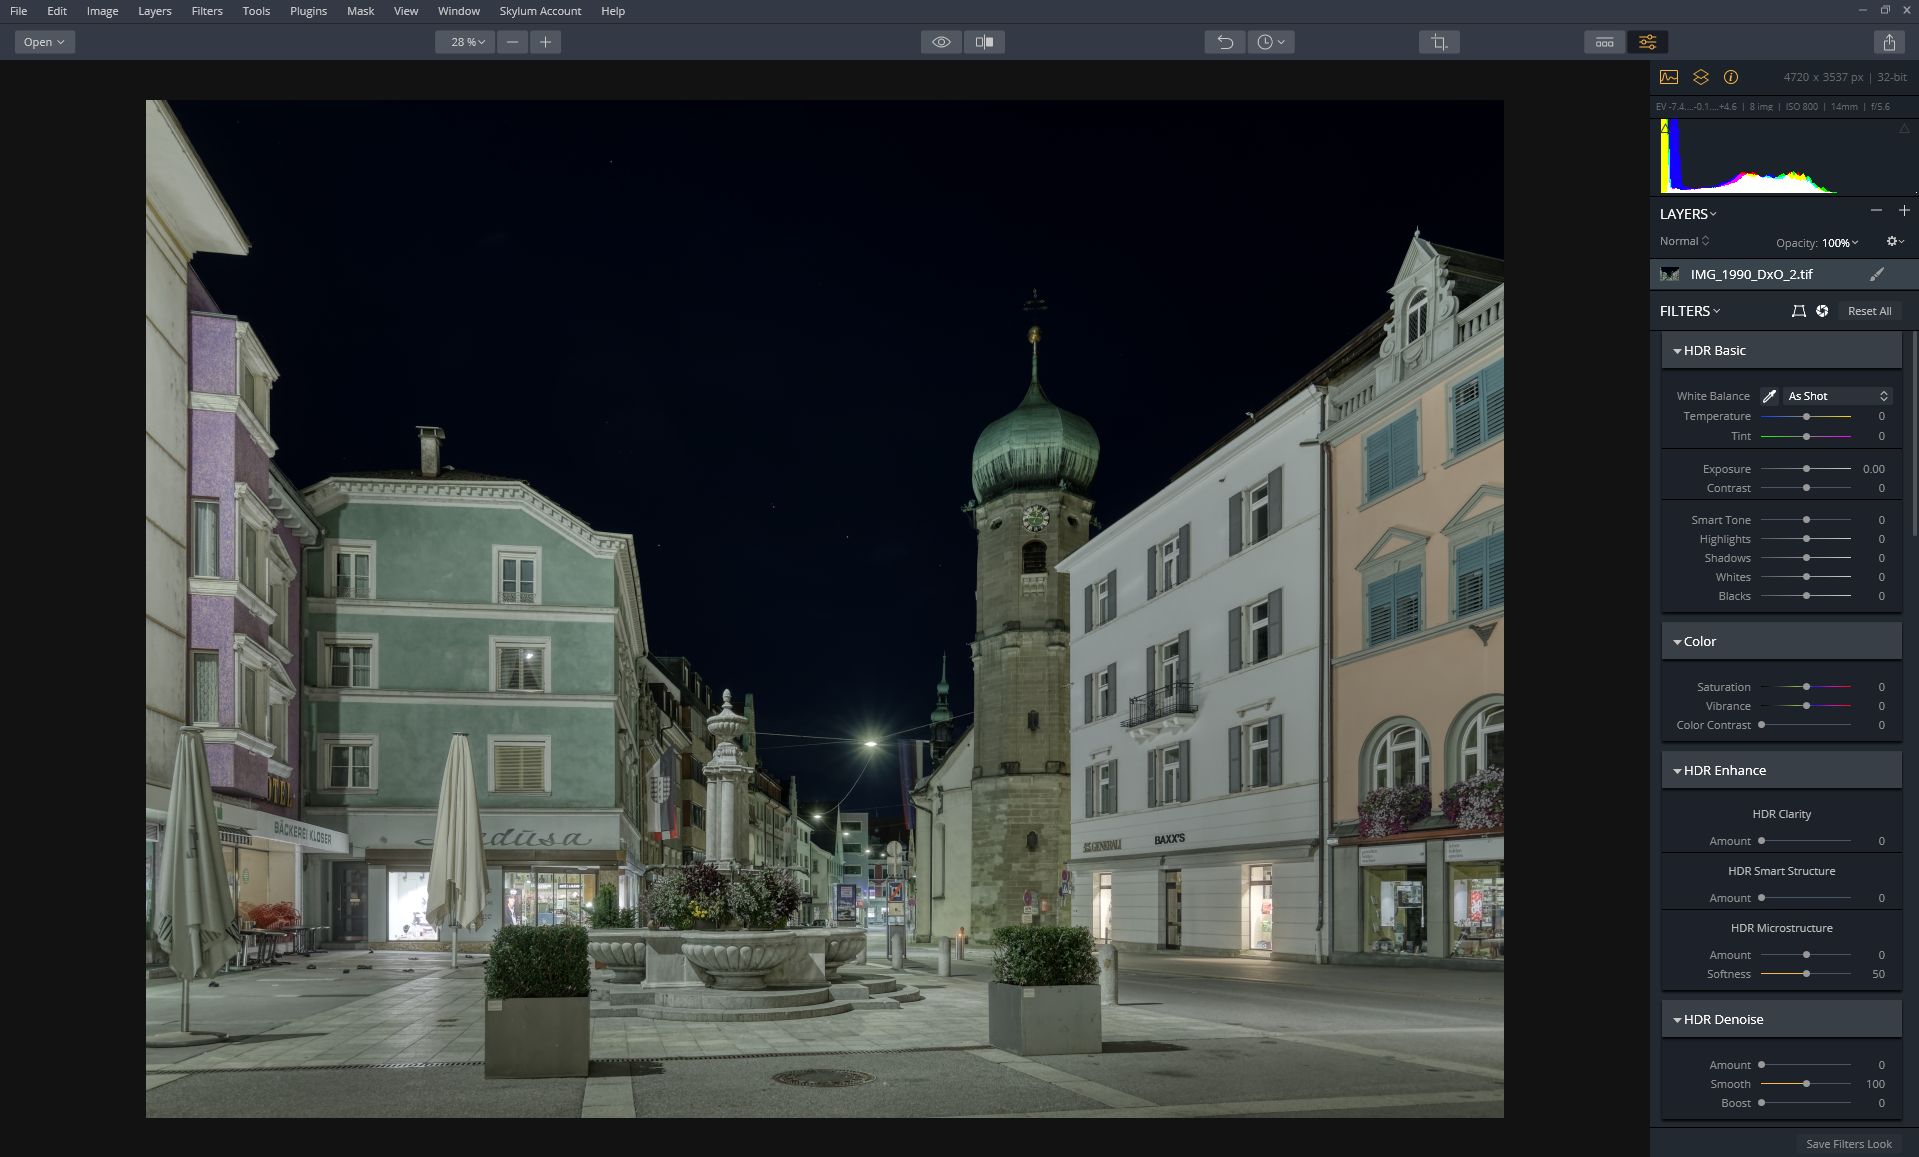
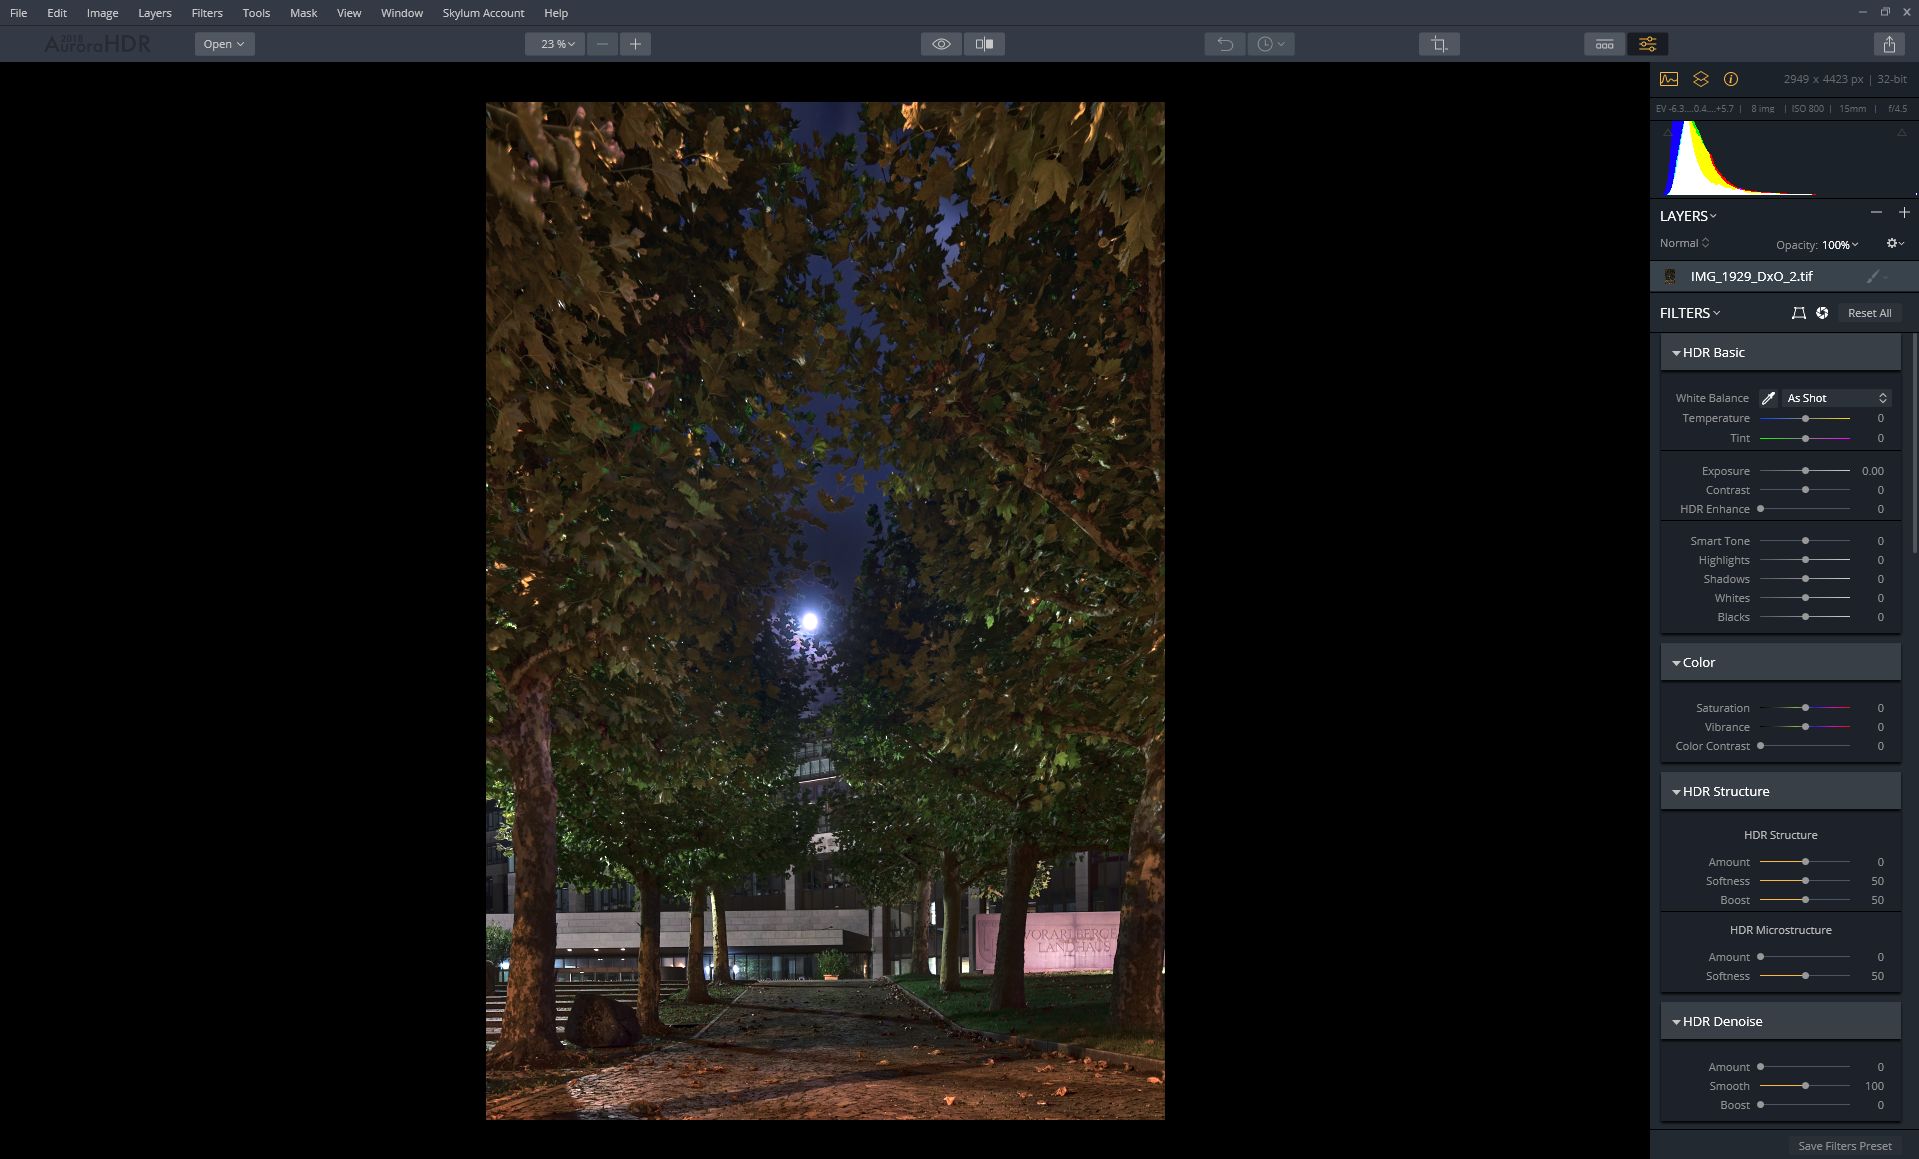
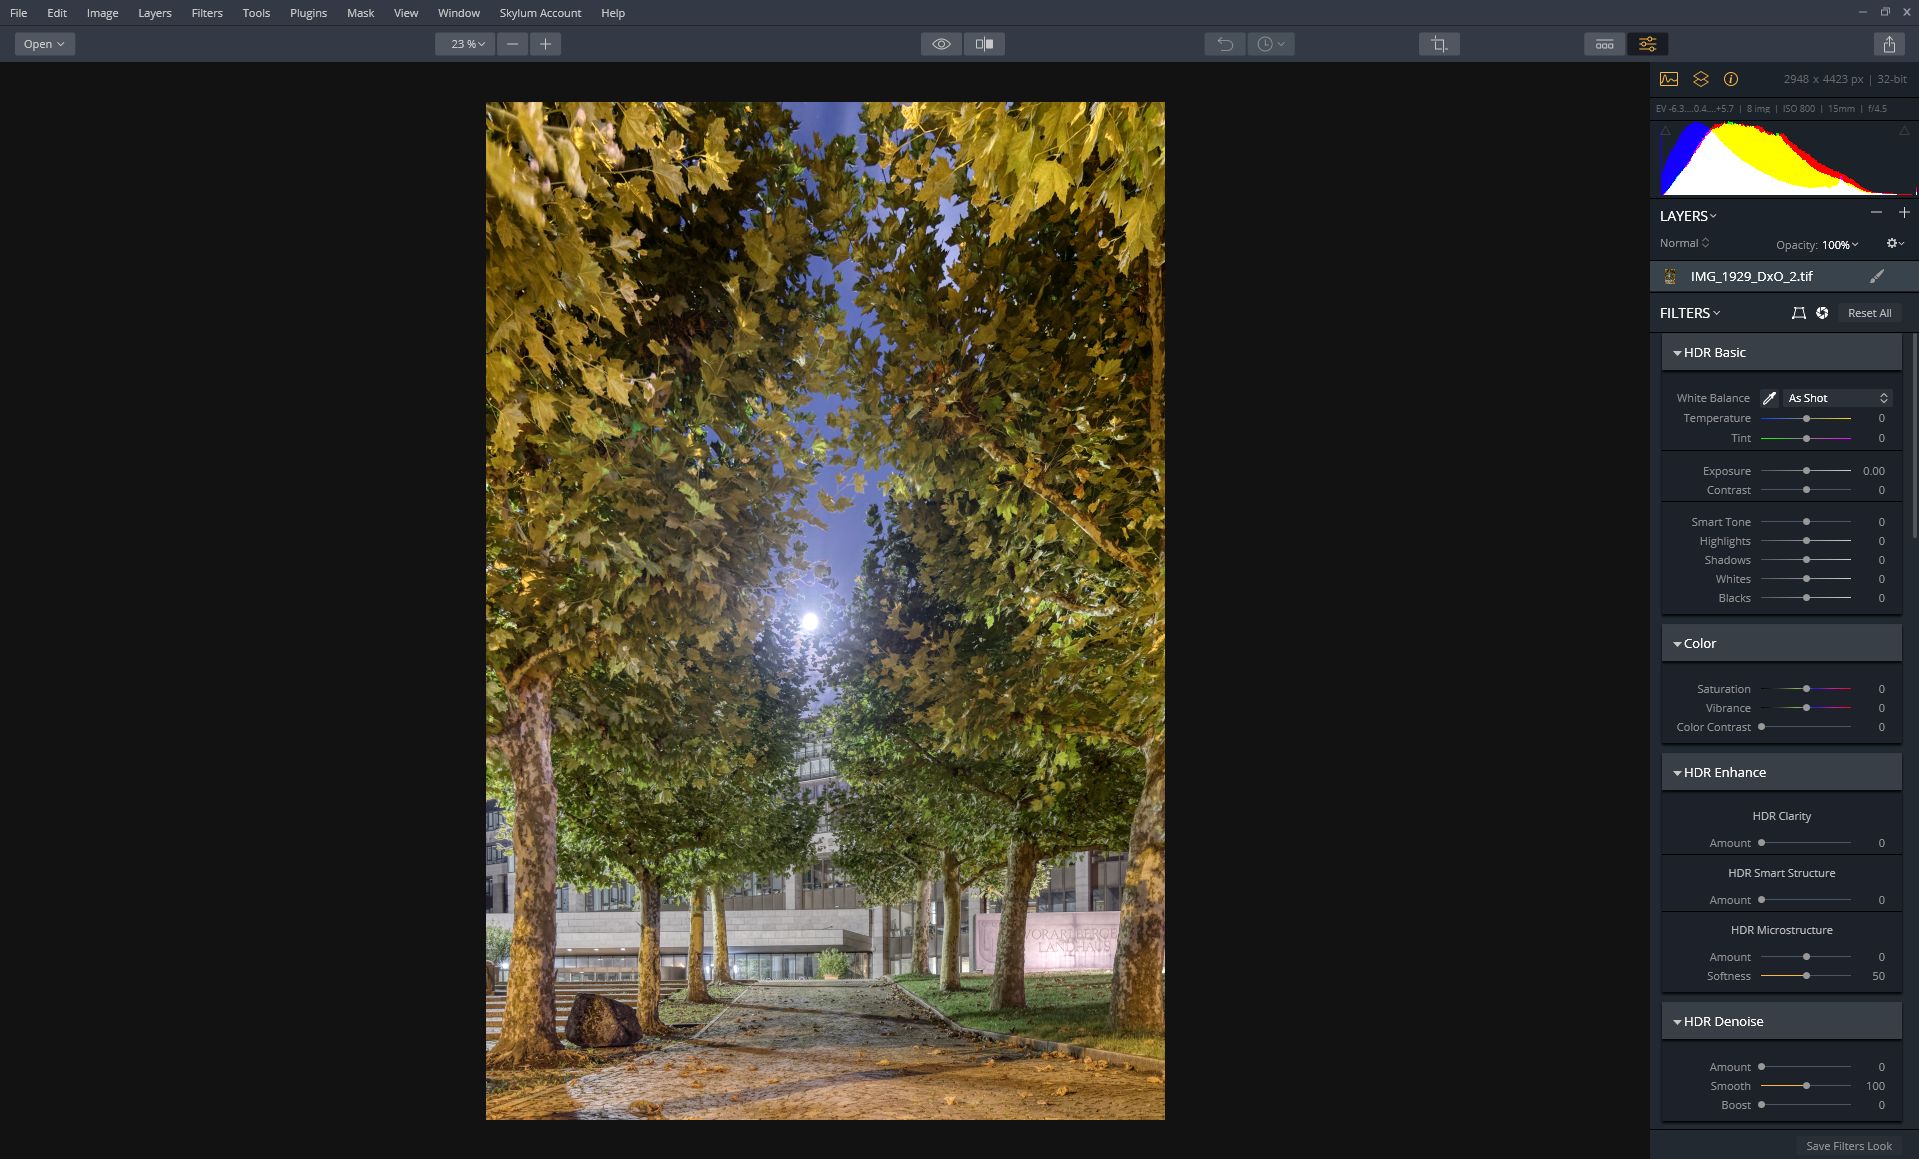
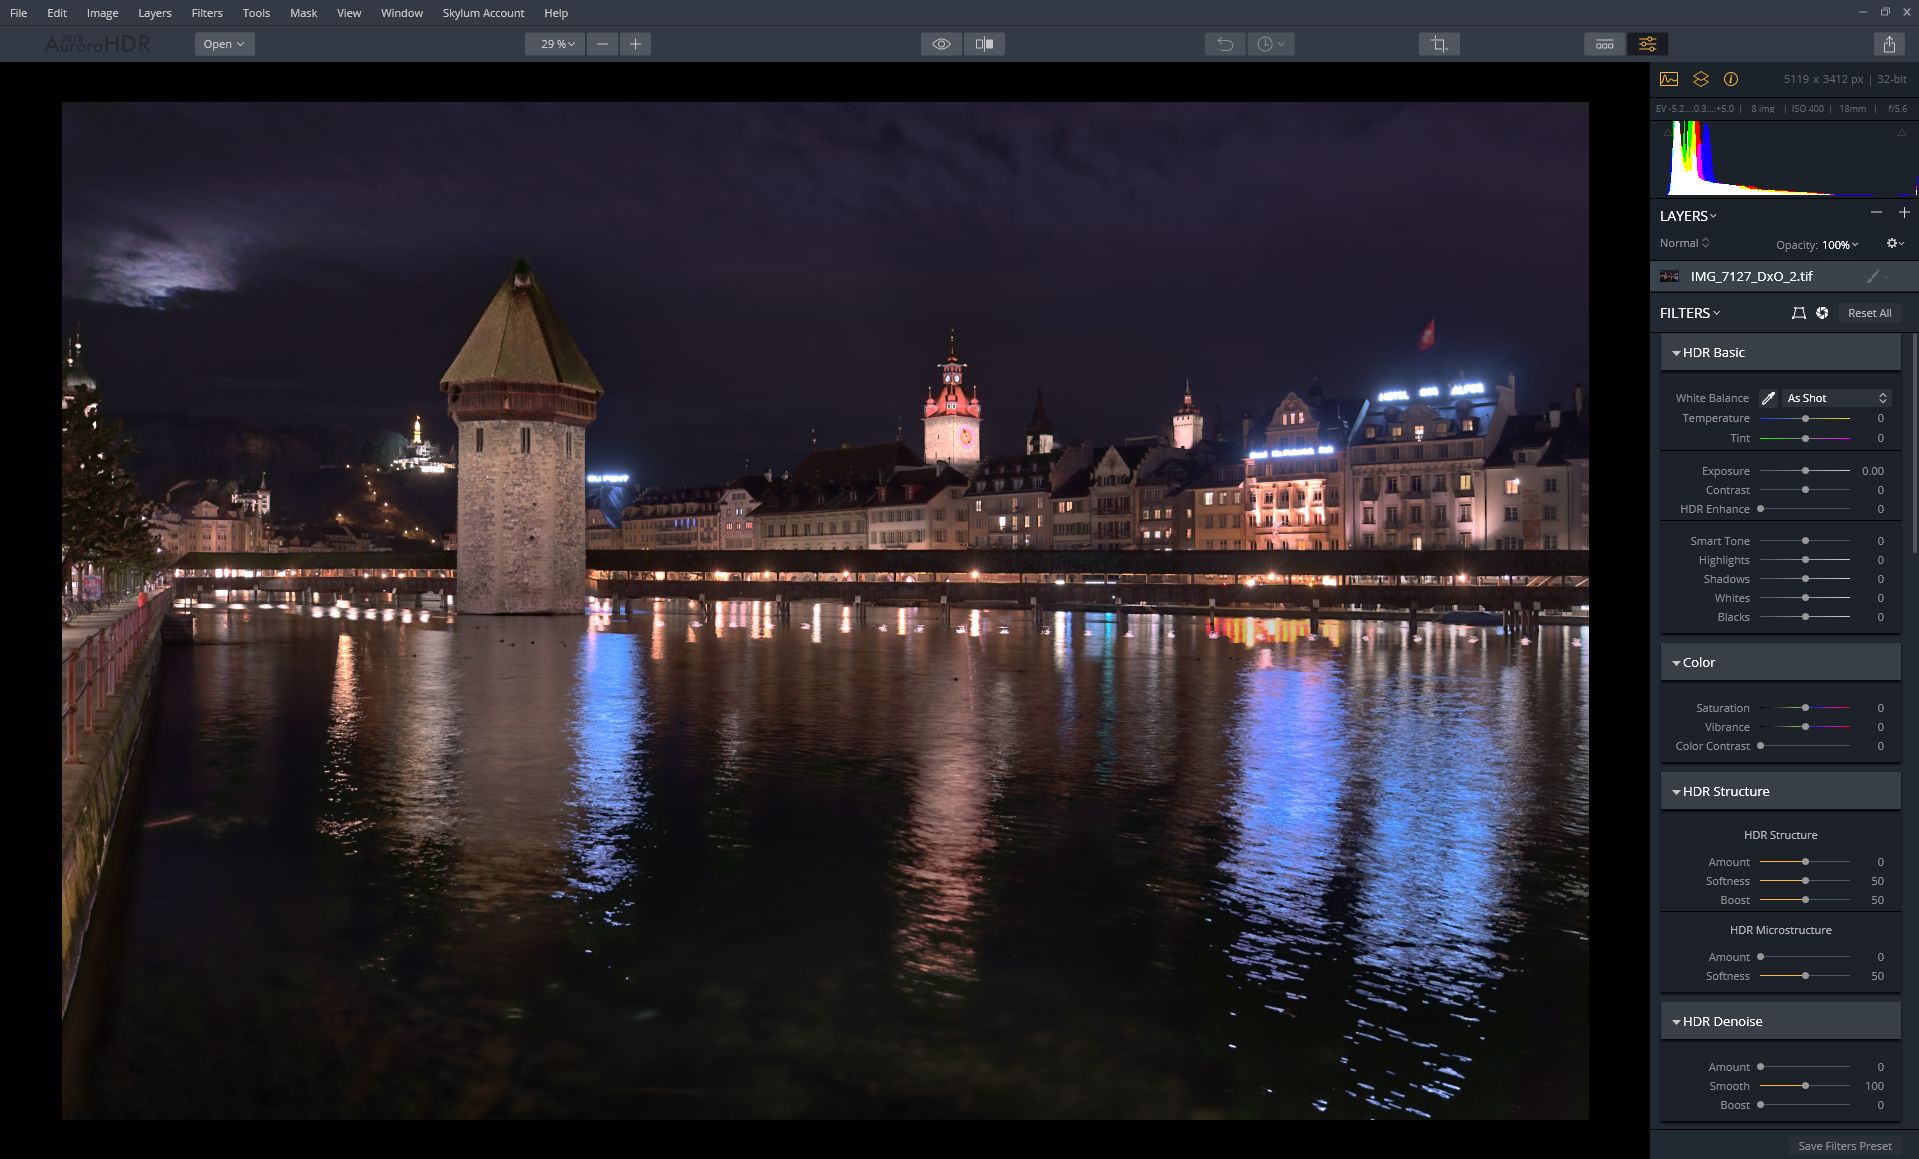
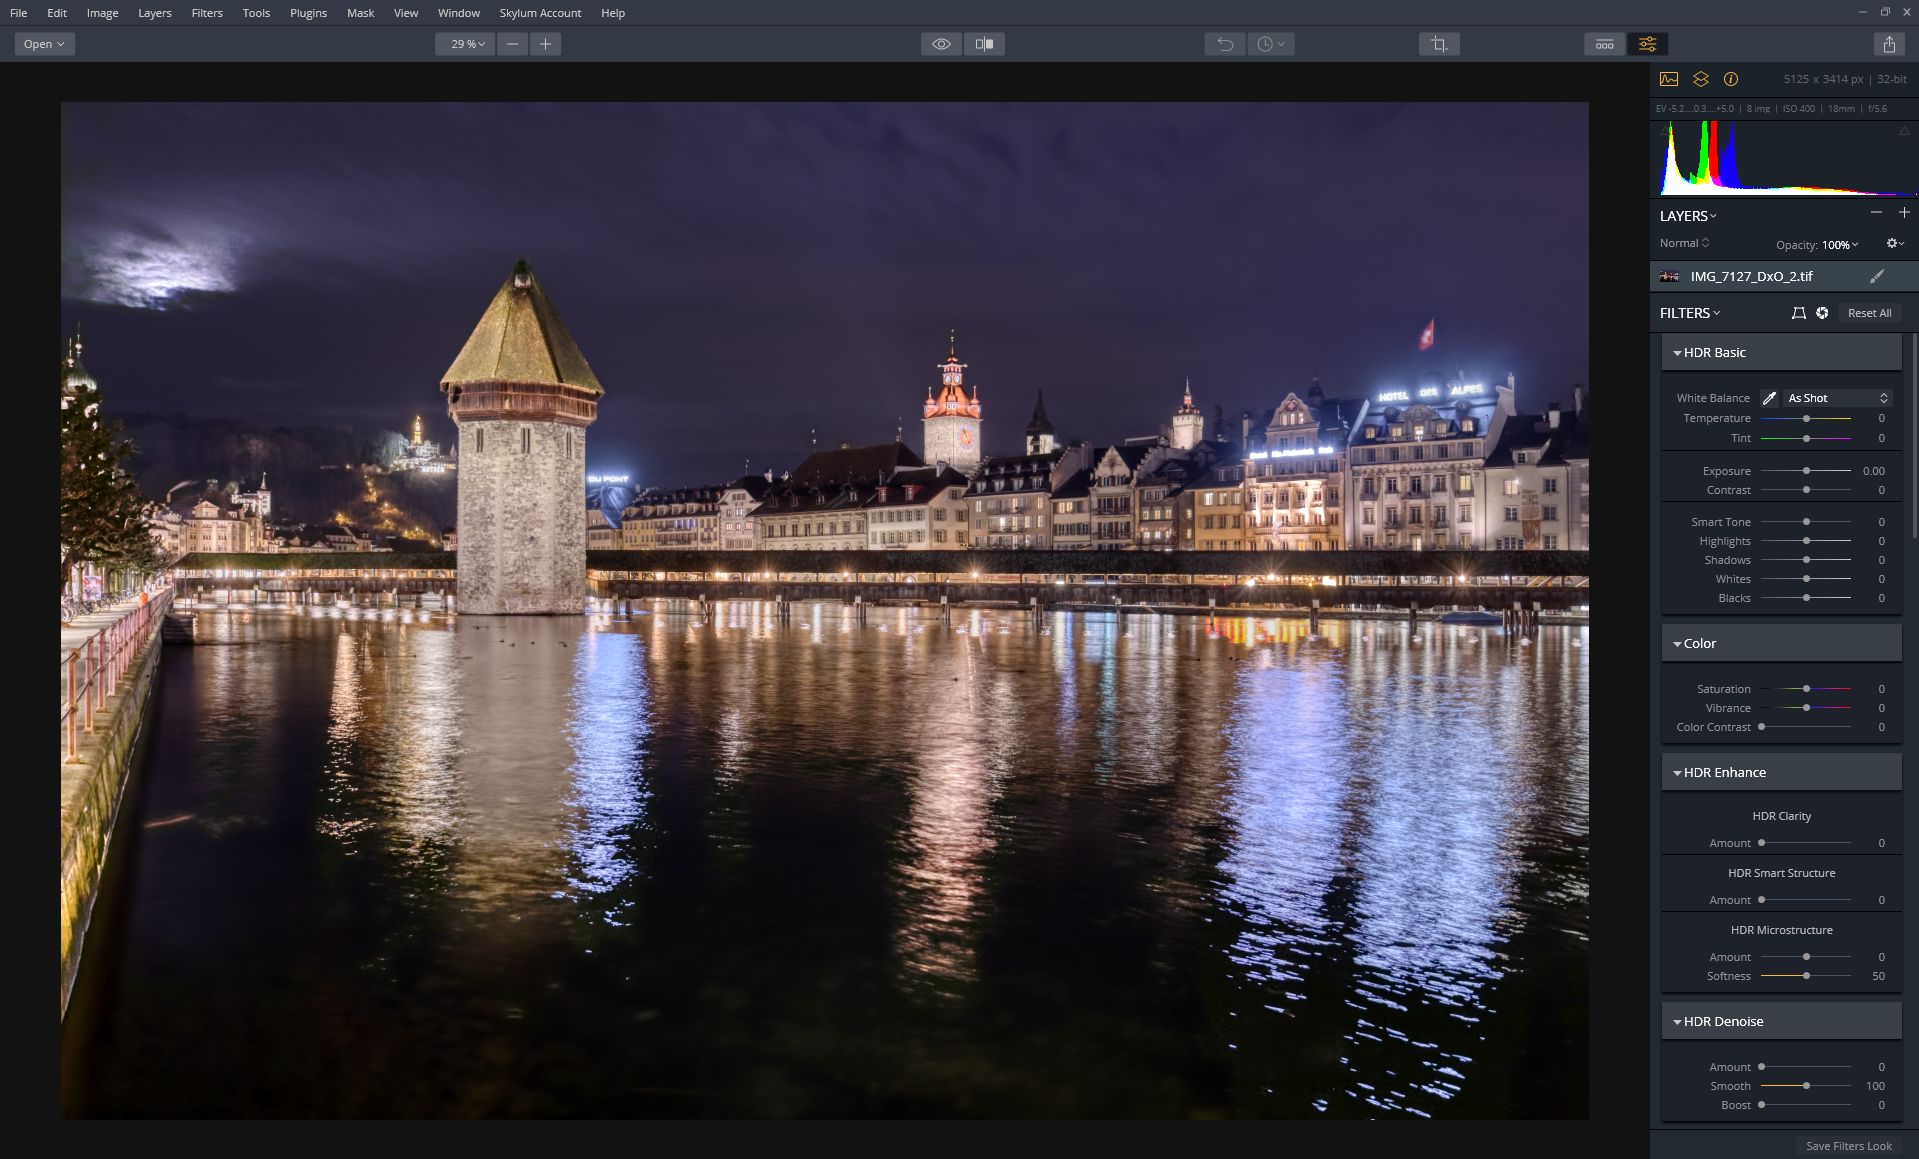
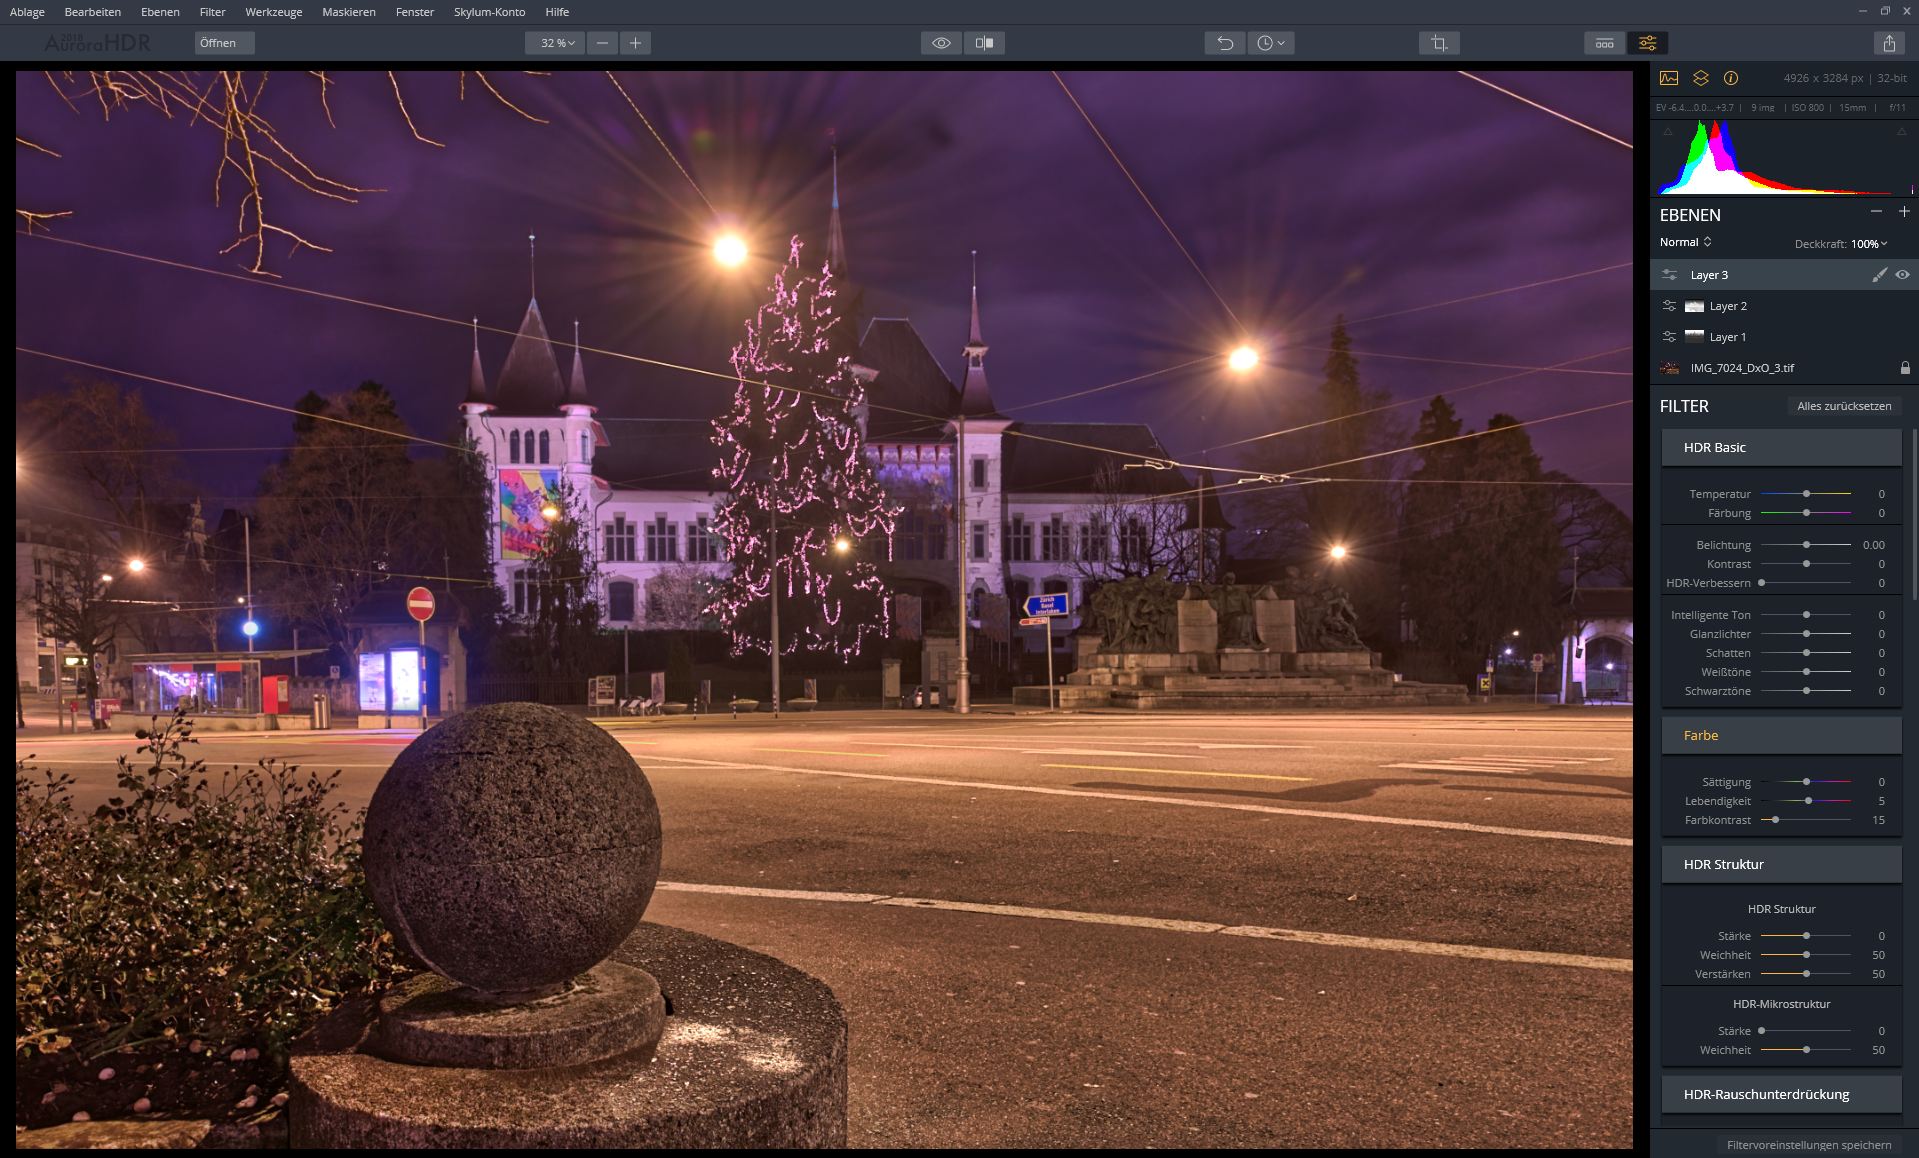
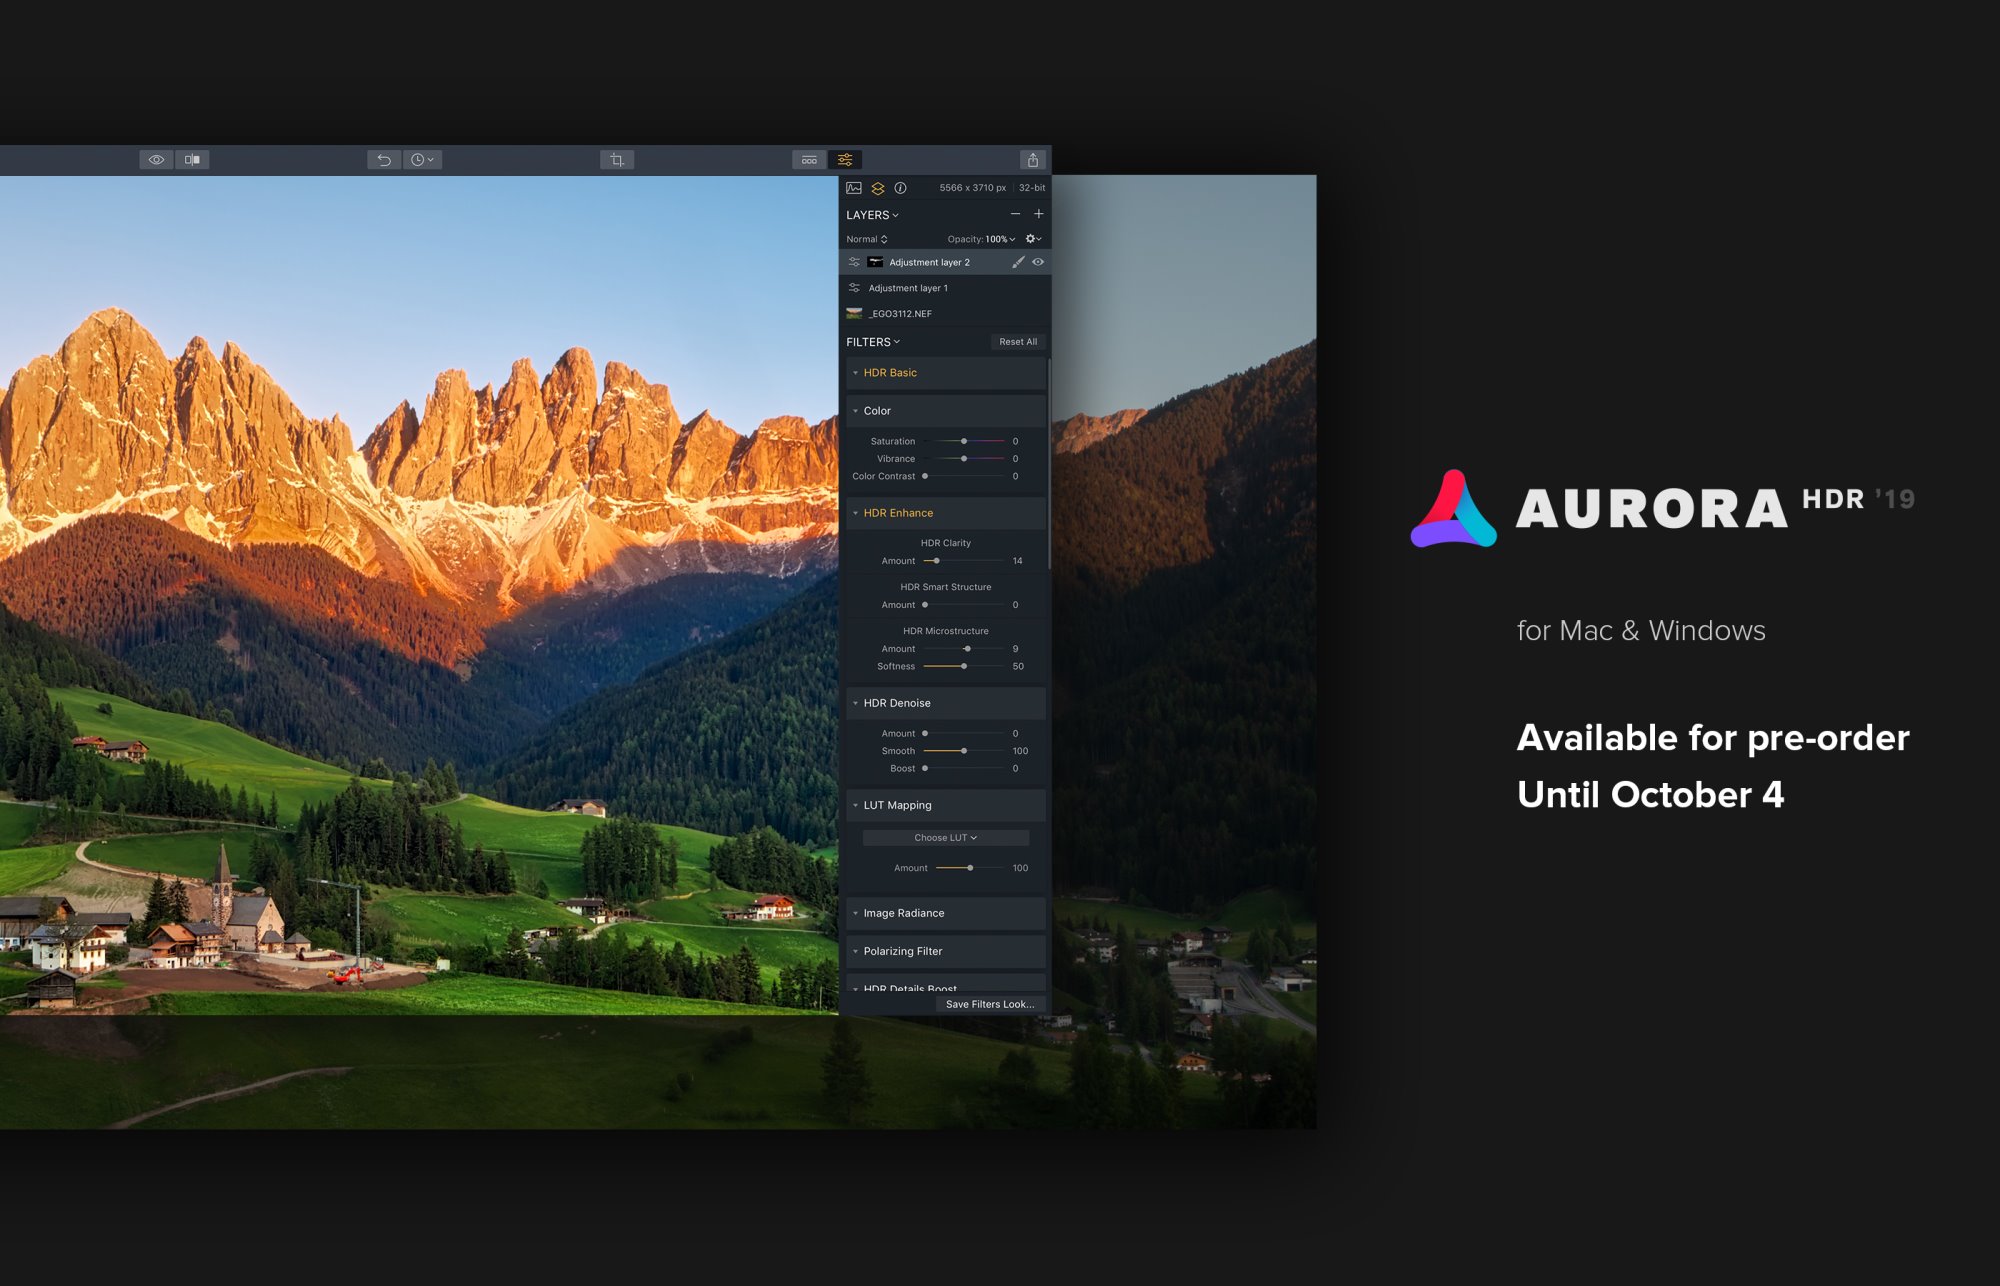
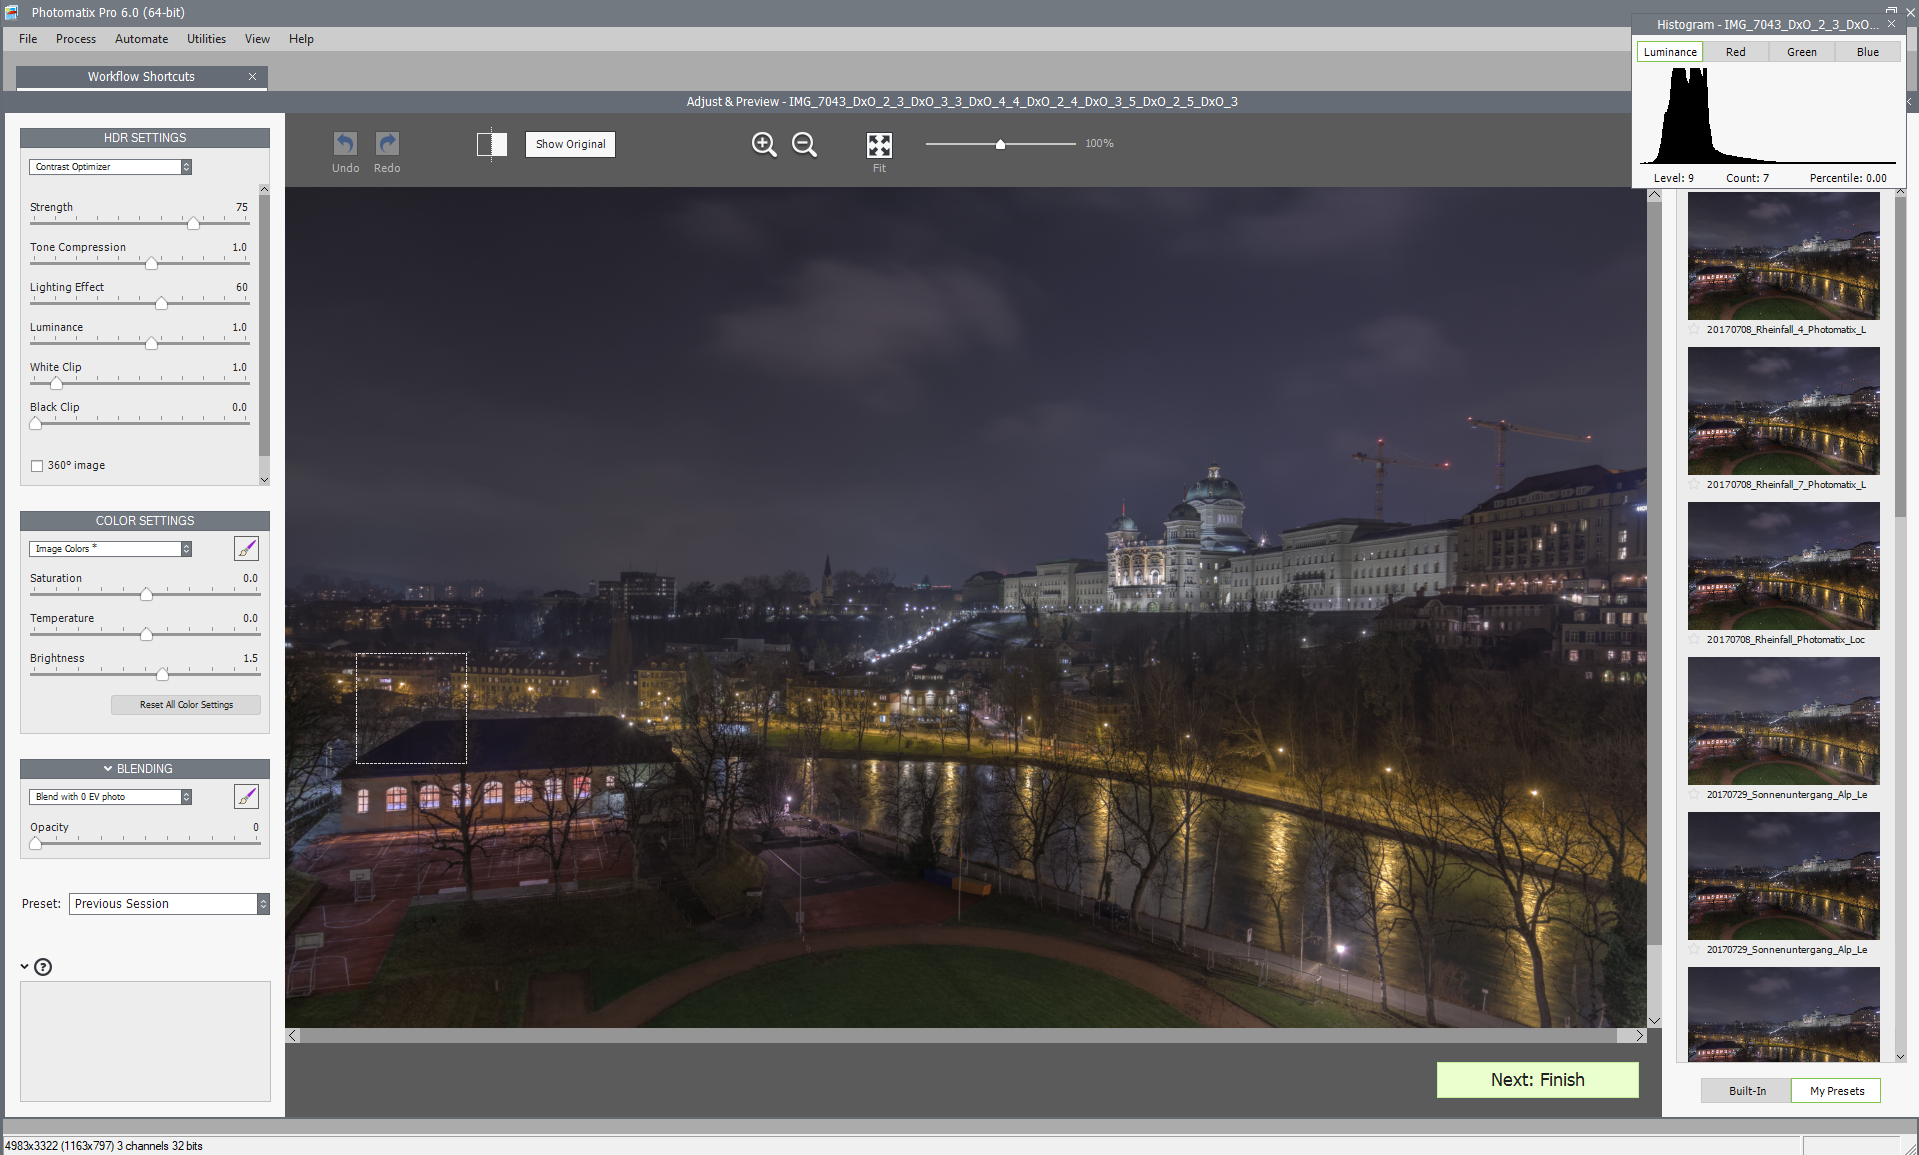
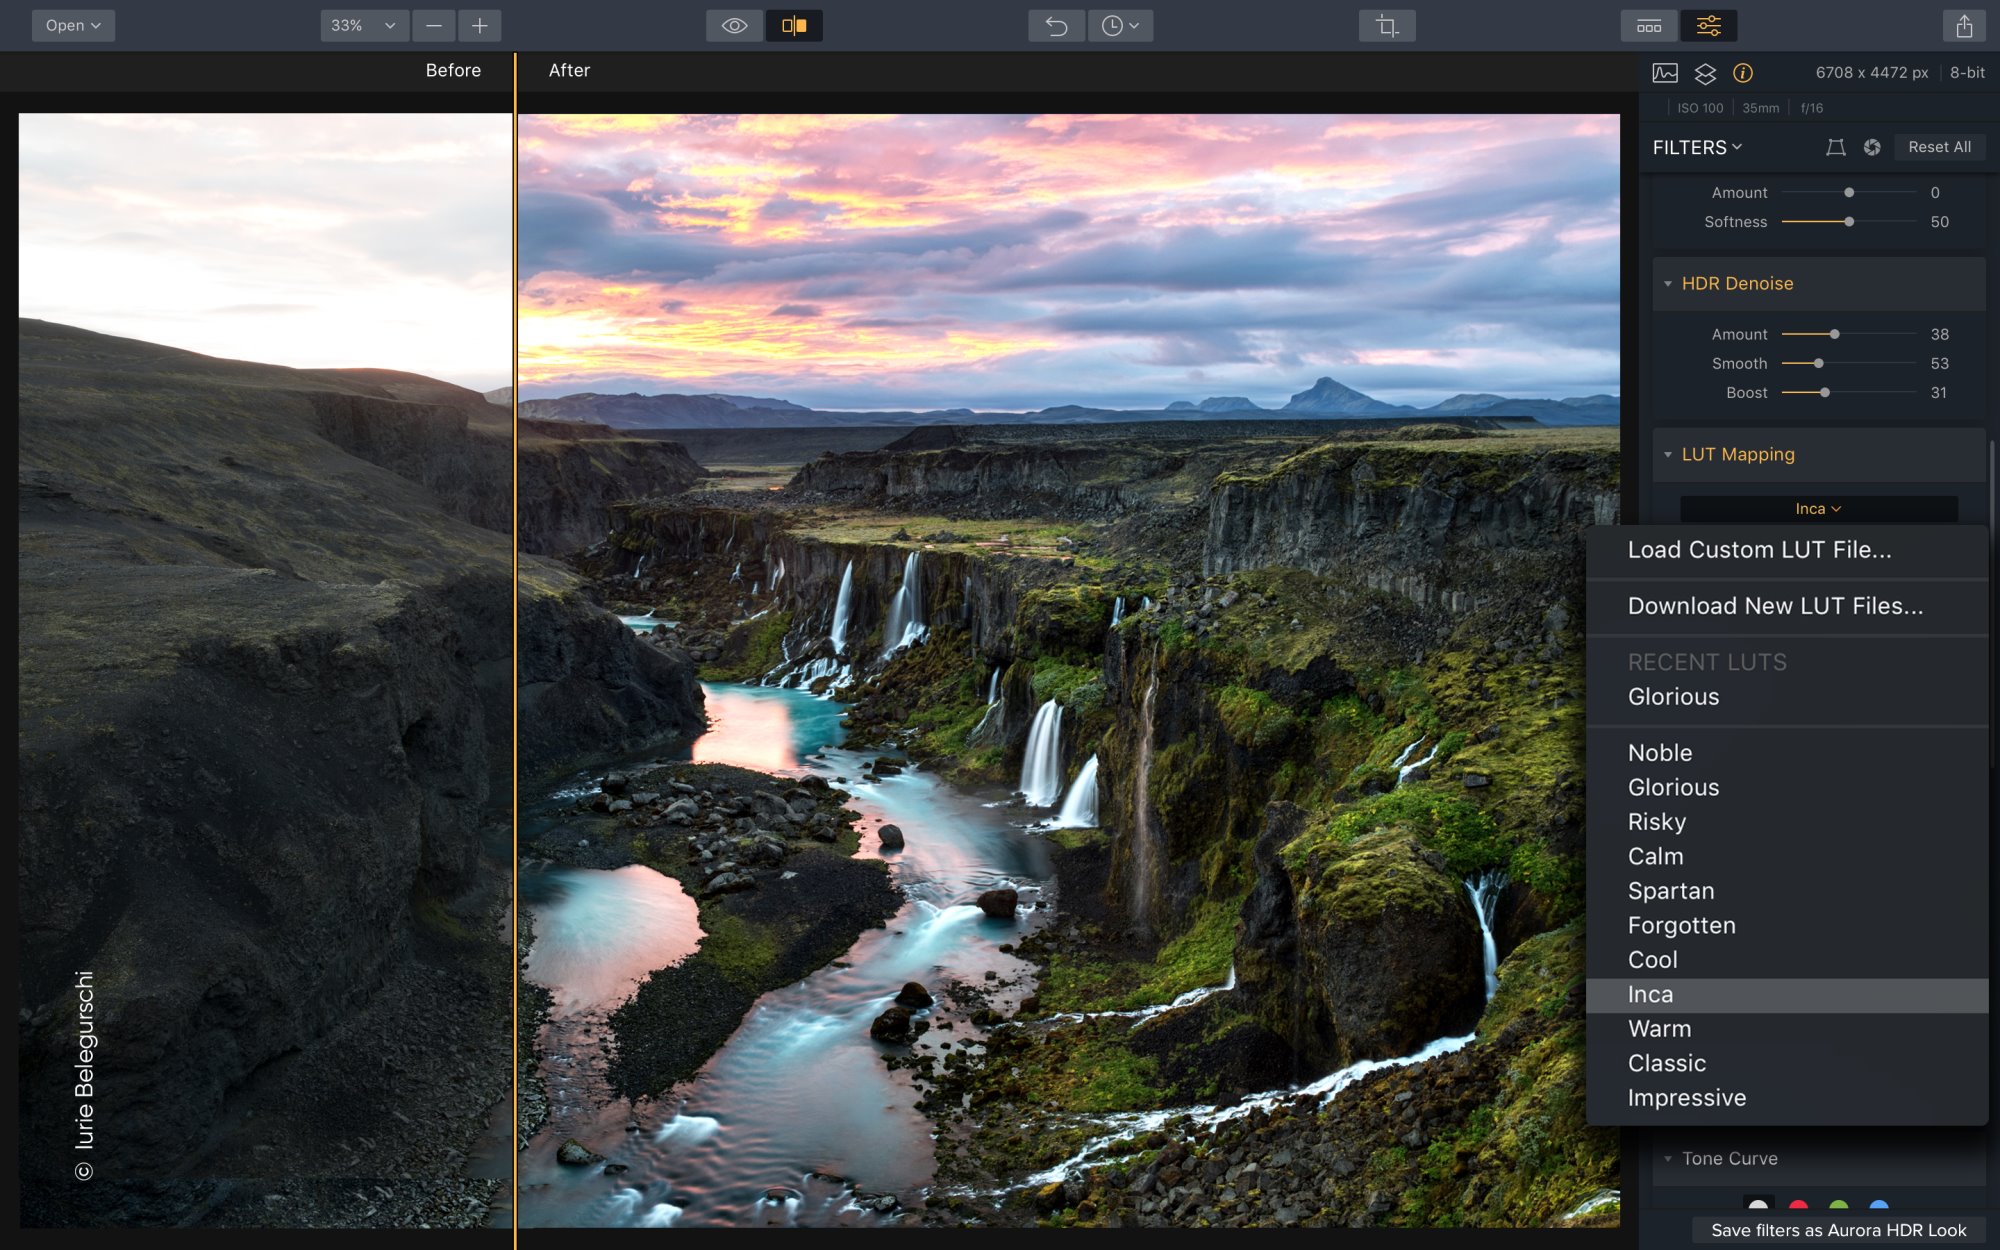
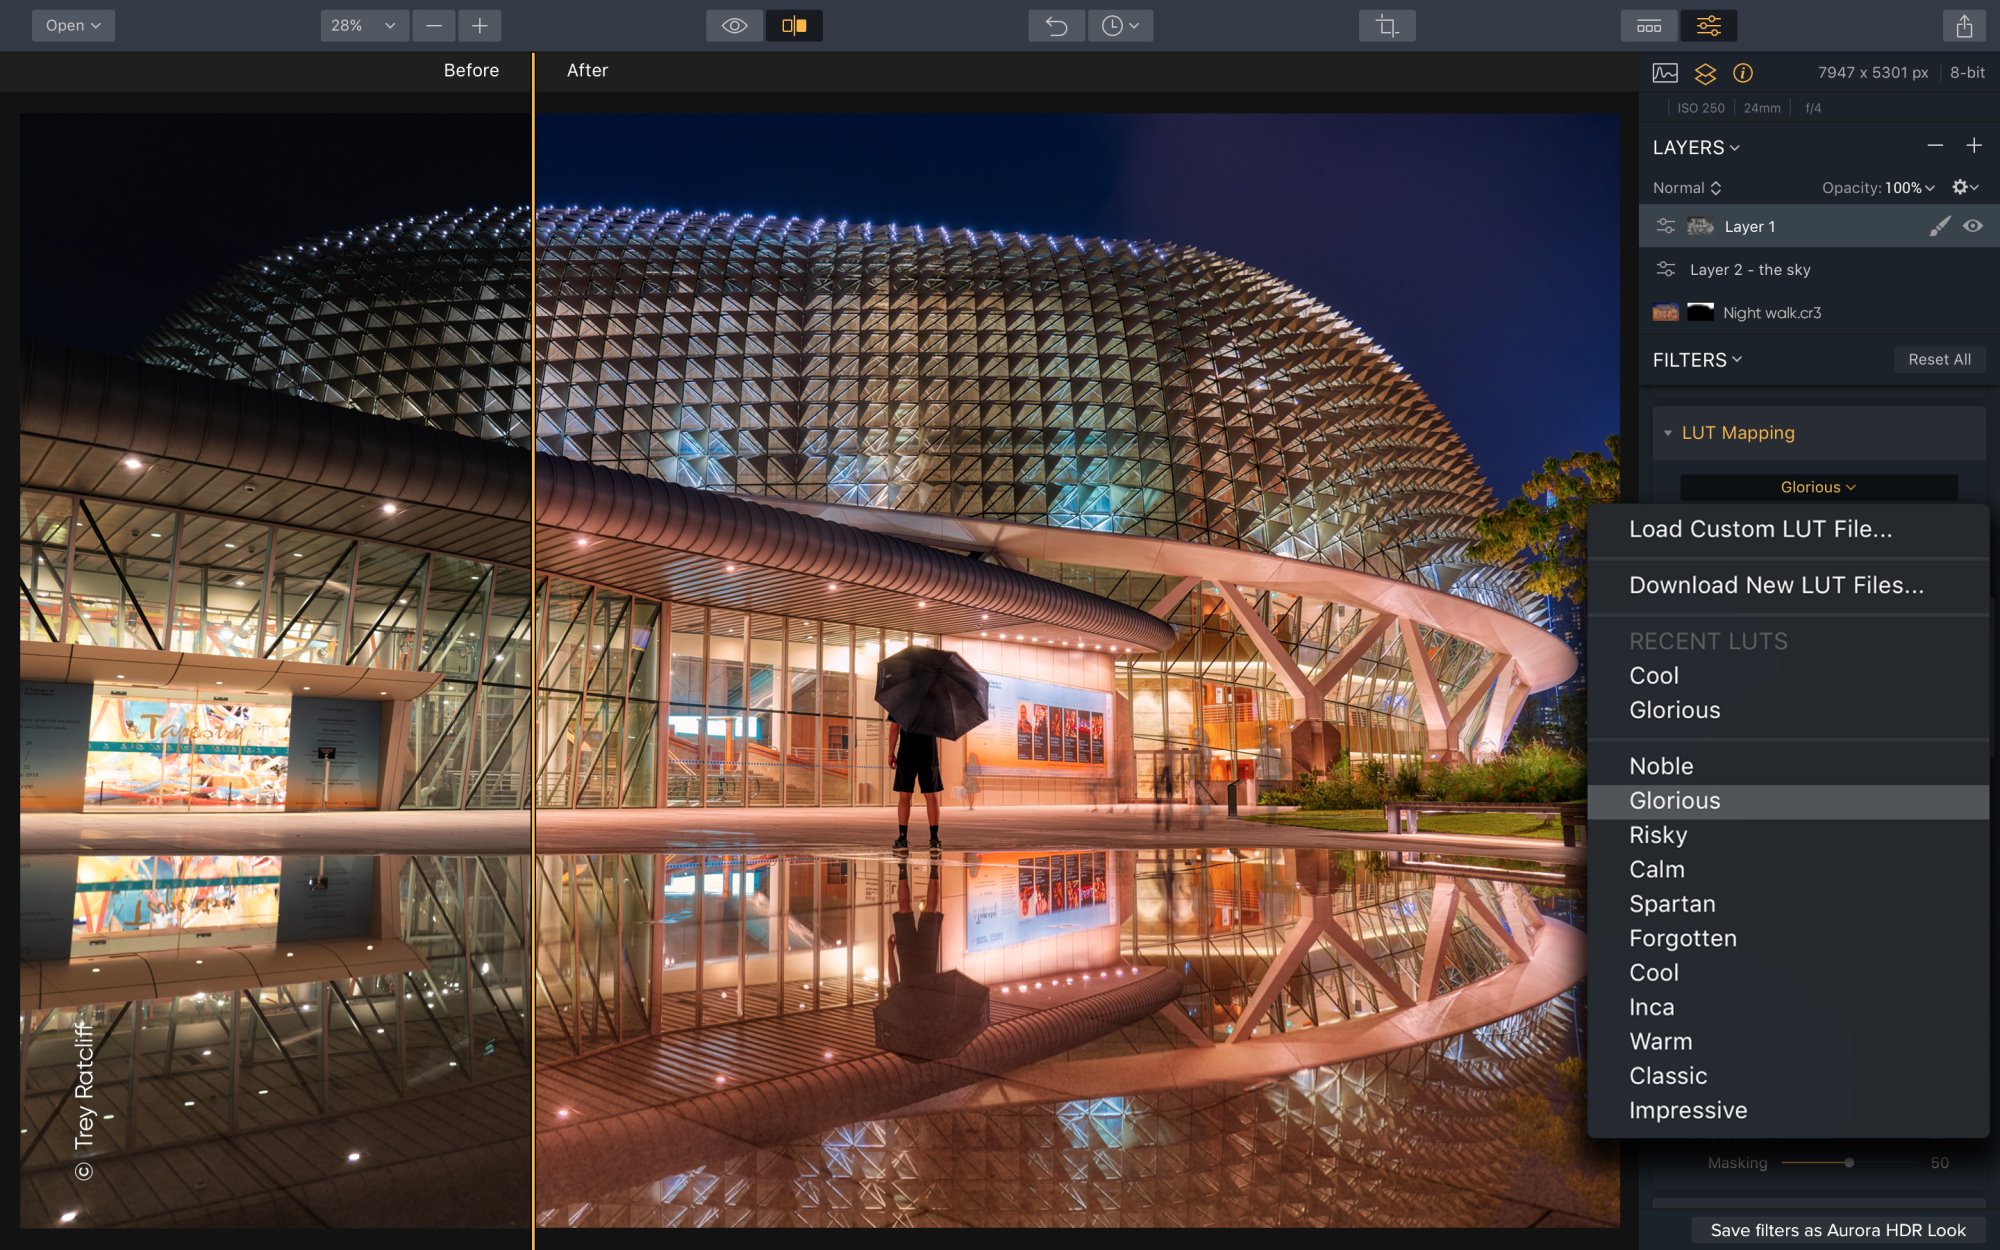
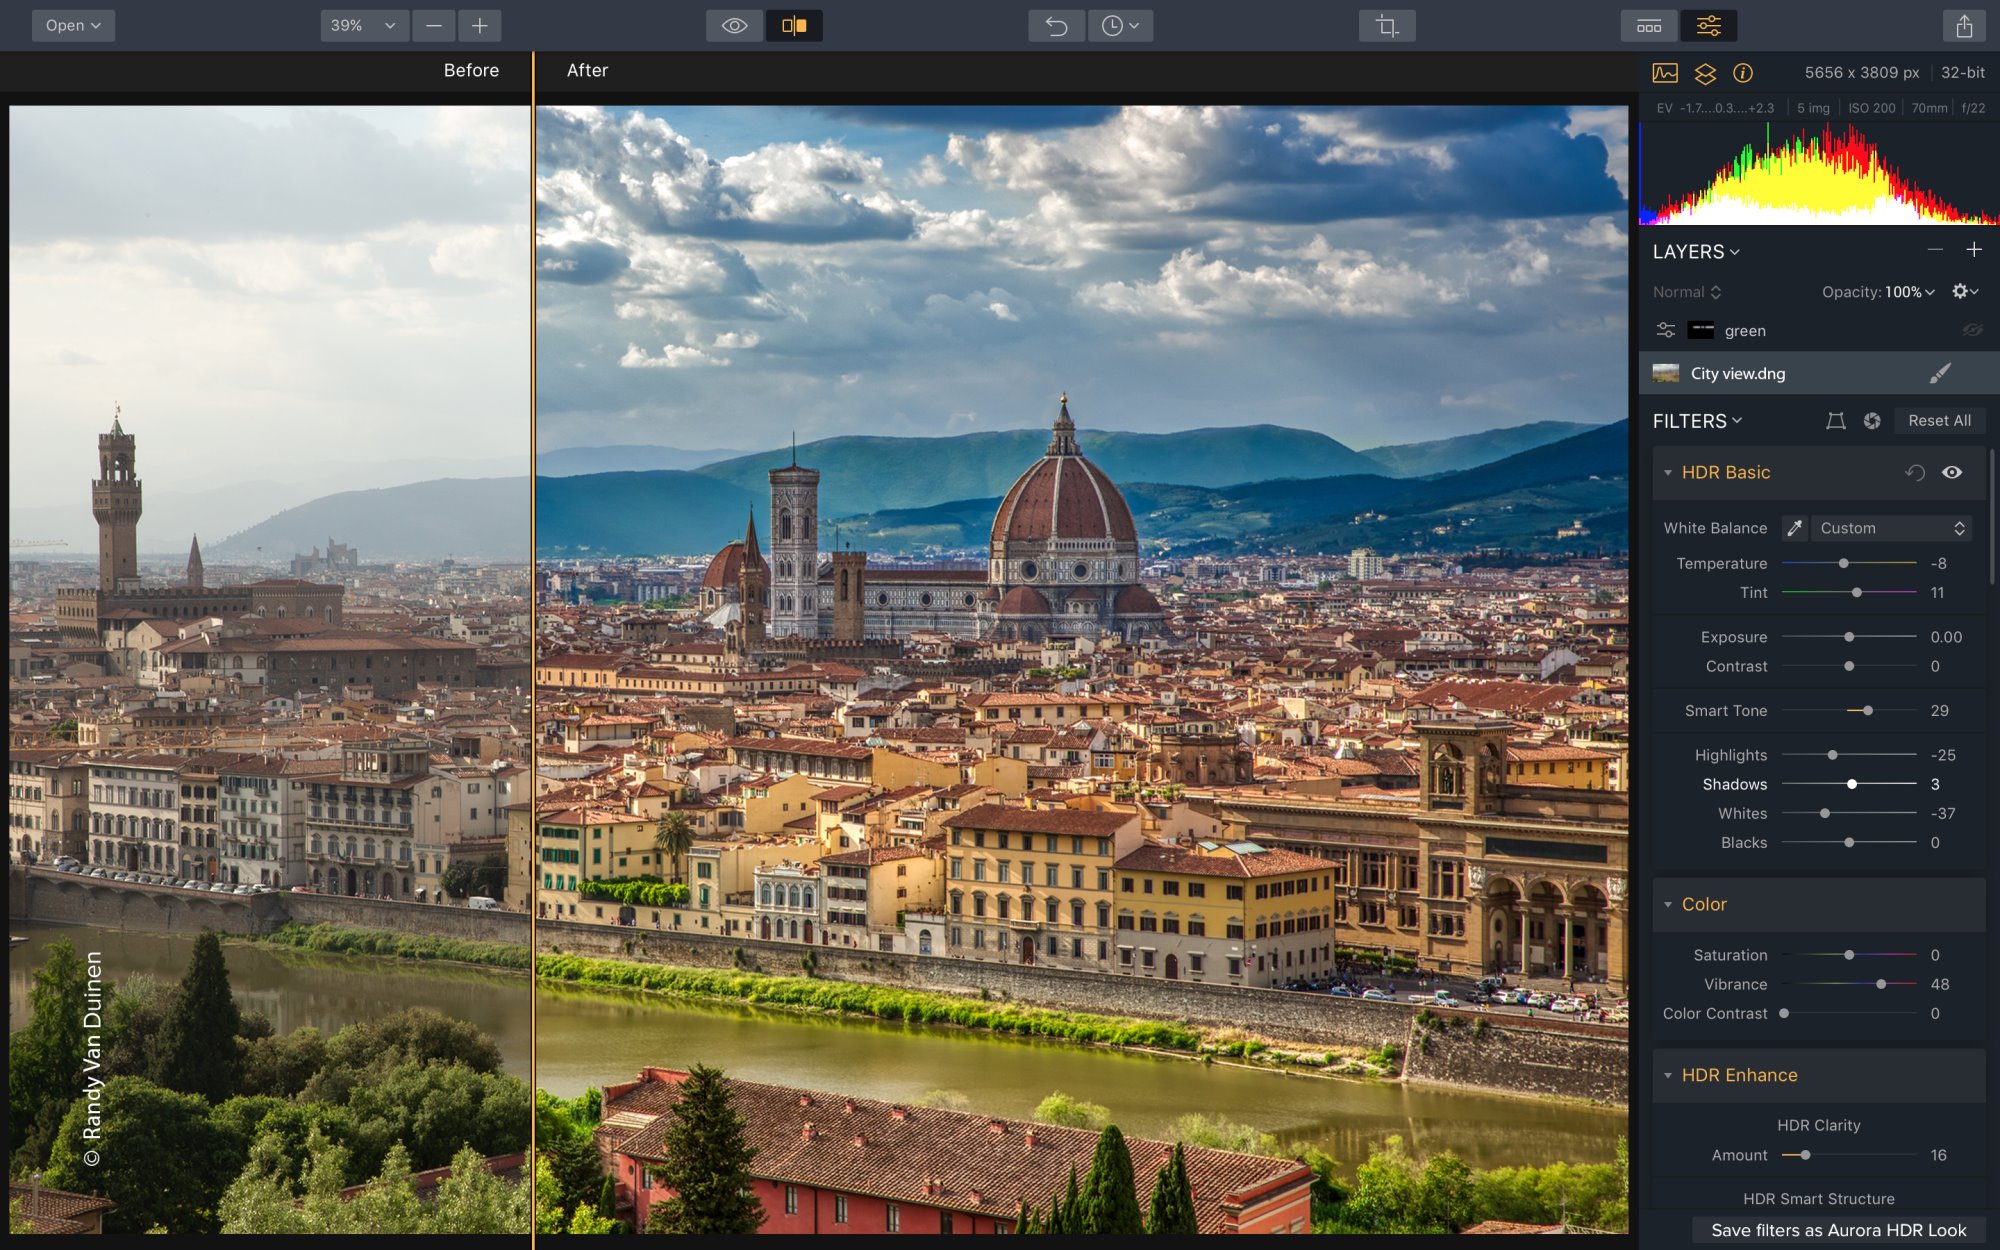
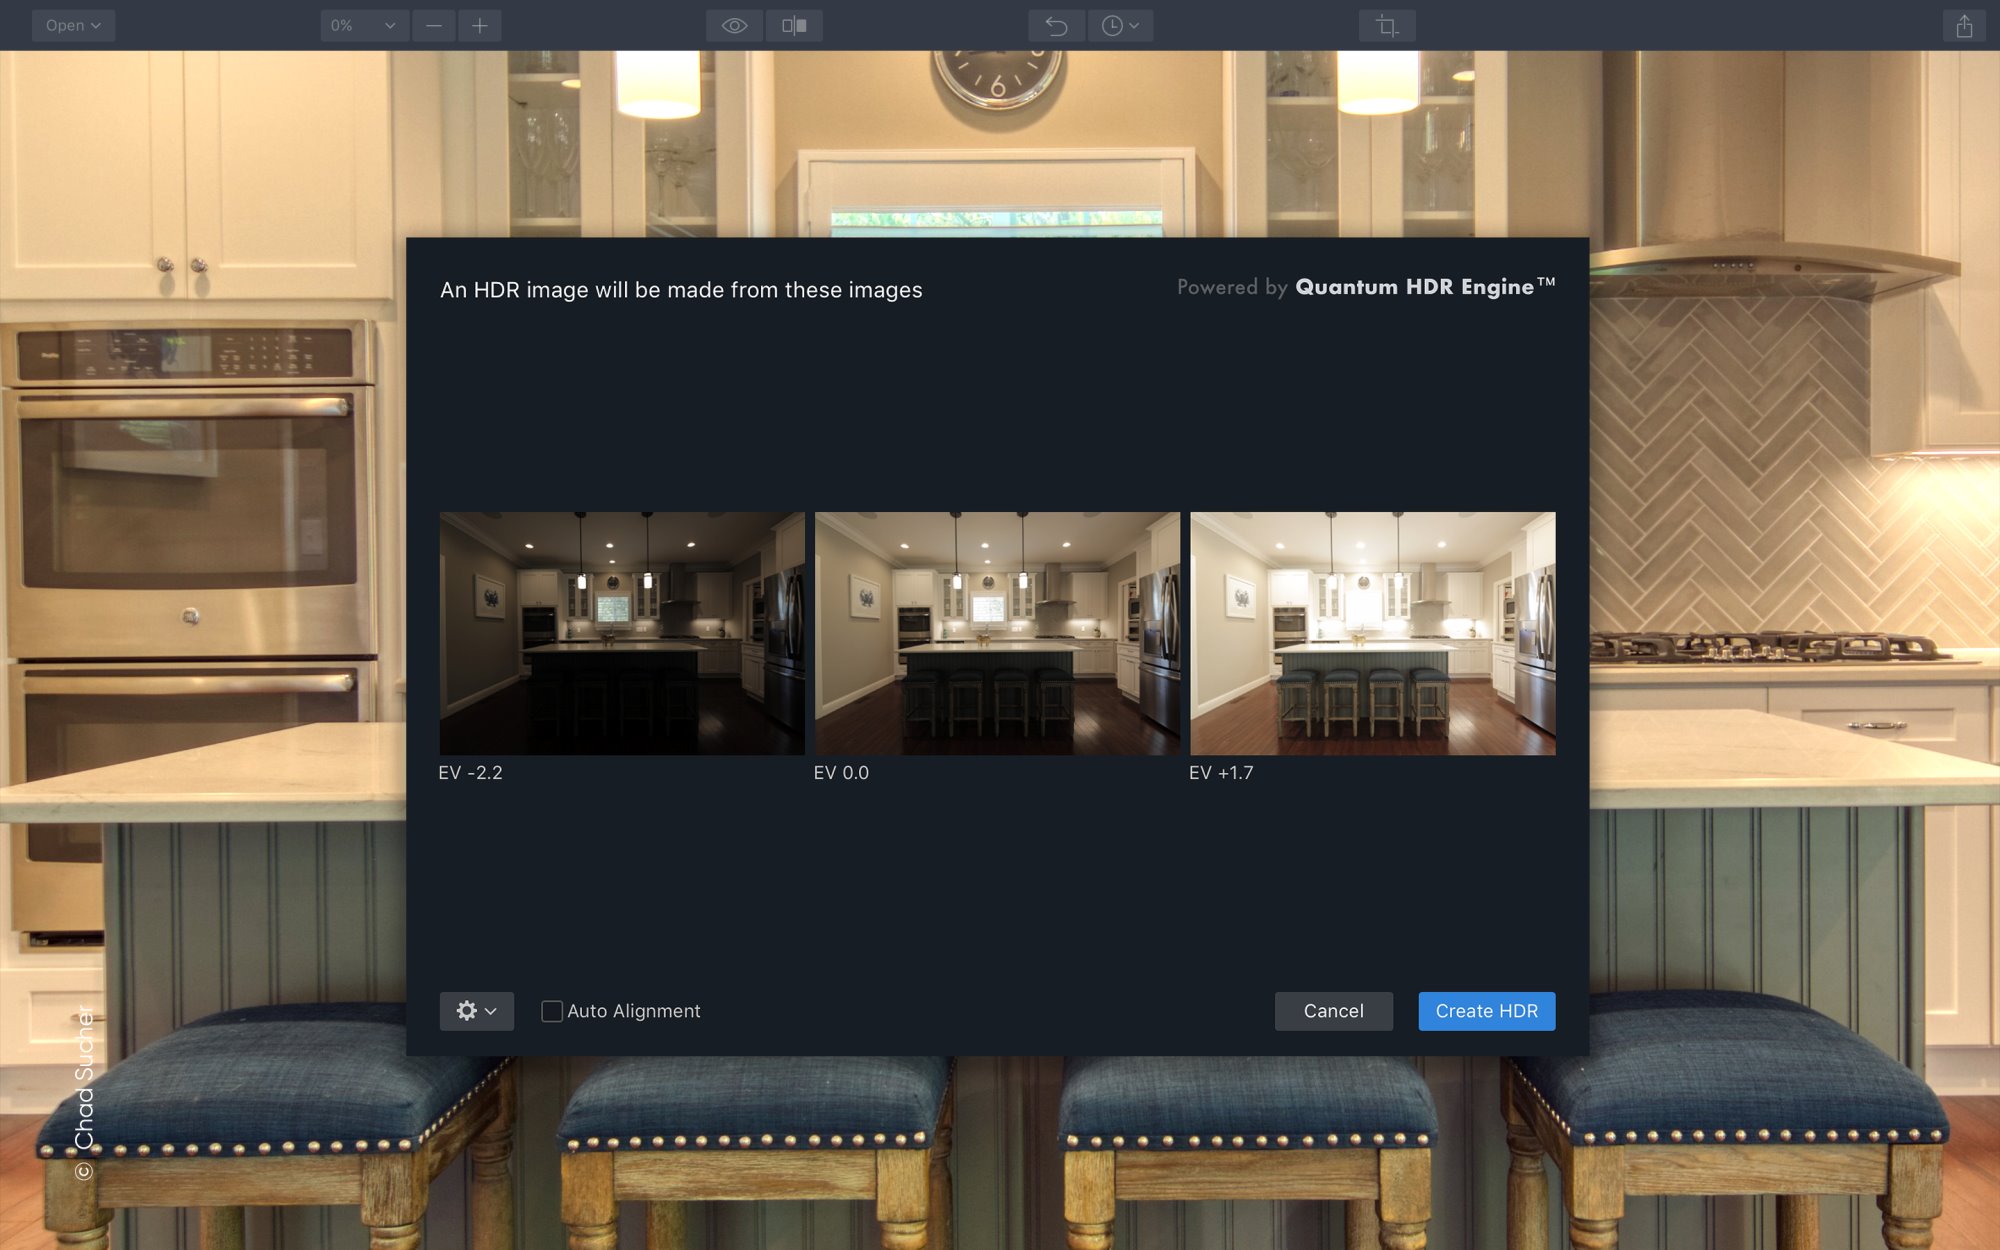
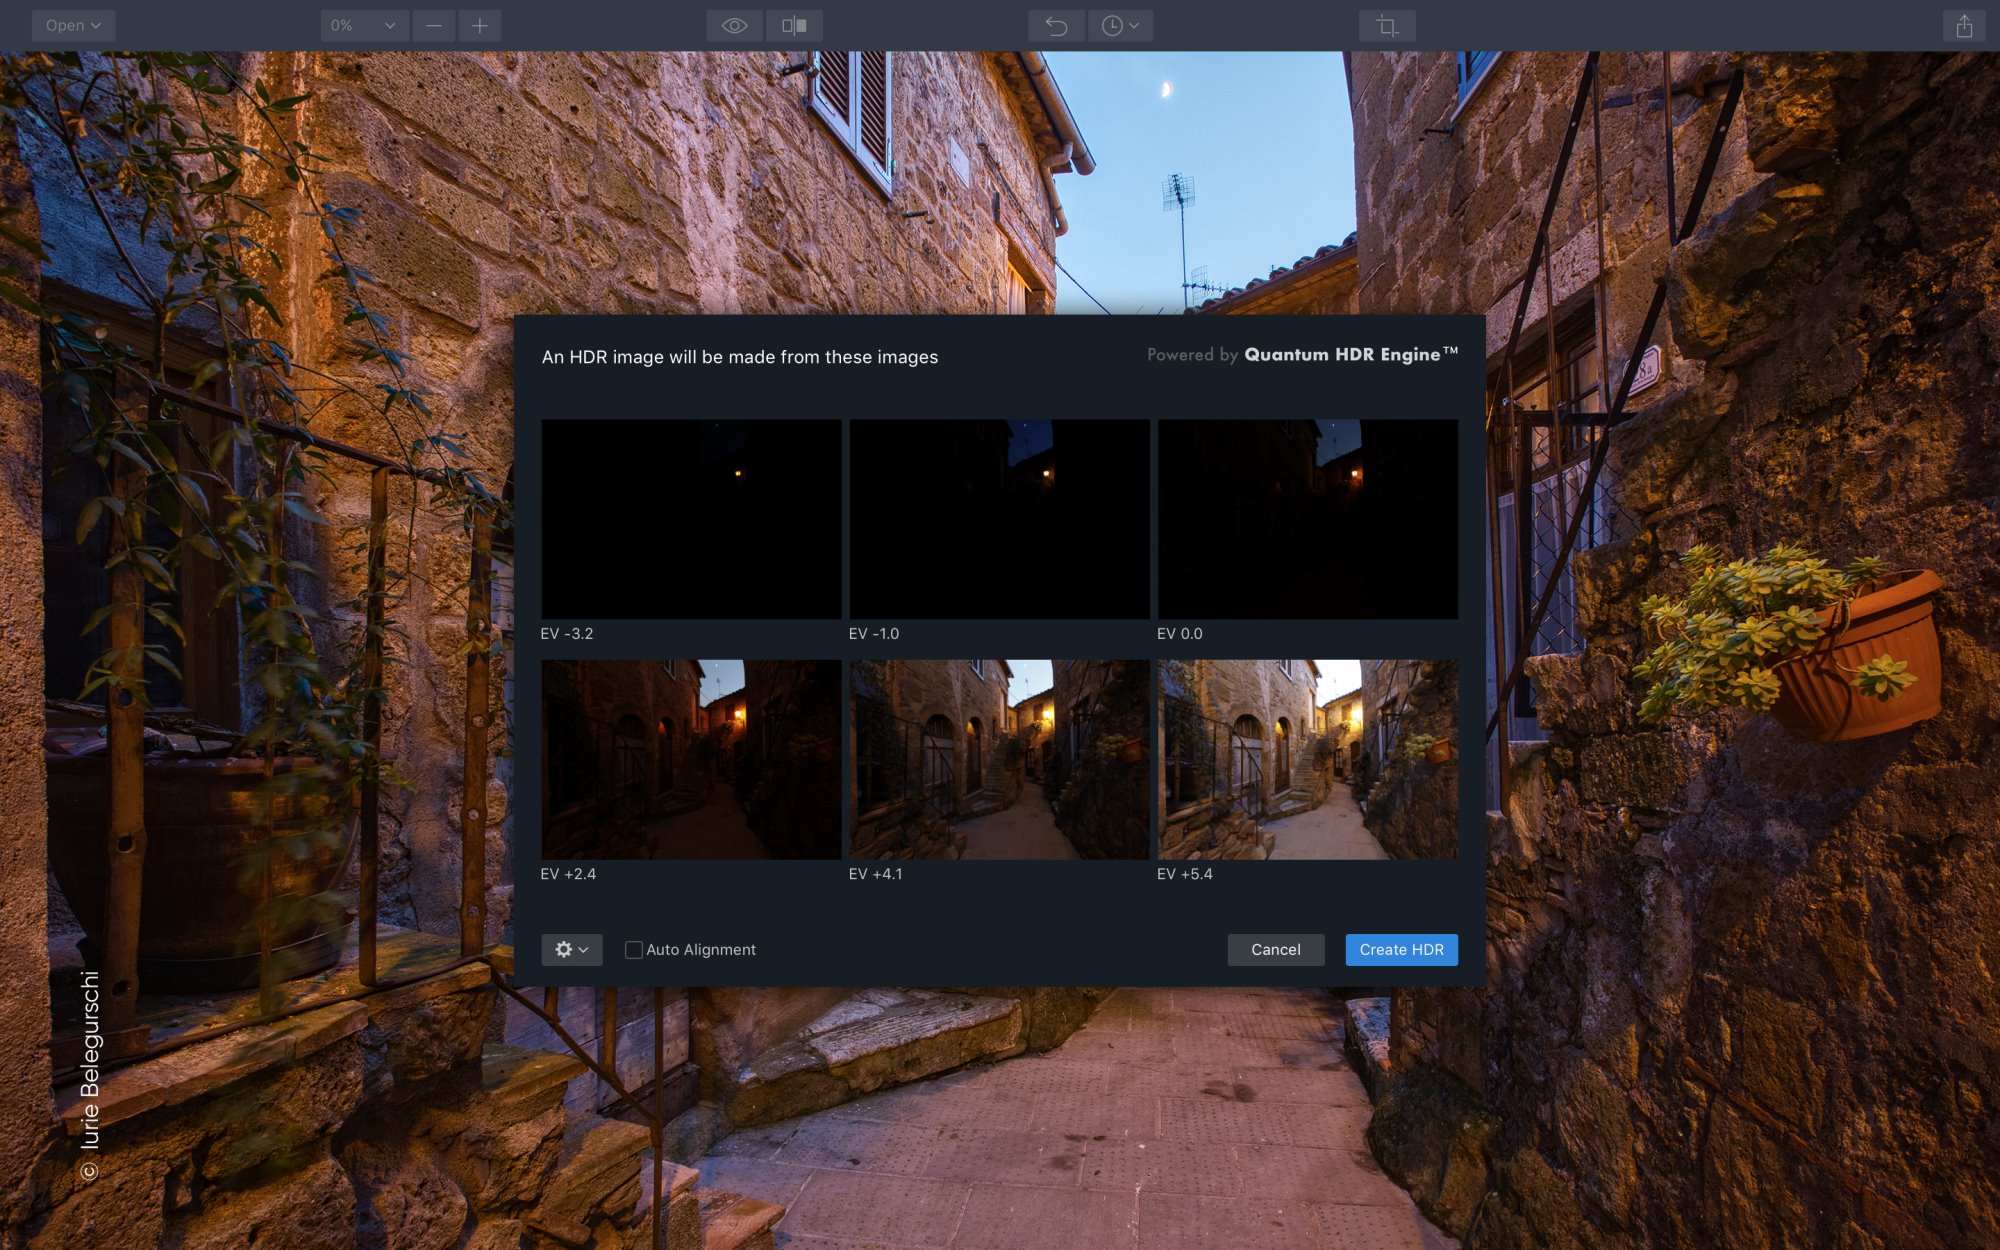
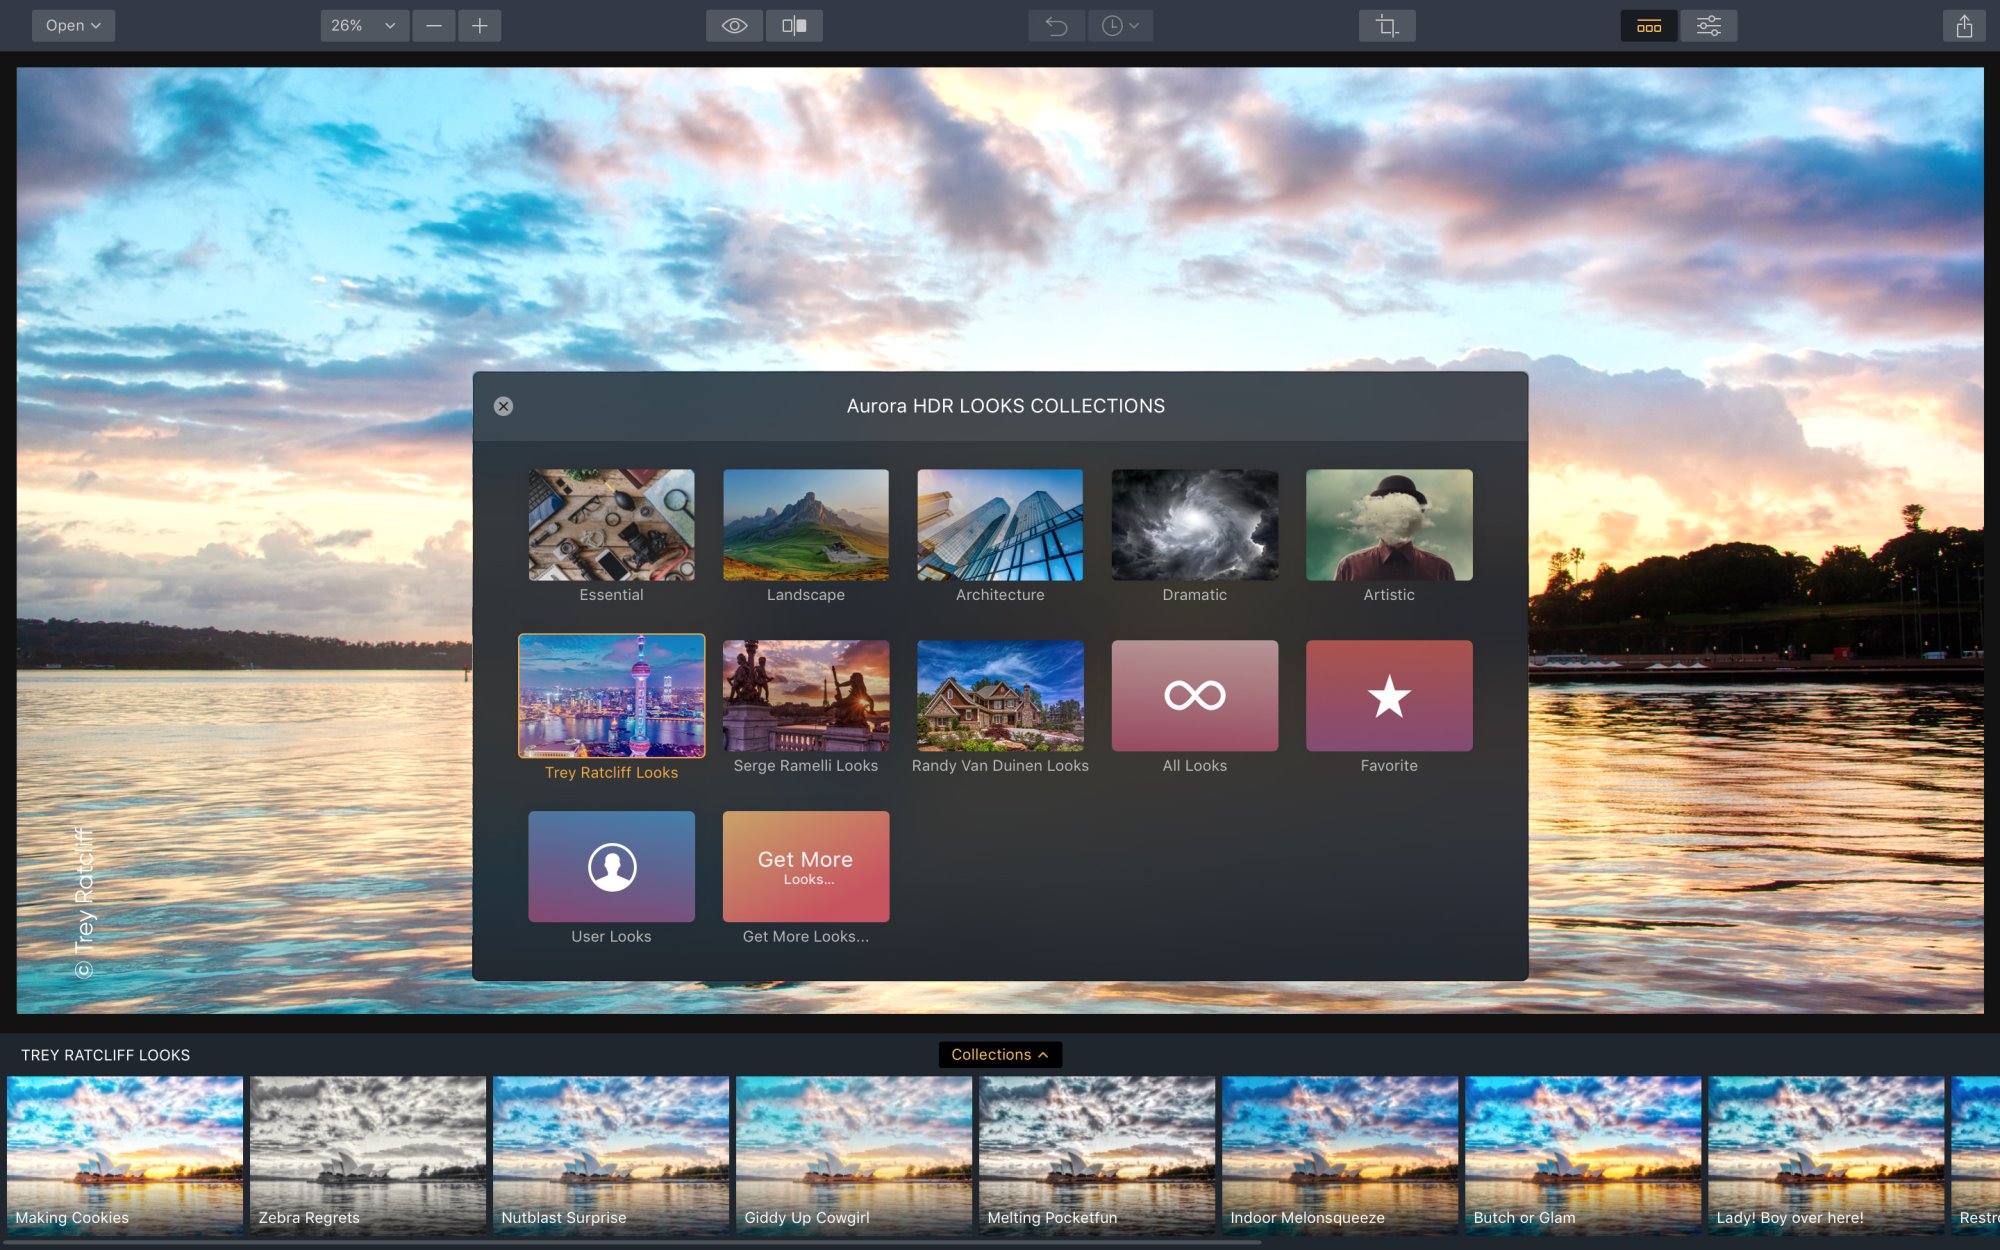
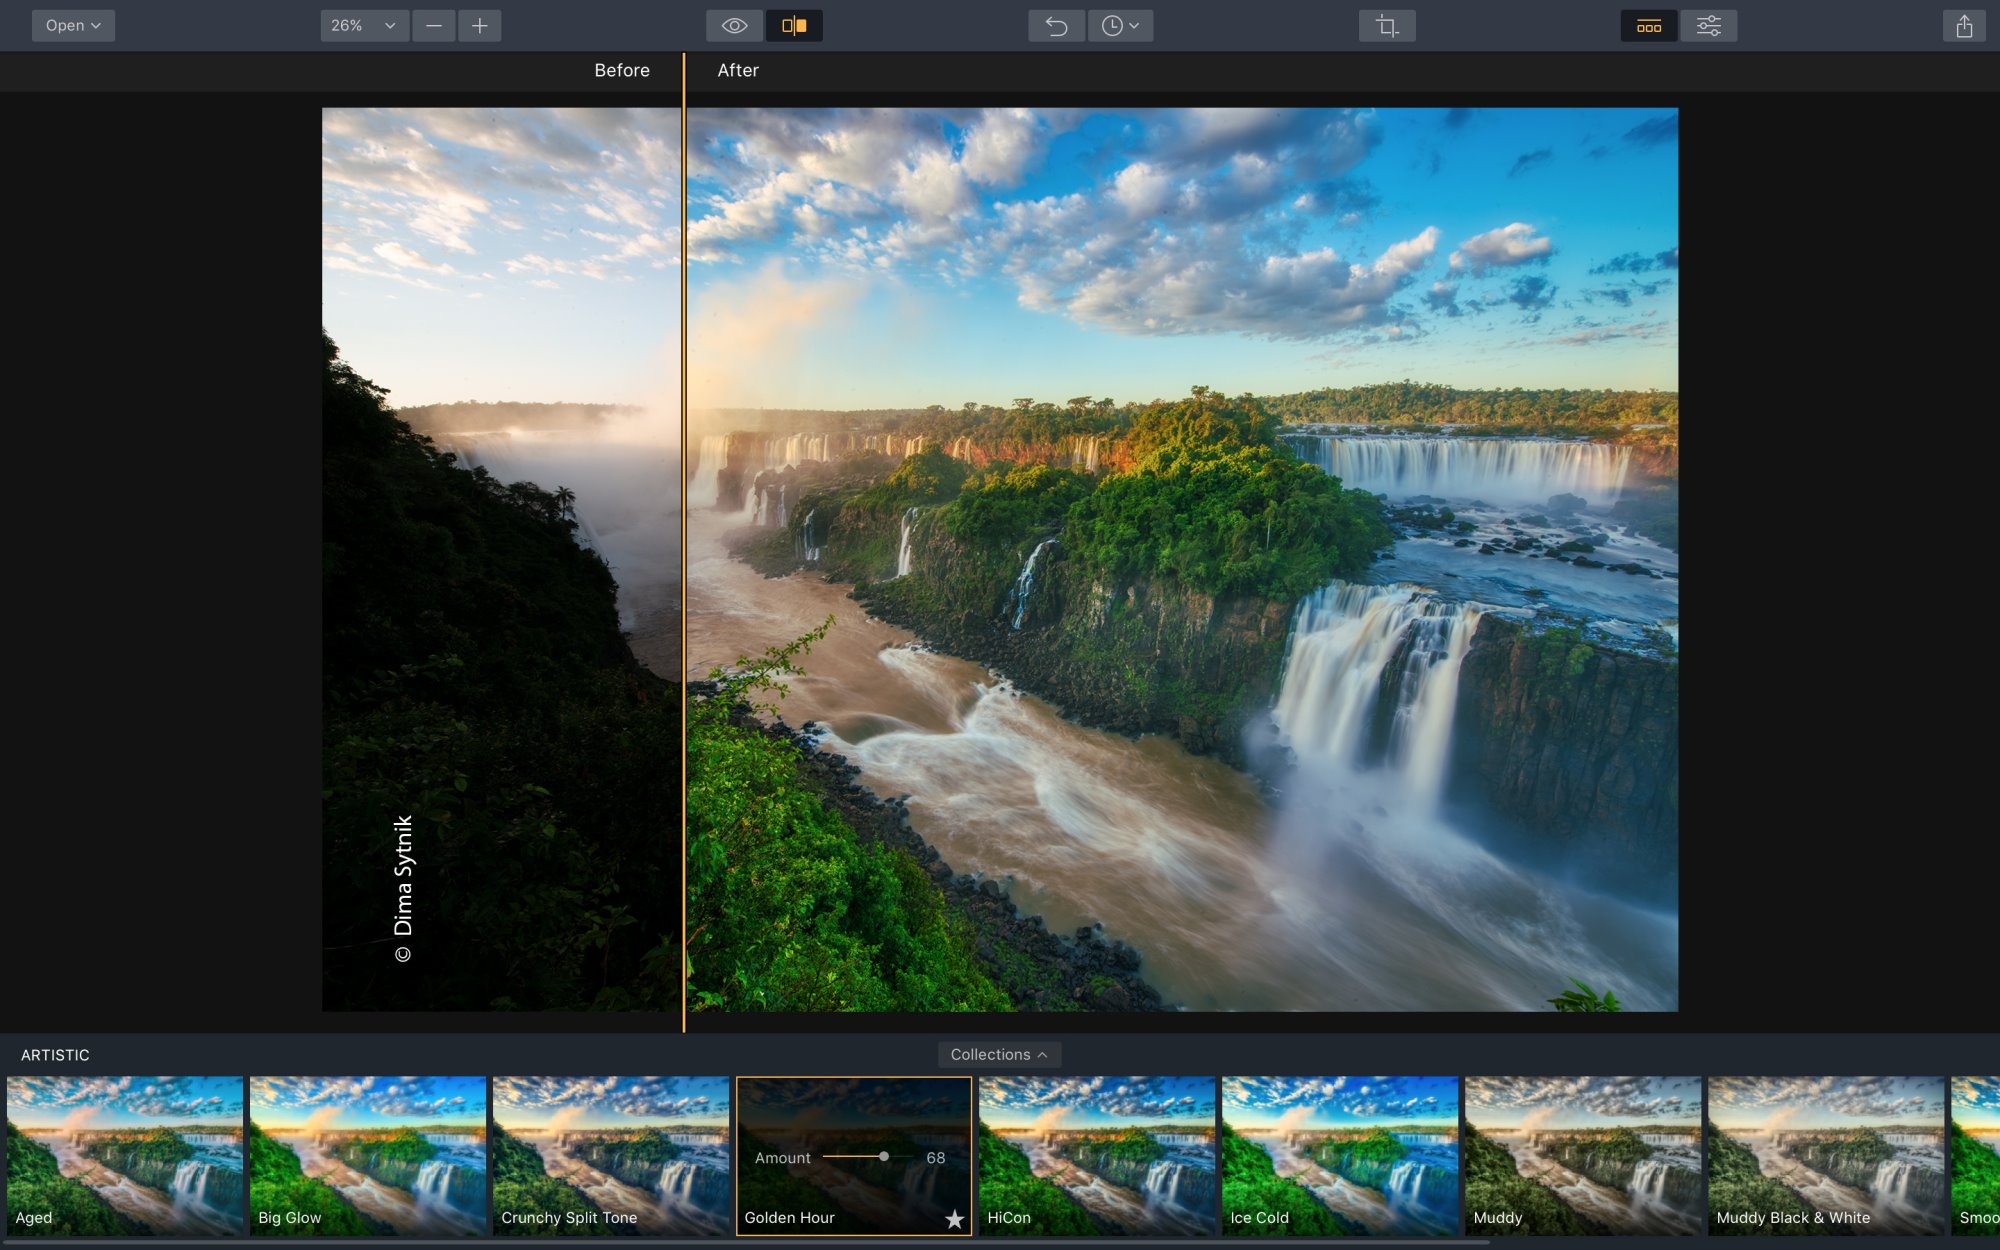
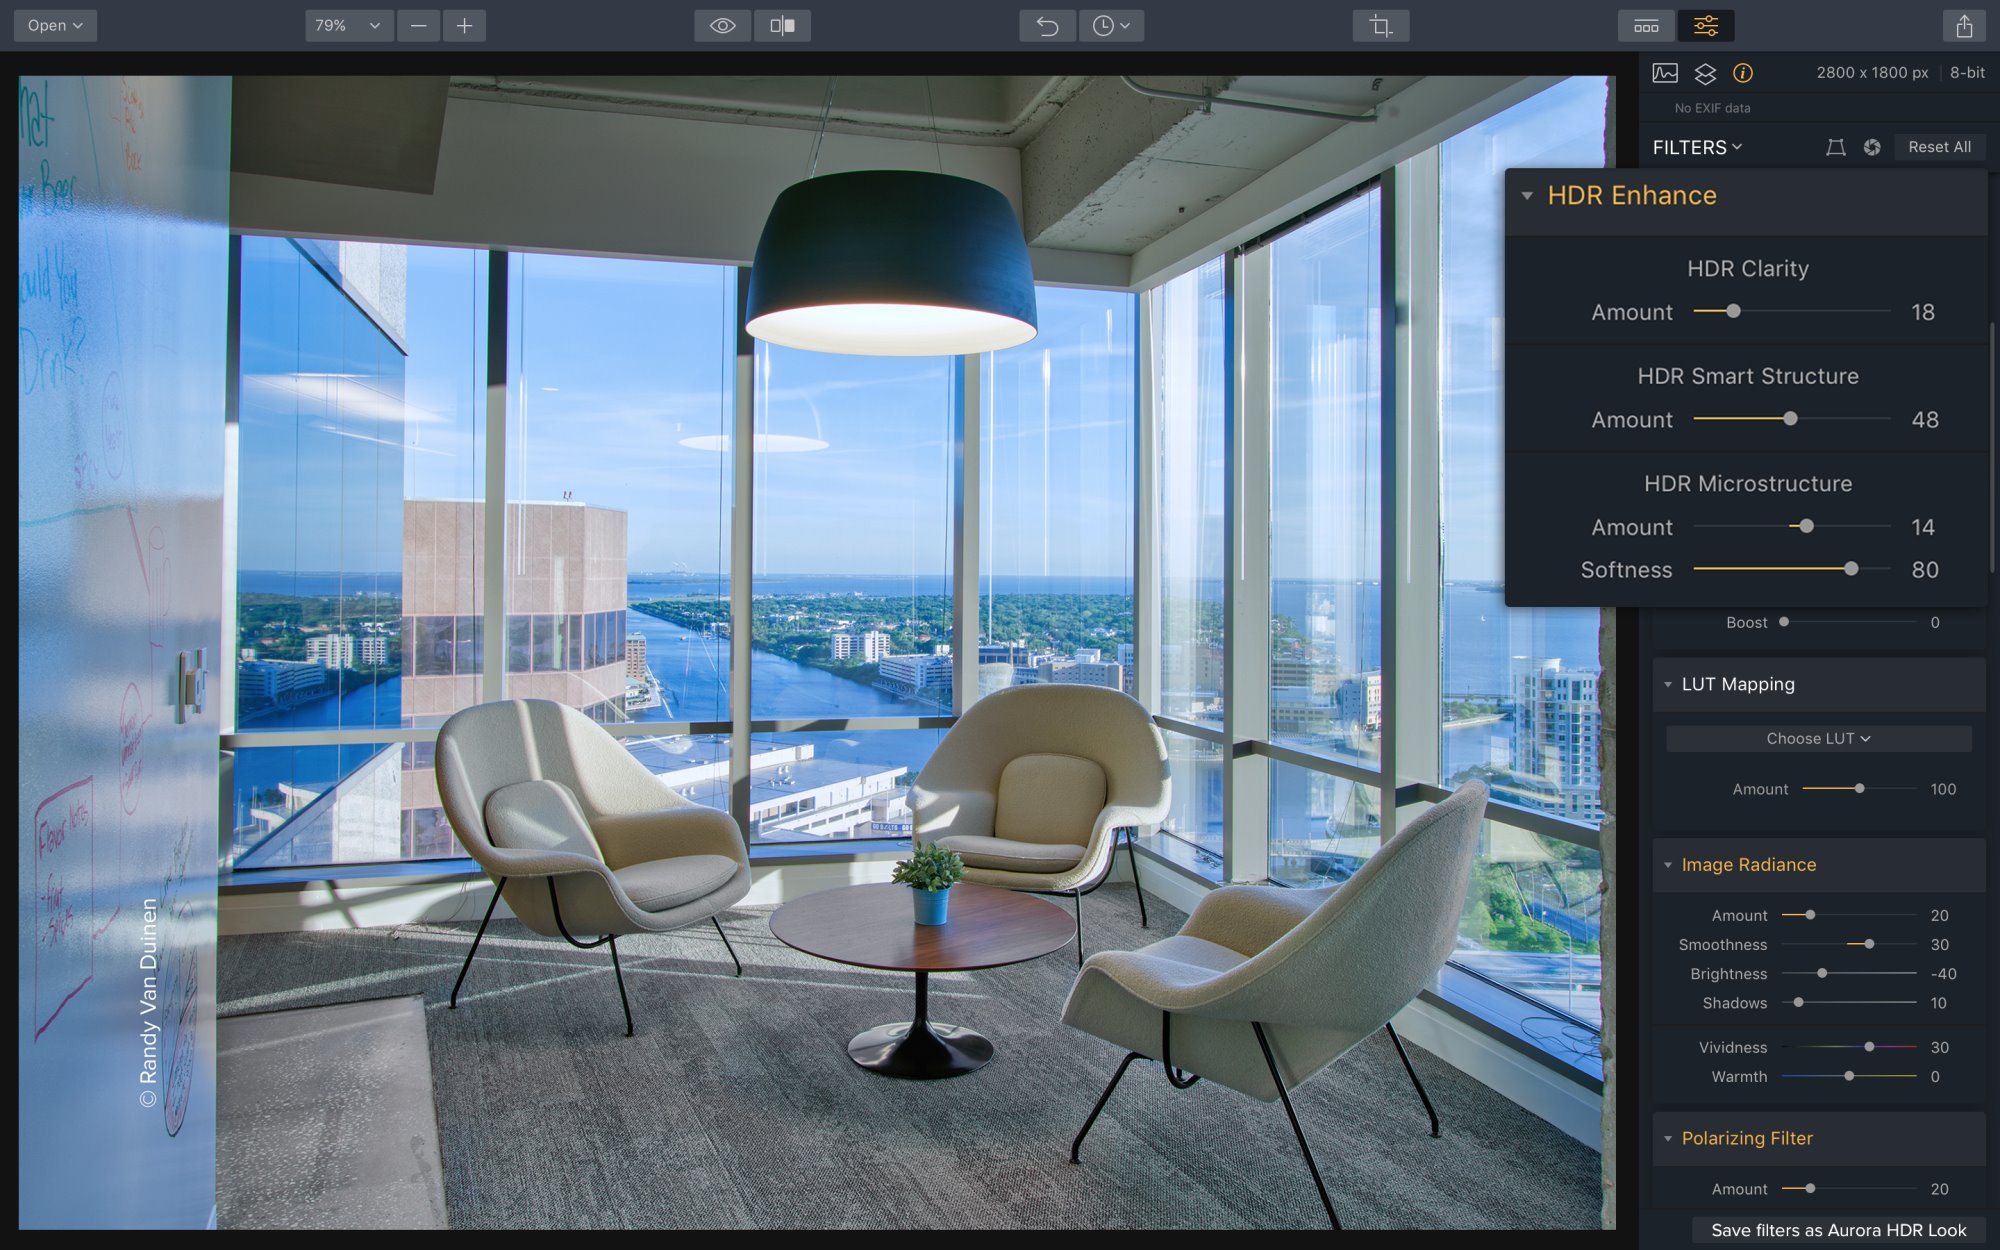
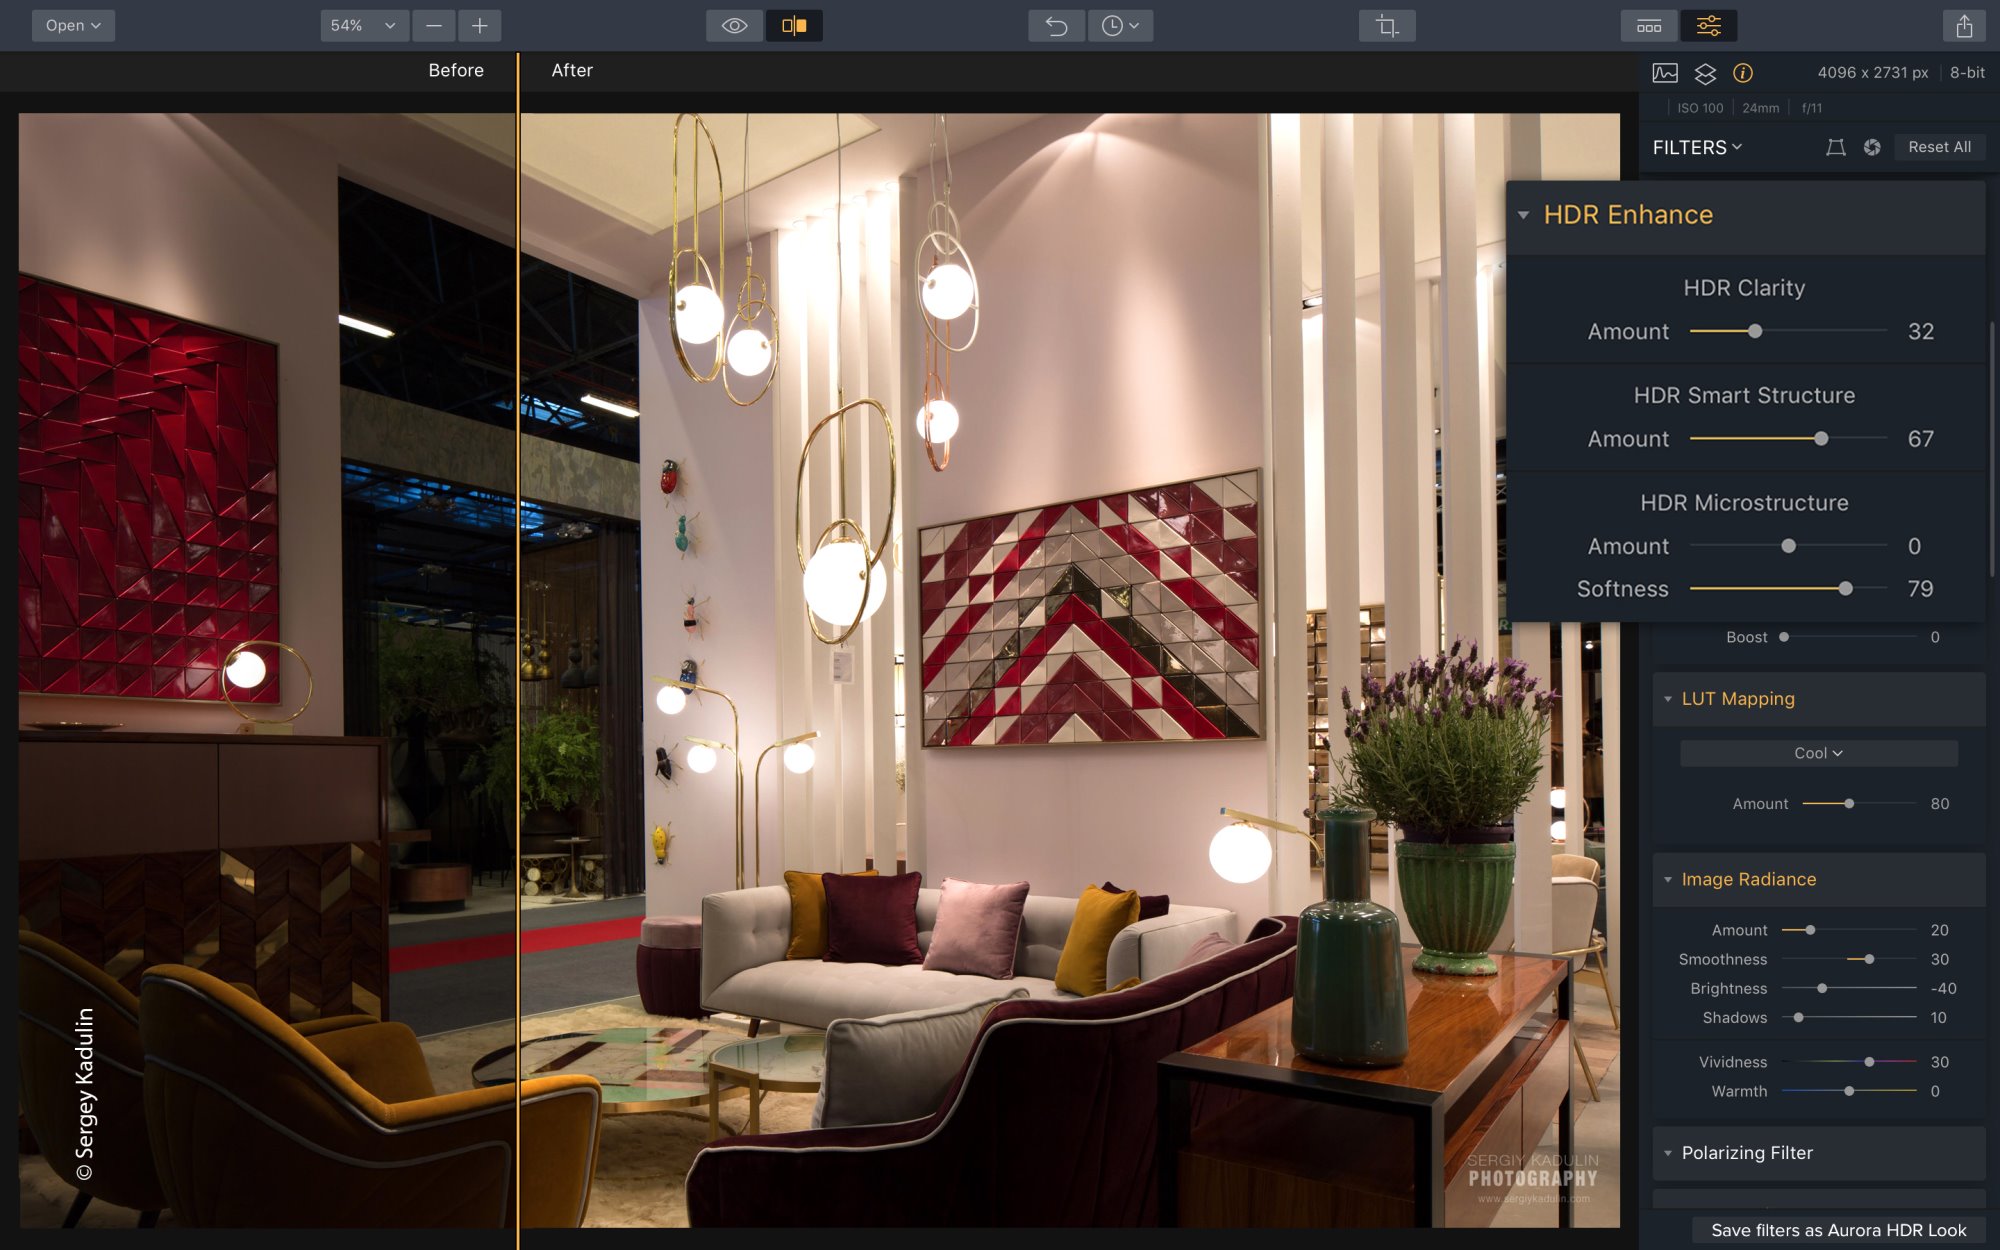
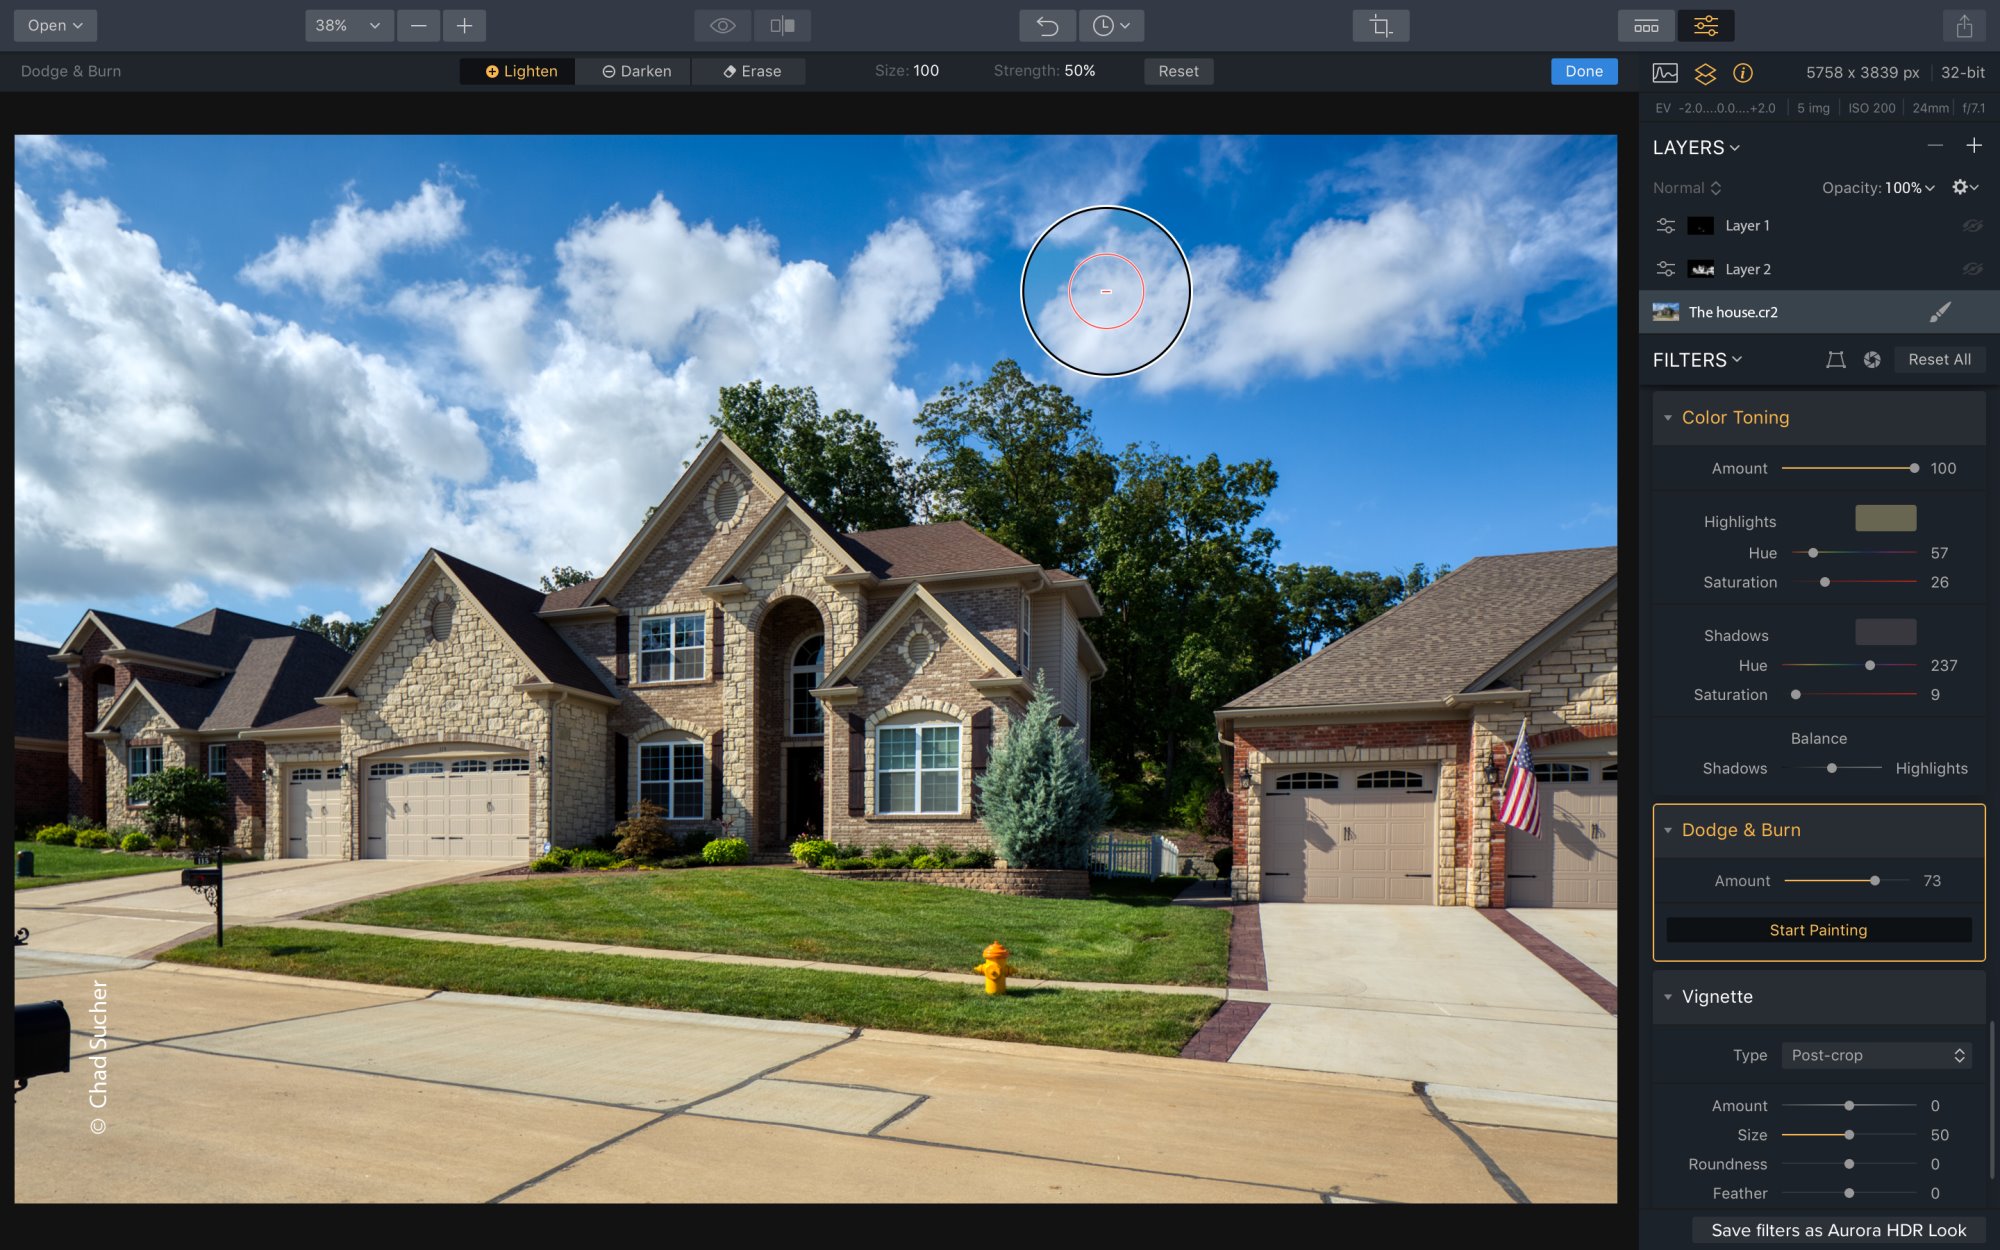
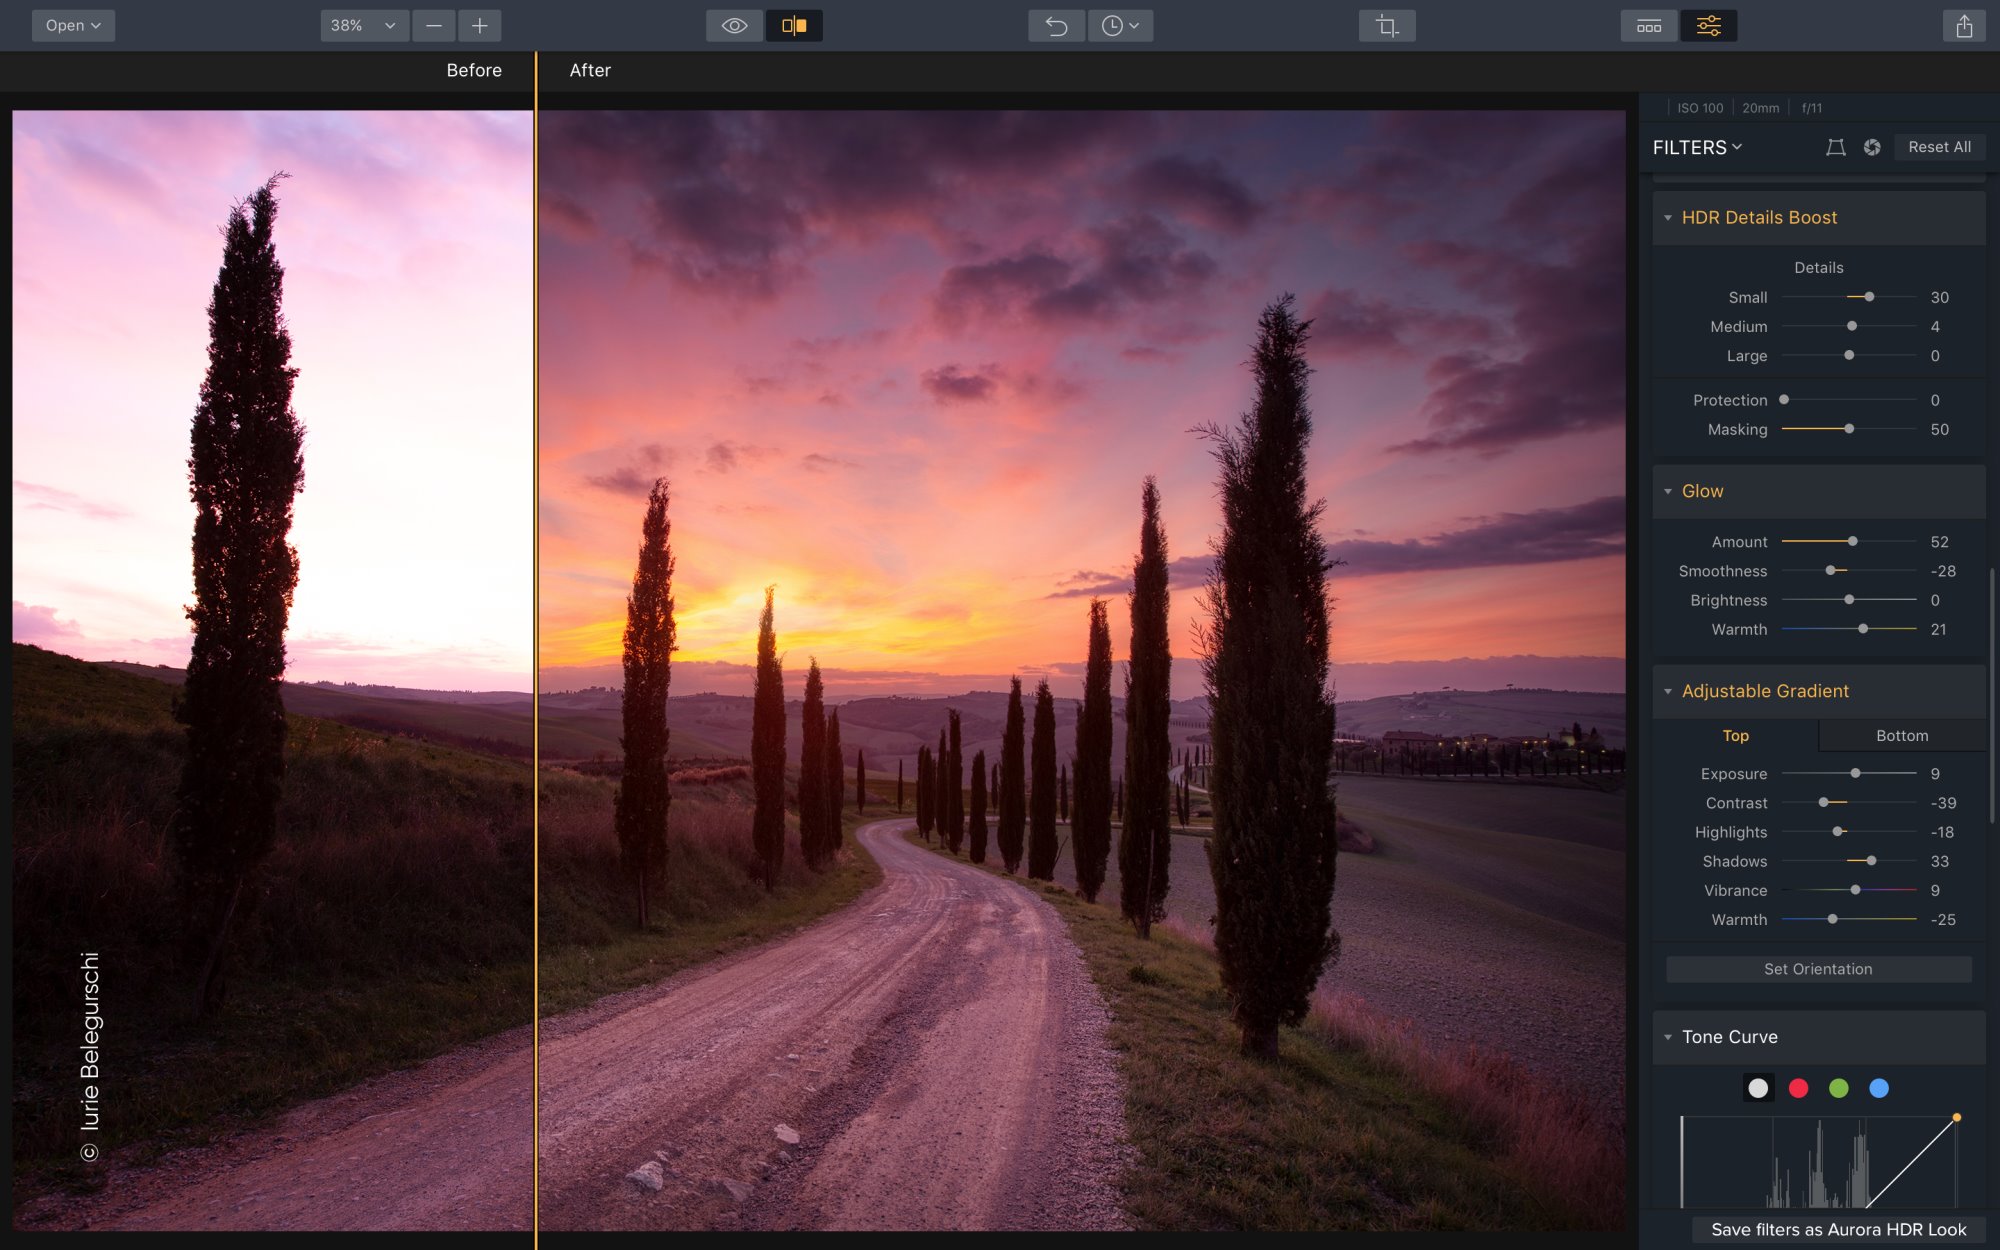
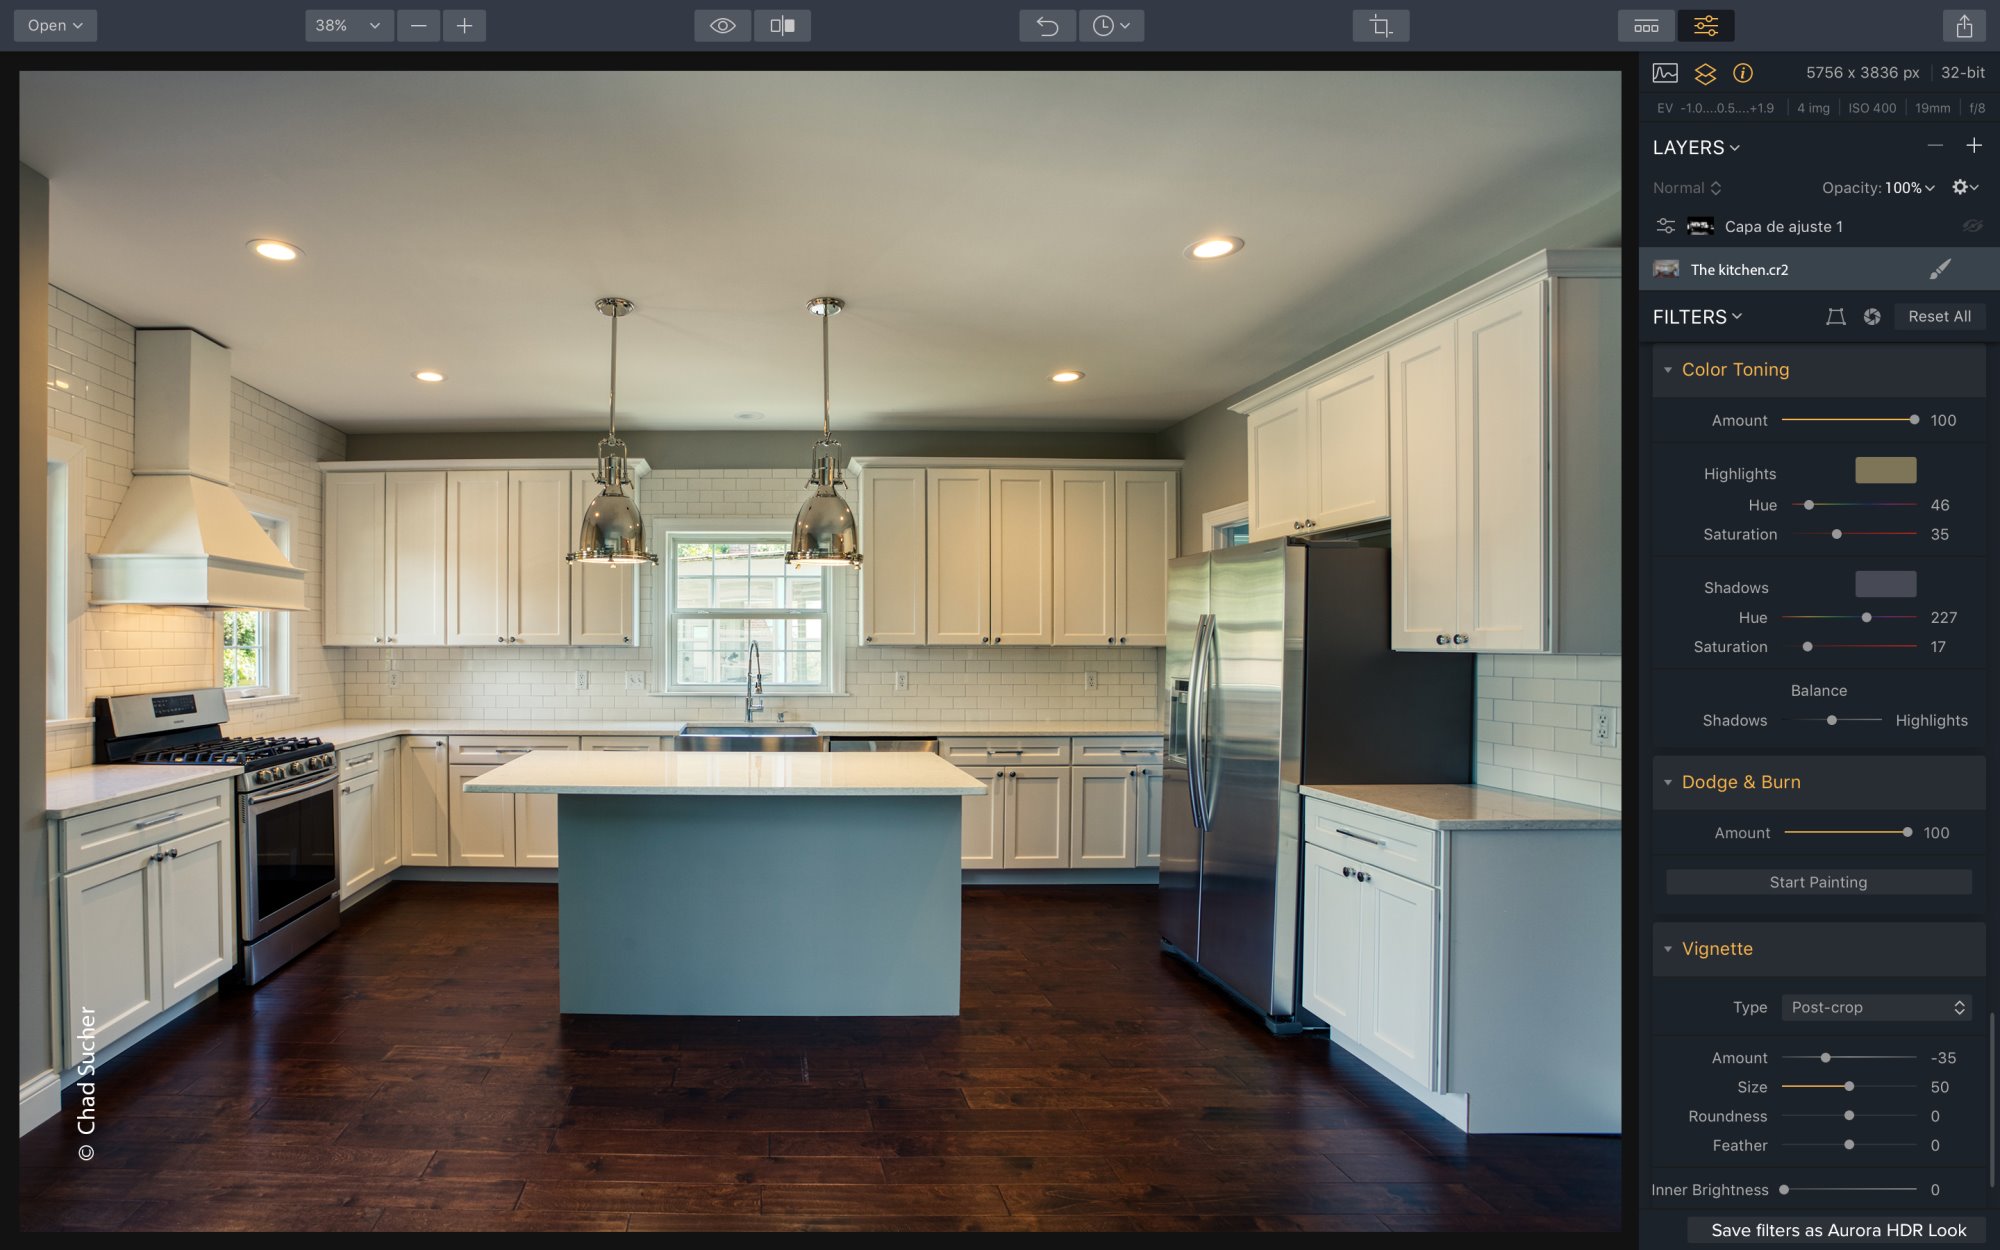
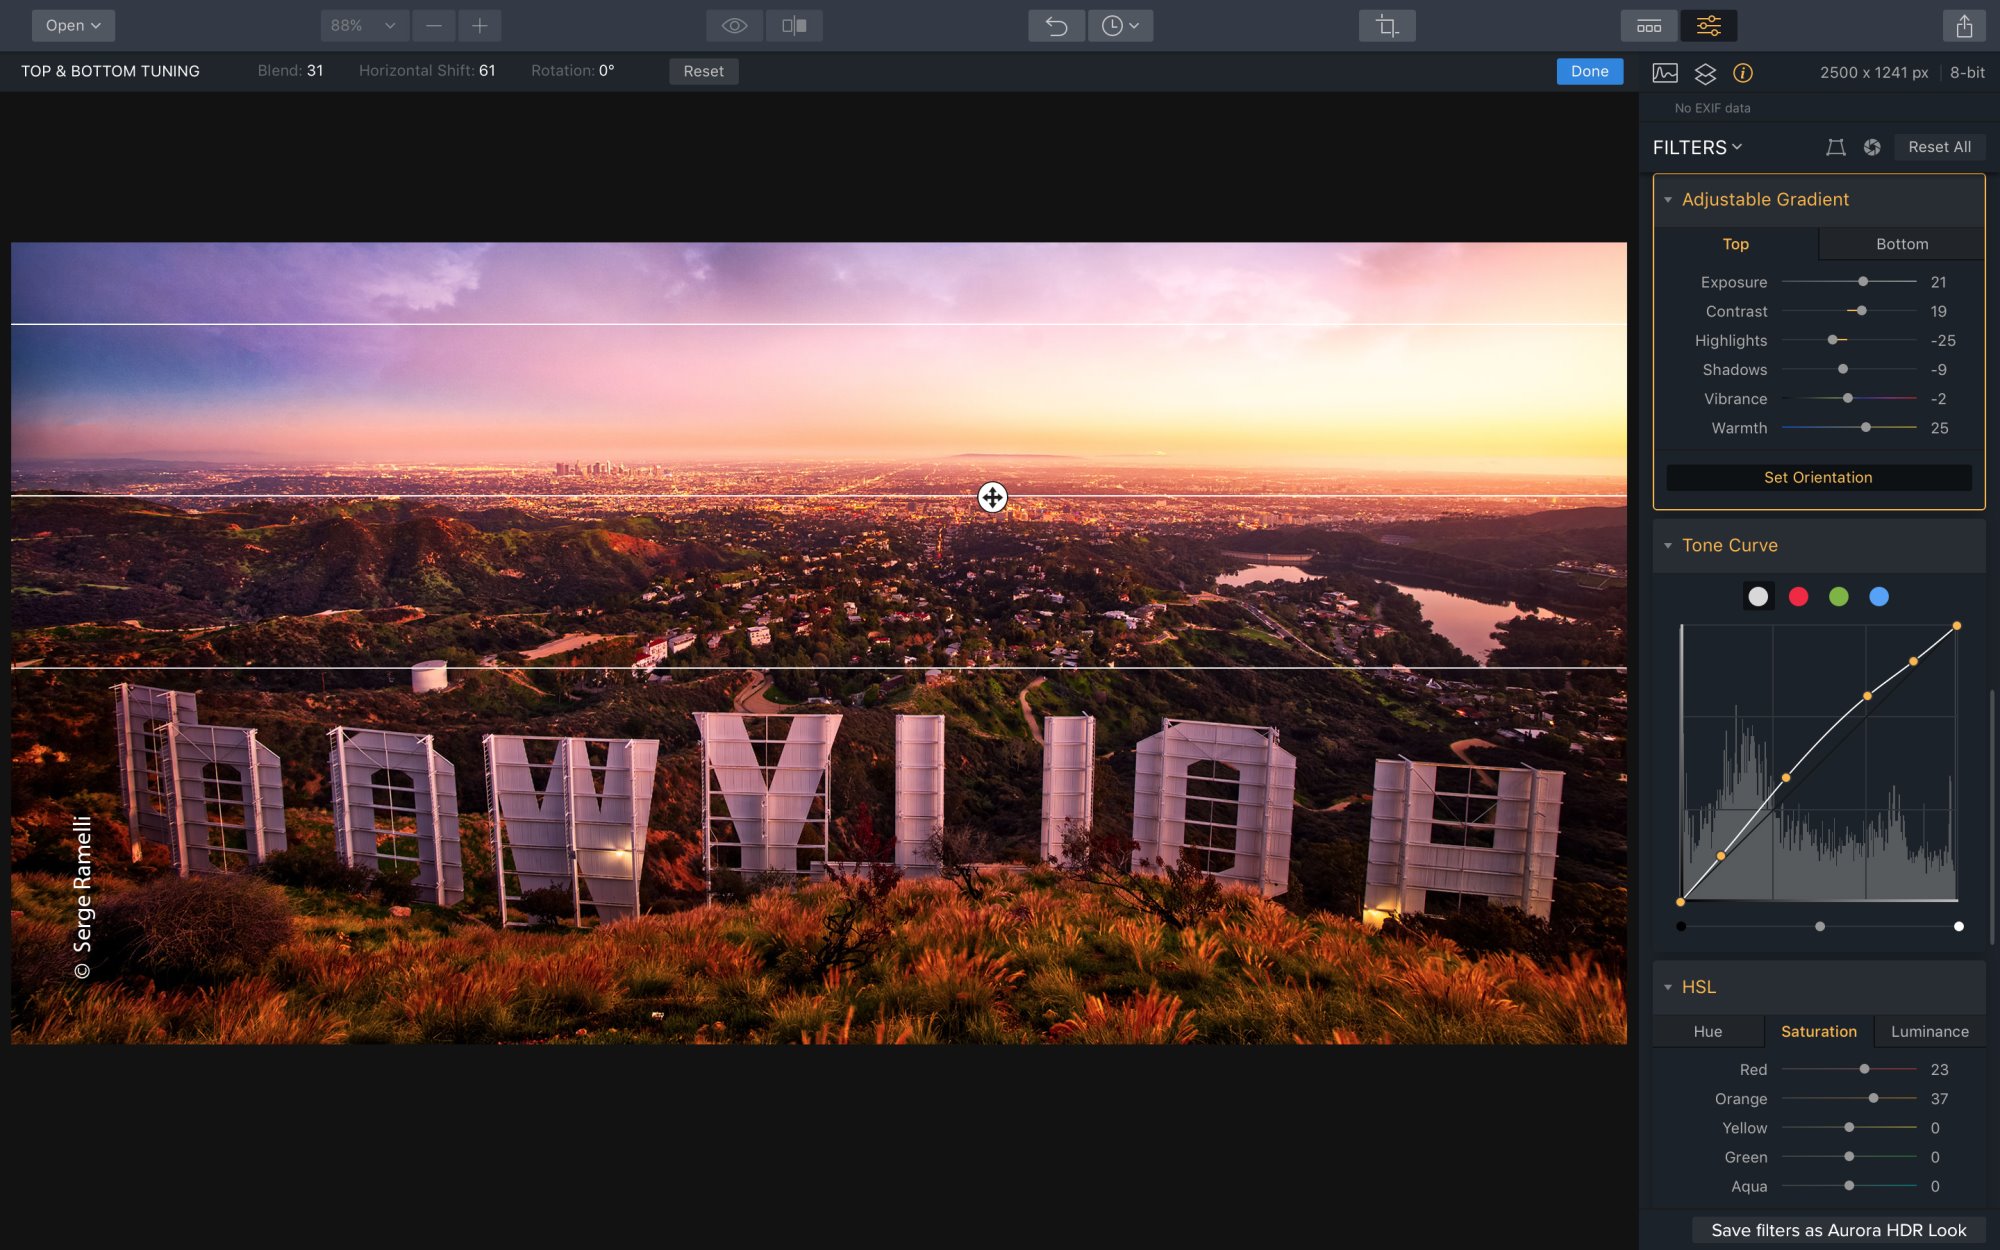
For my HDR workflow I use either Aurora HDR 2018 by Skylum (ex Macphun) or Photomatix Pro 6 by HDR-Soft. They both have their advantages and depending on the individual photo one or the other works best for me. Photomatix Pro comes with very good selective ghosting removal while Aurora HDR offers lots of tone mapping options as well as the possibility to work with layers. Currently I process most of my HDR photos with Aurora HDR but this can change again with the next version of Photomatix Pro. Again I’d like to share with you the link to the Aurora HDR 2018 Trial as well as the one to Photomatix Pro 6. Those of you who are interested can get more info on the corresponding websites as well as trial versions.

Both HDR programs also allow processing of undeveloped RAW files but I prefer to feed them 16-bit .tif files as I want to develop the RAW files in DxO PhotoLab rather than leaving that job to the HDR software. Especially optical corrections with lens profiles work much better in a RAW converter than in Aurora HDR, Photomatix Pro or in a classical image editor like Affinity Photo.

My goal in HDR processing is to find a good balance between that strong, dramatic HDR effect and a more realistic look. For this it is generally necessary to be not too enthusiastic when it comes to all the sliders and settings that are available in todays HDR programs. Most of the time you are going to get better results if you restrain yourself, the classical “less is more” definitely applies here.
Unfortunately describing all the steps necessary to merge and tone map my photos would by far exceed the scope of this post. Instead I plan to release a few videos soon where I show you in detail how I process my photos.
Further processing
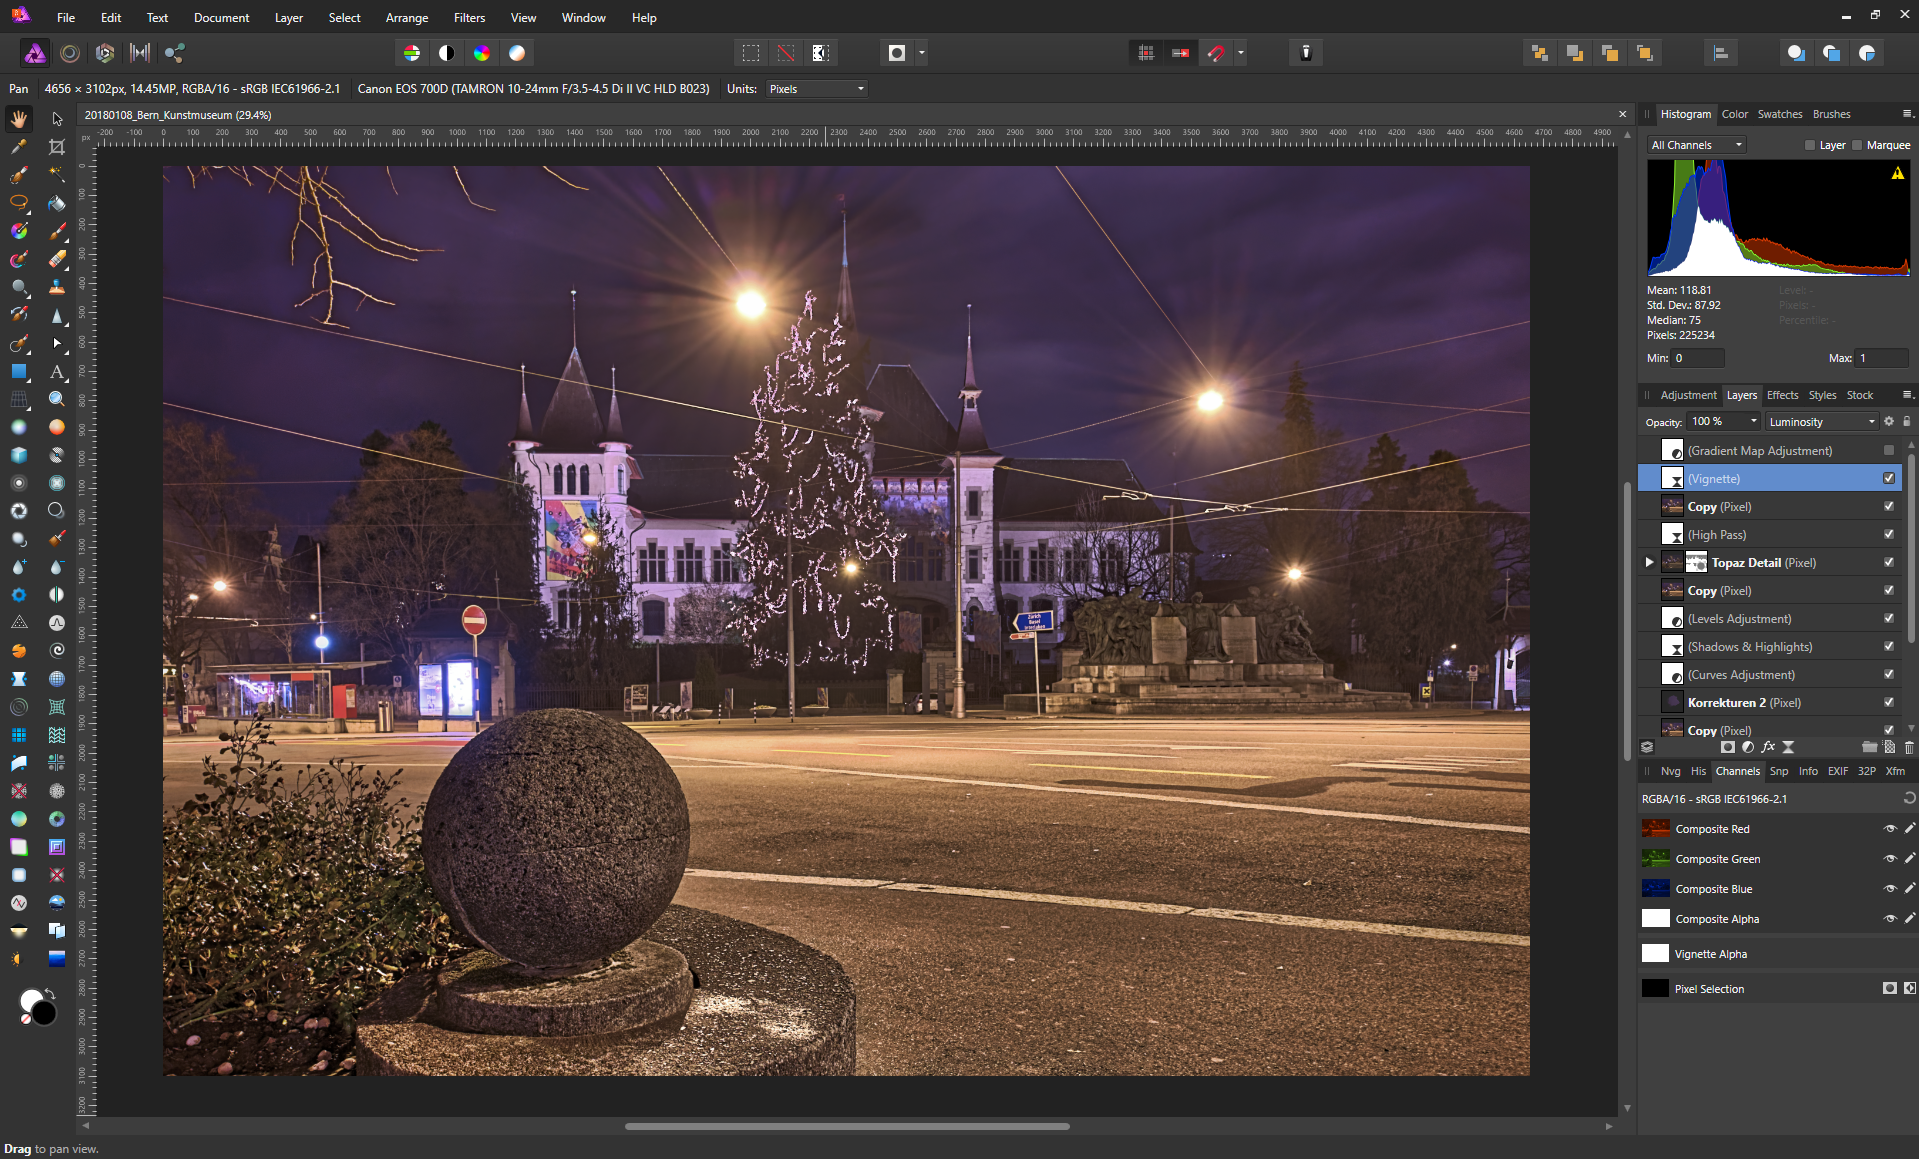
After another 16-bit .tif export it is time for Photoshop, except that I don’t use Photoshop 😉 For all my image editing needs that go beyond a RAW converter and the HDR programs I revert to Affinity Photo by Serif. This powerful program comes with lots of image editing tools at an unbeatable price tag of about 50 Euros. Where Affinity really shines is nondestructive editing. Most of the tools it offers either come as a so called live filters or as adjustment layers. This makes experimenting with different settings very convenient and gives you the peace of mind that you can always revert to the previous state by simply deleting the corresponding layer. Once more I’d like to provide a link to the developers of Affinity Photo where you can learn more about the software and download a trial version.

In case of a HDR photo processing in Affinity Photo usually means final adjustments to the colors and tonal values as well as slight corrections concerning highlights, shadows and brightness. What’s more there is often the need for some noise reduction and some dodge & burn magic. I decide on a per file basis how much processing is still needed to finish a photo. And of course every photo needs final sharpening and maybe also some cropping before it can be exported into either 8-bit .tif or jpg files.
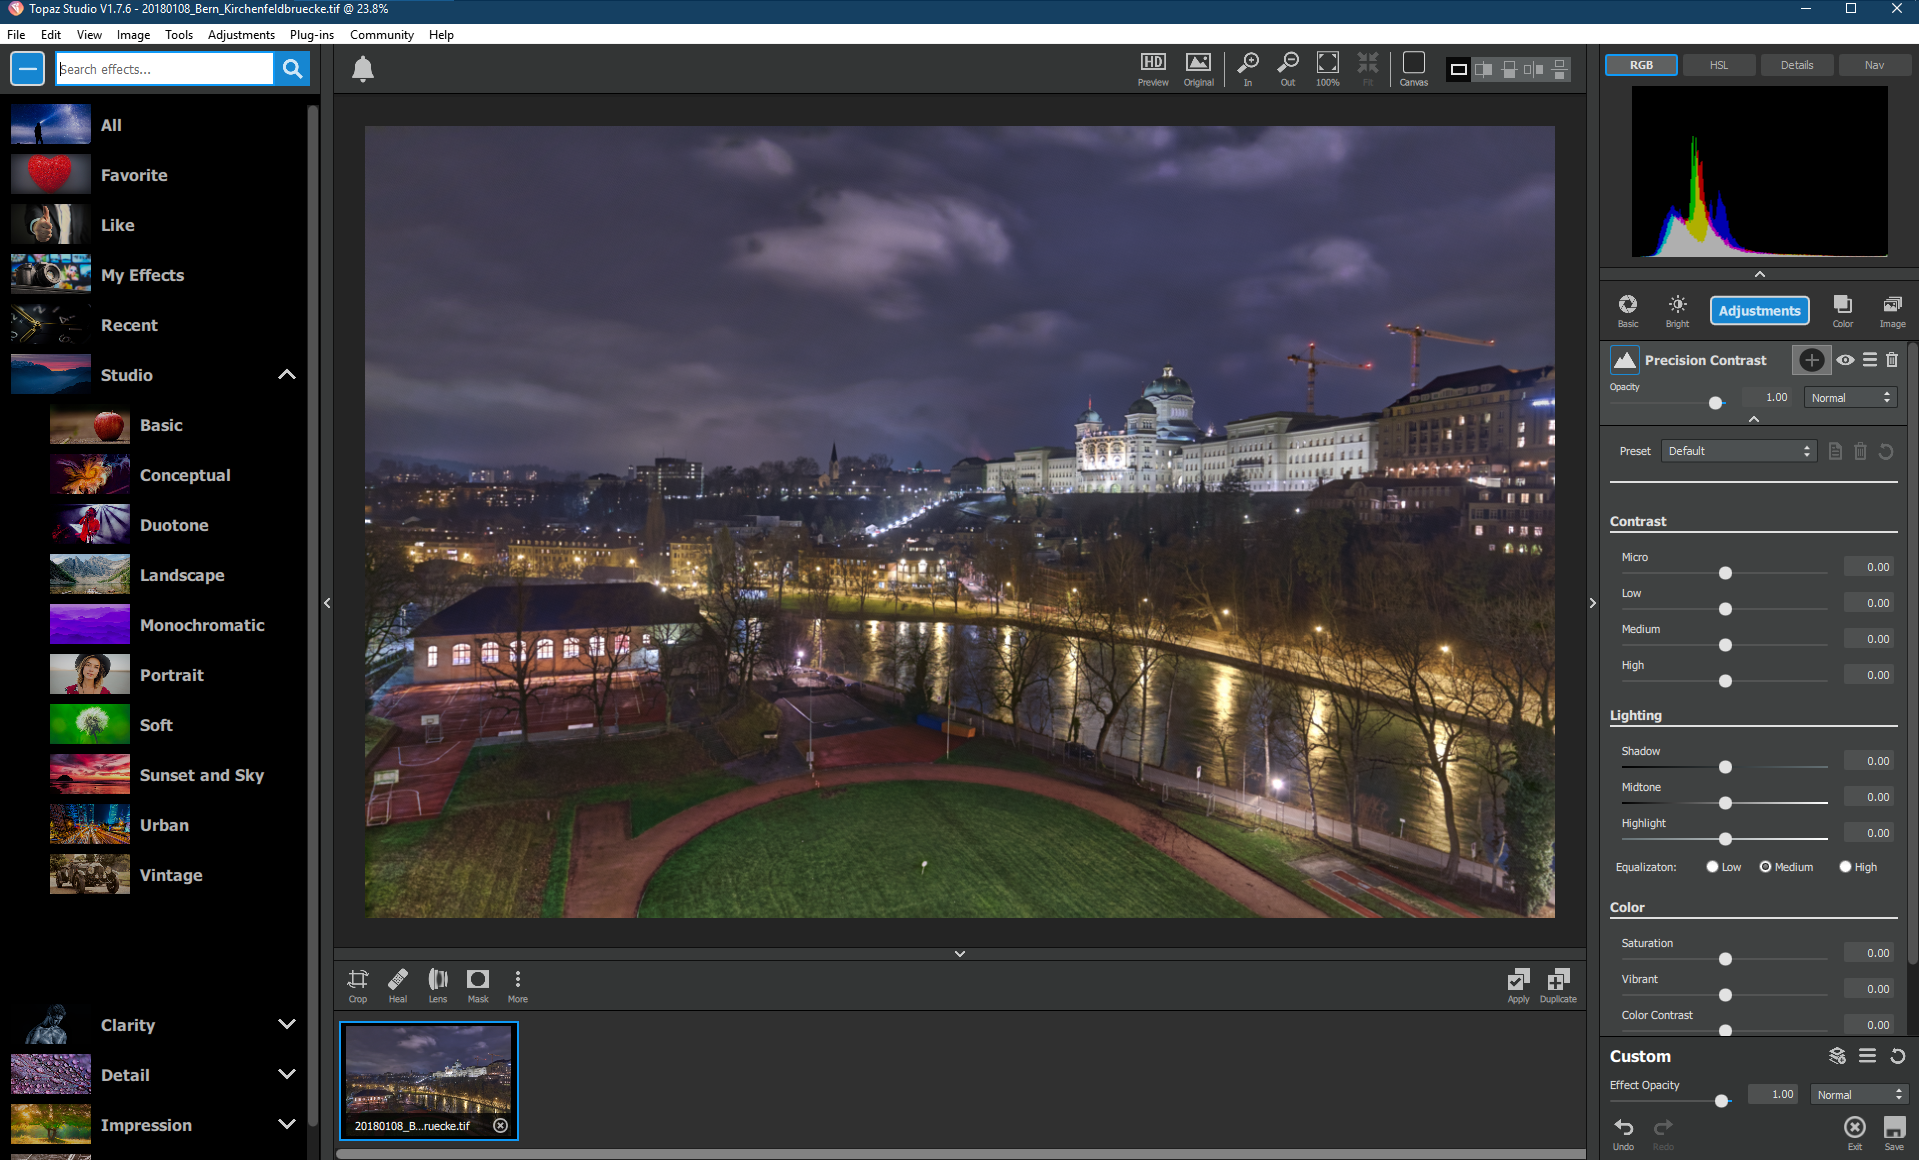
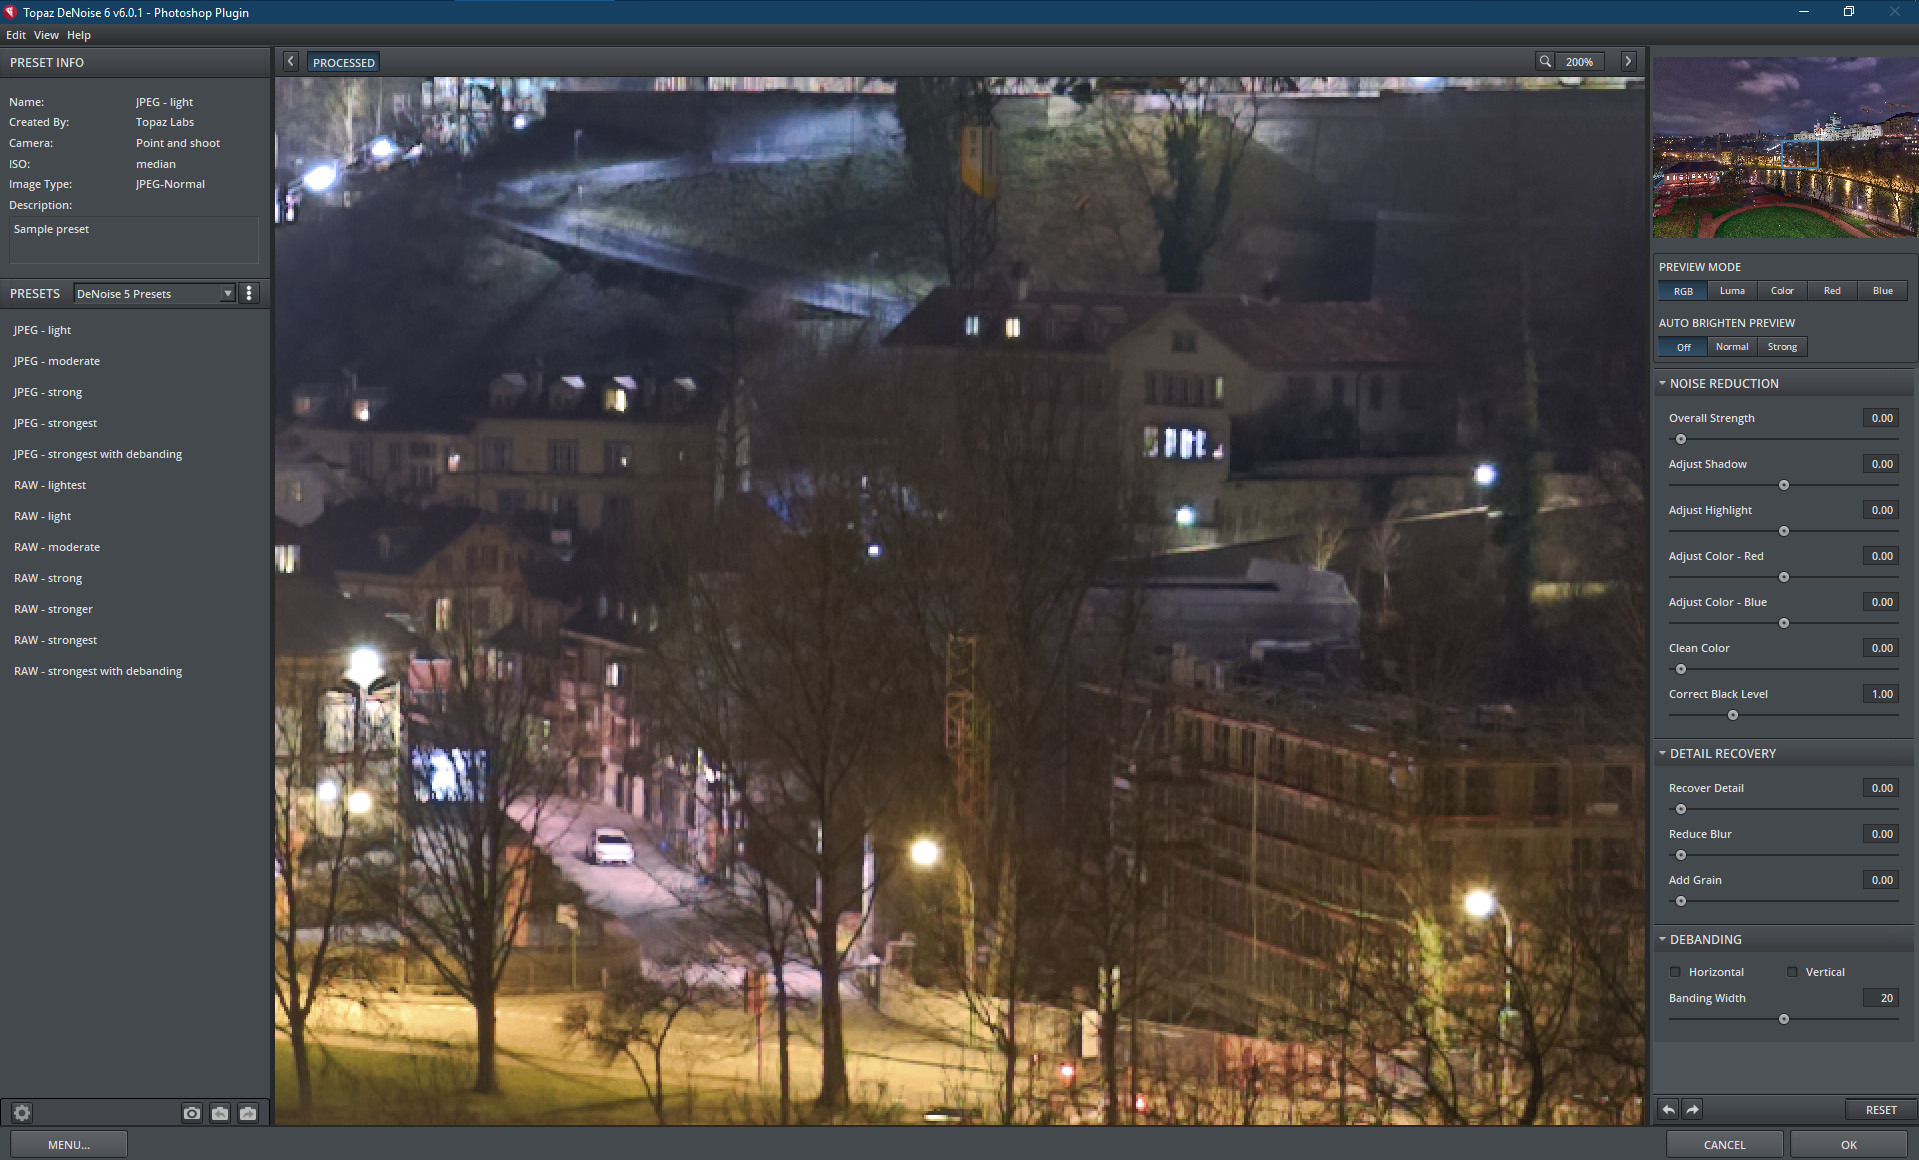
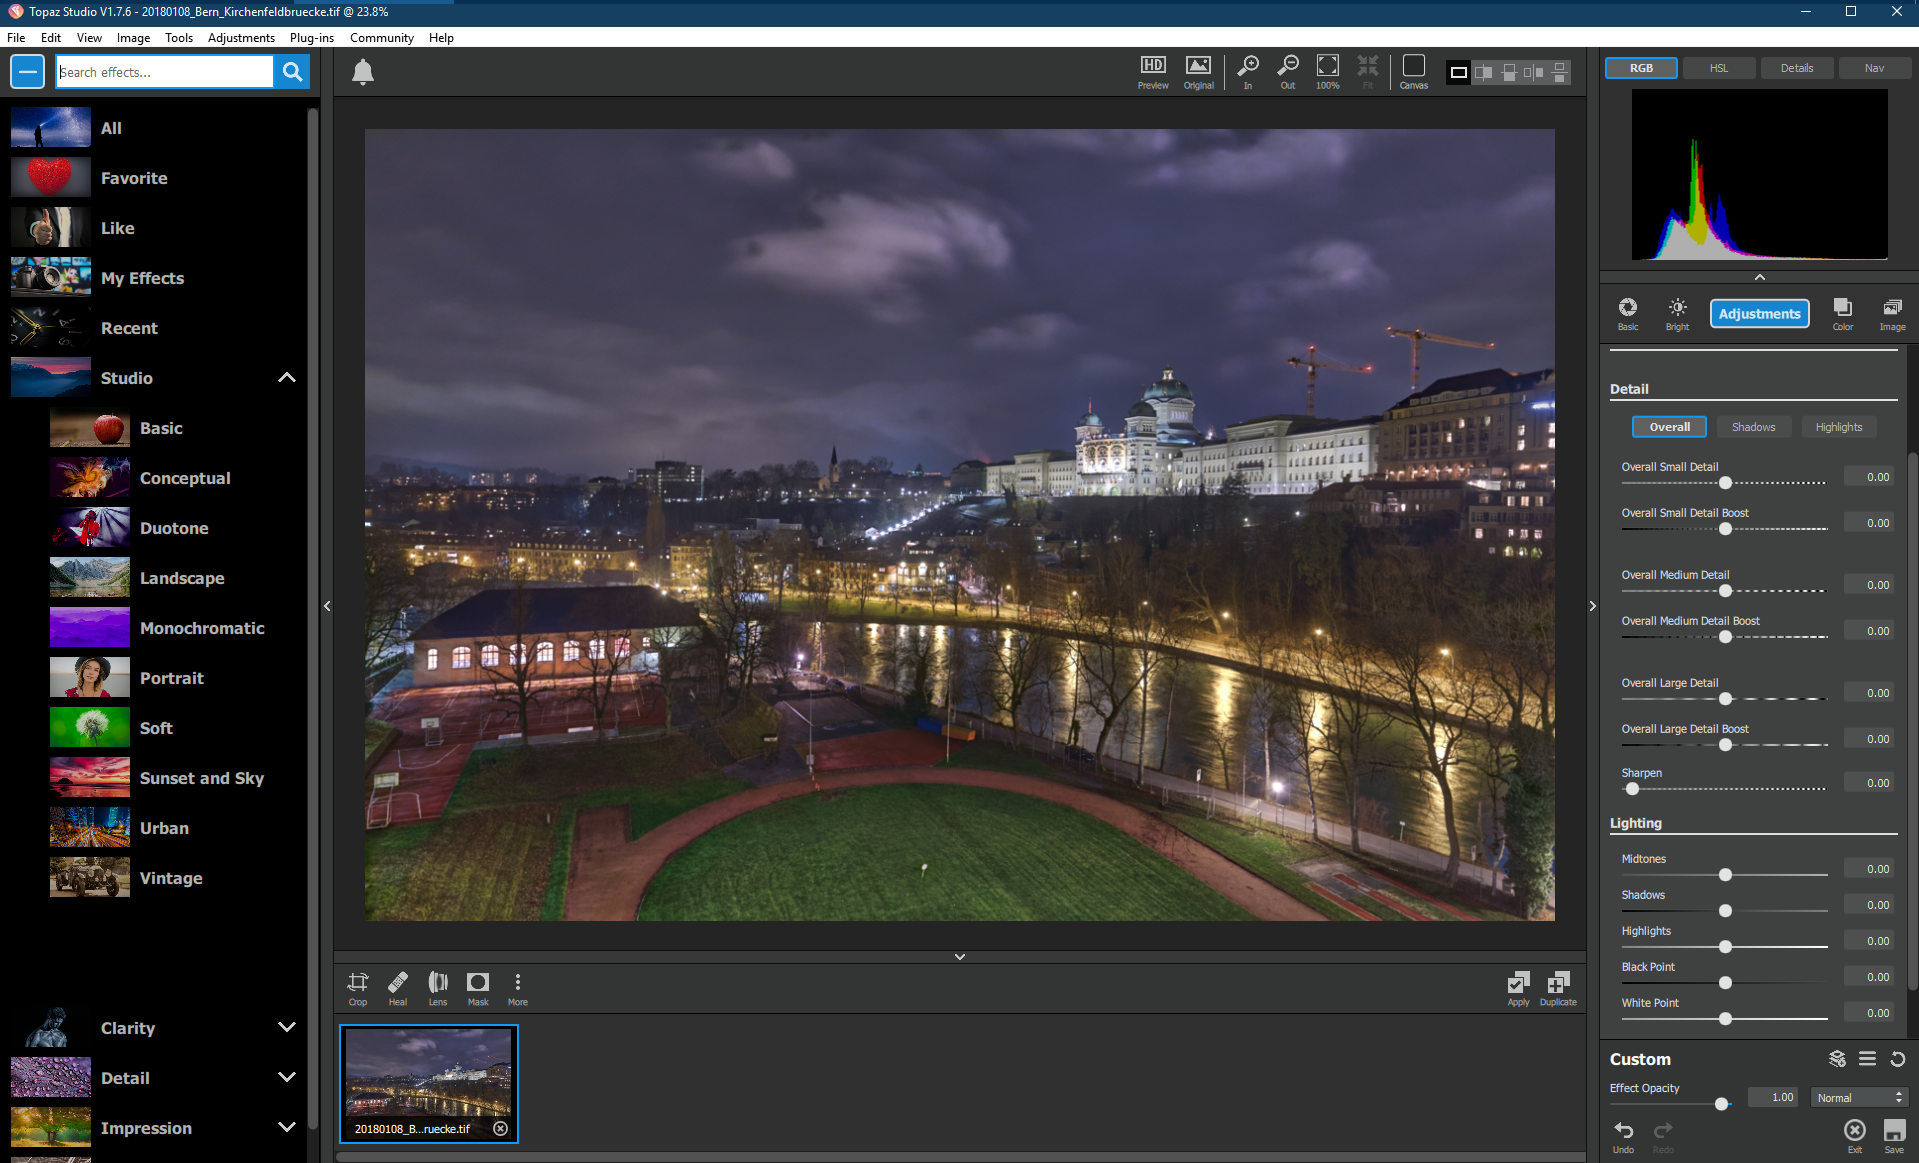
Of course I also use some plugins which can facilitate final processing quite a bit. My favorite plugins are Topaz Detail for sharpening that goes beyond the possibilities of the classical unsharp mask, Topaz Clarity which gives you more control than the usual clarity filter as well as Topaz Denoise for high ISO photos that contain lots of noise. Also worth mentioning are the plugins of the (currently) free Nik Collection by DxO (ex google) which offer many specialist tools, e.g. for converting your color photos into black & white images. You can get more info about these plugins on the respective websites of Topaz Labs and DxO. In case of the Nik Collection you will also find a free download link.

Next I’d like to mention a few techniques that I use to process my photos. For example in case of high ISO photos I often revert to a combination of the plugin Topaz Denoise as well as reduction of the noise in the luminance channel of the LAB color model. This special treatment allows me to suppress the luminace noise without affecting the colors. For sharpening I use Topaz Detail which comes with very detailed settings and combine it with some final High-Pass Sharpening. Both techniques are far less likely to introduces sharpening artifacts than the unsharp mask technique is. The last technique that I’d like to mention here is non destructive dodge & burn. This can be achieved by adding an empty layer on top and filling it with mid-gray (value 128). By changing the blend mode to overlay (at least it’s called like that in Affinity Photo) you can now paint in white to lighten areas and in black to darken them. Combine this with the general opacity of the dodge & burn layer and you can fine tune the effect to perfectly blend with the rest of your image.
As said above I advise you to restrain yourself. Excessive use of all the processing possibilities seldom does any good to your photos. Especially saturation and sharpening should be done carefully as maxed out sliders often ruin an otherwise nice photo.
Tagging the photo and add it to the database
This concludes post processing, now it’s time to assign the right keywords and categories and add the new photo to my image database. For this I use IMatch which is a great DAM solution. You can read about it in my previous post where I compare the two programs IMatch and the freeware XnViewMP.
As with image processing, building your image database is highly subjective. I for example prefer to use categories based on historical keywords to organize my images as I don’t always remember the folders I put the images in. This approach guarantees that you’ll find all your images within seconds as long as you take tagging your images seriously and use a decent DAM solution that maintains the database. But assigning all those keywords also means a lot of work which some photographers aren’t willing to invest. This is fine, I know a lot of people who think that it’s not worth the effort. If you keep your files in a well organized folder structure this might work just as well for you. But the more photos you take the more likely it is that you will sooner or later end up switching from a folder only structure to a database solution. With this in mind you could also start right now, this would save you a lot of work in the future.
Final thoughts
This is all for today. I hope I was able to give you an idea what post processing tools I use to develop my photos. Like mentioned above this post is not intended as a complete guide to my workflow, this would by far exceed the scope of this post. The idea behind it is to provide you with a brief overview over my workflow and the tools I use before I publish the photos. But there are good news for those of you who want to know more. I plan to release a few videos soon which will show in detail how I use the different post processing tools to achieve my results.
Now it’s your turn. What post processing tools do you use? Are you a Photoshop guy or do you work with other programs like Affinity Photo or Corel Paintshop? What plugins do you prefer and why? Please leave a comment to let us know.
Update (January 25th, 2018): The first video is online!
Update (March 9, 2018): The second video is online!
Update (April 10, 2018): The third and last video is online!